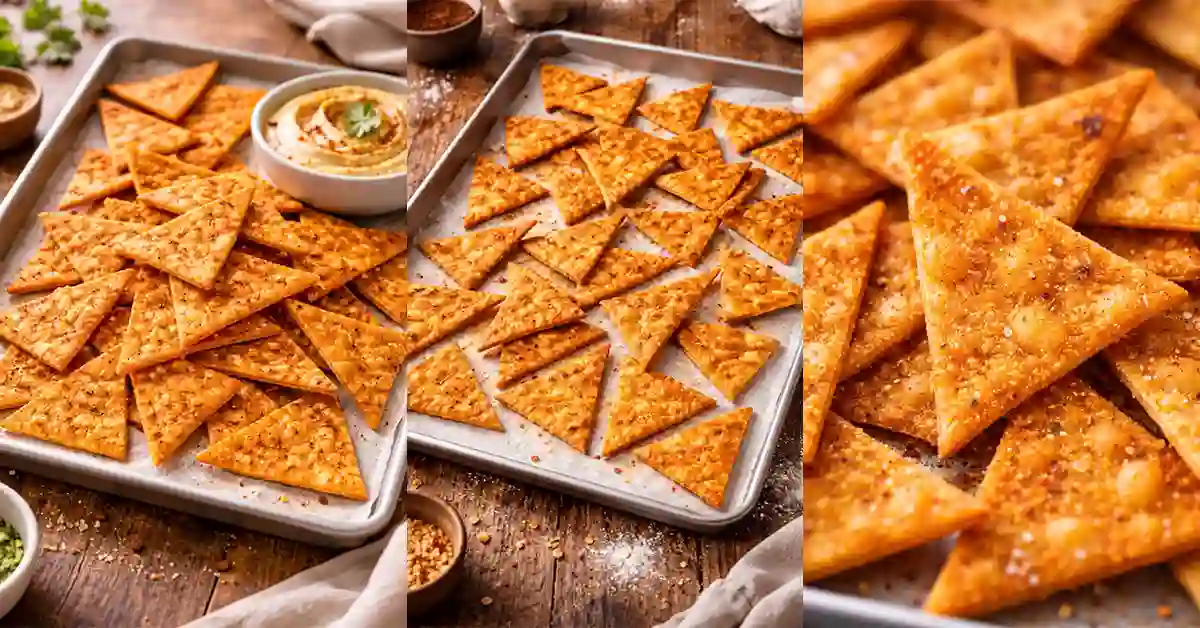
Chickpea Chips Recipe Quick and Healthy Snack Guide
Chickpea chips are a crunchy and tasty snack made from chickpeas, also known as garbanzo beans. These chips are a healthy choice compared to regular potato chips because they are rich in protein, fiber, and important nutrients.
People who want a light and better snack often enjoy chickpea chips as part of their daily routine.
Chickpea chips can be made in different ways. Some recipes use whole chickpeas that are roasted until crispy, while others use chickpea flour to create thin, chip like shapes.
Both methods give a satisfying crunch and a delicious flavor. They can be baked, air fried, or lightly fried depending on your preference.
Why I Love This Recipe
I love this chickpea chips recipe because it is simple, healthy, and full of flavor. It uses basic ingredients and takes very little time to prepare.
The chips come out crispy and satisfying without feeling heavy. I can easily adjust the spices to match my taste.
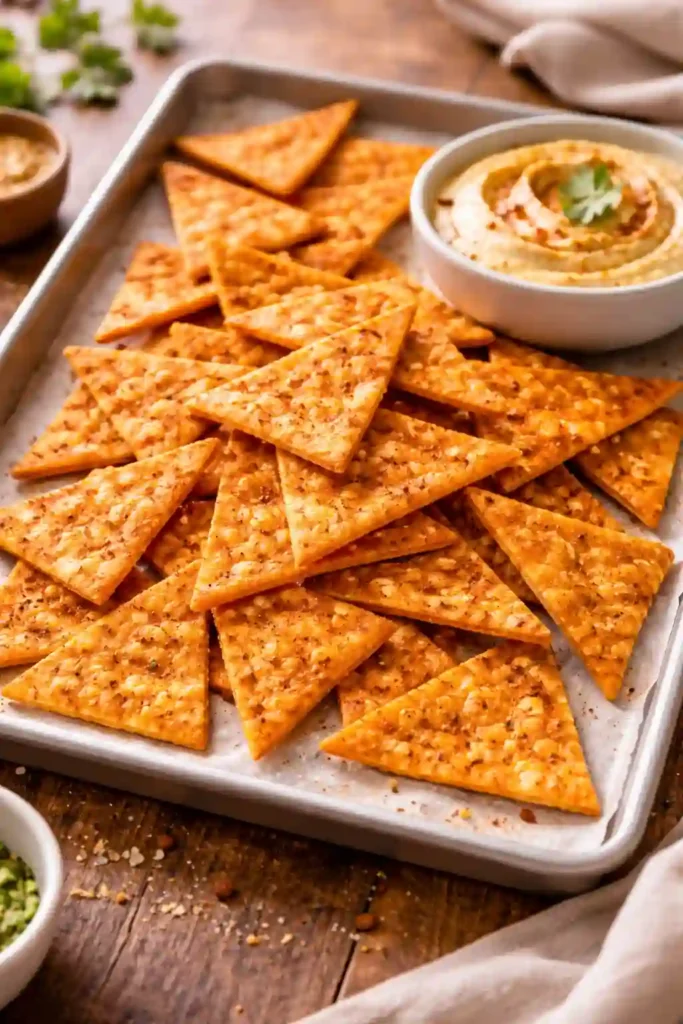
Ingredients for Chickpea Chips
- 1 ½ cups cooked chickpeas
Soft but not too wet. You can use canned or boiled chickpeas. - 1 tablespoon olive oil
Helps the chips become crispy and adds a light flavor. - ½ teaspoon salt
Adjust to taste for a balanced flavor. - ½ teaspoon paprika
Gives a mild smoky taste and nice color. - ¼ teaspoon black pepper
Adds a gentle heat and depth. - ½ teaspoon garlic powder
Brings a rich and savory flavor. - ¼ teaspoon chili powder (optional)
Perfect if you like a little spice. - 1 tablespoon chickpea flour (optional)
Helps improve texture and crispiness if needed. - 1 teaspoon lemon juice (optional)
Adds a fresh and light tang to the chips.
Preparation Time
- Prep Time: 10 minutes
This includes rinsing, drying, and seasoning the chickpeas properly. - Cook Time: 25 to 30 minutes
Time may vary depending on your oven or air fryer settings. - Total Time: 35 to 40 minutes
A quick snack that does not take too long to prepare from start to finish. - Cooling Time: 5 to 10 minutes
Let the chips cool slightly to become extra crispy before serving.
Equipment Needed
- Baking tray
Used to spread the chickpeas evenly for proper cooking. - Parchment paper
Prevents sticking and makes cleaning easier. - Mixing bowl
Helps coat the chickpeas evenly with oil and spices. - Spoon or spatula
Useful for mixing and spreading the chickpeas. - Oven or air fryer
Needed to cook the chickpeas until crispy and golden.
How to Make Chickpea Chips
- Step 1: Prepare the chickpeas
Start by rinsing 1 ½ cups of cooked or canned chickpeas under clean water. Drain them well and place them on a clean kitchen towel. Gently pat them dry. Removing extra moisture is very important because it helps the chips turn crispy instead of soft. - Step 2: Remove loose skins
Take a few minutes to remove any loose skins from the chickpeas. This step is optional, but it improves the texture and gives a better crunch after baking. - Step 3: Preheat your oven
Set your oven to 200°C (400°F) and allow it to fully heat before placing the chickpeas inside. A hot oven helps in even cooking and crispiness. - Step 4: Season the chickpeas
Place the dried chickpeas in a mixing bowl. Add 1 tablespoon olive oil, ½ teaspoon salt, ½ teaspoon paprika, ¼ teaspoon black pepper, ½ teaspoon garlic powder, and optional chili powder. Mix everything well so each chickpea is evenly coated. - Step 5: Arrange on baking tray
Line a baking tray with parchment paper. Spread the chickpeas in a single layer. Make sure they are not crowded, as this allows hot air to move around and cook them evenly. - Step 6: Bake until crispy
Place the tray in the oven and bake for 25 to 30 minutes. Halfway through, shake the tray or stir the chickpeas to ensure even cooking. Keep an eye on them during the last few minutes to avoid burning. - Step 7: Check for doneness
The chickpeas should be golden brown and firm to touch. When you bite into one, it should feel crunchy on the outside. - Step 8: Add final touch
Once baked, remove the tray from the oven. You can add a squeeze of lemon juice or a light sprinkle of extra seasoning while they are still warm for added flavor. - Step 9: Cool before serving
Let the chickpea chips cool for 5 to 10 minutes. They will become even crispier as they cool down, making them perfect for snacking.
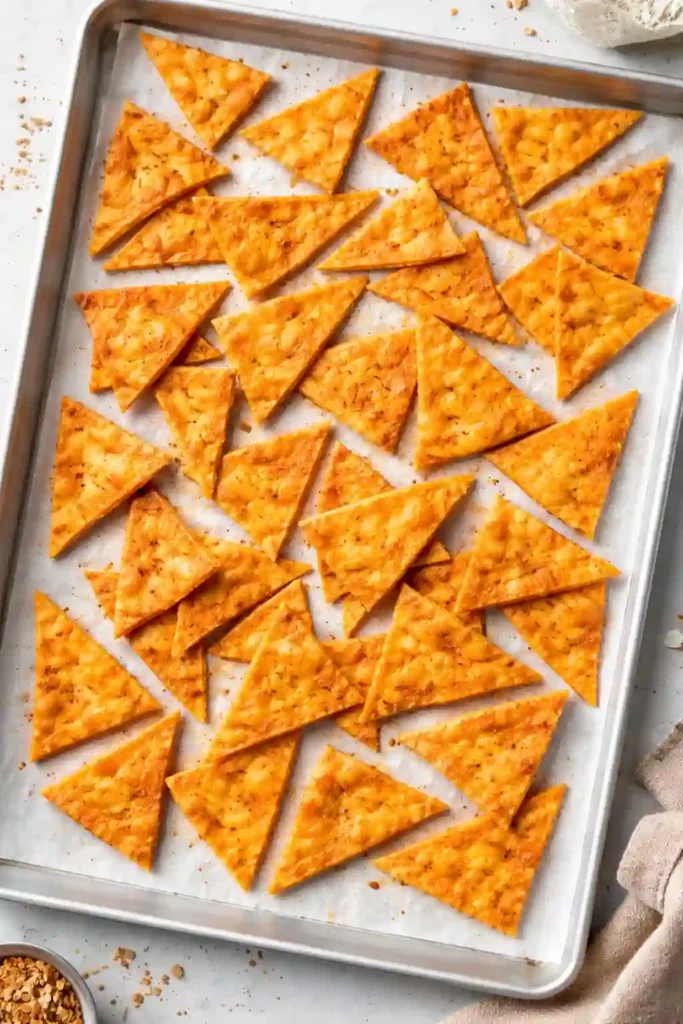
Tips for Perfect Chickpea Chips
- Dry the chickpeas very well
Moisture is the biggest reason chips turn soft. After washing, always pat the chickpeas dry with a clean towel. The drier they are, the crispier they will become. - Do not skip preheating
A fully heated oven helps the chickpeas cook evenly and develop a nice crunch. Putting them in a cold oven can make them chewy instead of crispy. - Use the right amount of oil
Too little oil can make the chips dry, while too much can make them soggy. A small, even coating works best for a balanced texture. - Spread in a single layer
Always place chickpeas in one layer on the tray. Overcrowding traps steam, which prevents proper crisping. - Stir halfway through cooking
Shaking or stirring the chickpeas during baking ensures all sides cook evenly and prevents burning. - Adjust cooking time as needed
Every oven works differently. Keep an eye on the last few minutes and remove them once they turn golden and crunchy. - Season at the right time
You can add basic spices before baking, but delicate flavors like herbs or lemon are best added after cooking to keep them fresh. - Let them cool before eating
Chickpea chips become crispier as they cool. Give them a few minutes after baking for the best texture. - Enjoy fresh for best taste
These chips are best eaten on the same day while they are still crunchy and flavorful.
Variations (Optional Flavors)
- Spicy chili flavor
Add extra chili powder or red pepper flakes for a bold and spicy kick. This is perfect for those who enjoy heat in every bite. - Cheesy flavor
Sprinkle a little nutritional yeast or a light cheese powder after baking for a rich and savory taste. - Herb seasoning
Mix in dried herbs like oregano, thyme, or parsley to create a fresh and aromatic flavor. - Garlic butter style
Add a touch of melted butter and garlic powder after baking for a warm and comforting taste.
Serving Suggestions
- As a quick snack
Enjoy them on their own as a light and crunchy snack any time of the day. - With dips
Serve with hummus, yogurt dip, or any sauce you like for extra flavor. - With salads
Add chickpea chips on top of salads for a crispy texture instead of croutons. - Party snack option
Place them in bowls for gatherings as a simple and homemade snack choice.
Storage Tips
- Store in an airtight container
Keep the chips in a sealed container to maintain their crunch. - Use within 2 to 3 days
For the best taste and texture, enjoy them fresh within a few days. - Avoid moisture exposure
Keep them away from humidity, as moisture can make them soft quickly.
Nutrition Facts (Per Serving Approximate)
- Calories: 120 to 140
- Protein: 5 to 6 grams
- Fiber: 4 to 5 grams
- Fat: 3 to 5 grams
- Carbohydrates: 18 to 20 grams
These values may vary depending on ingredients and cooking method.
Instructions (Quick Step Summary)
- Step 1: Rinse and dry
Wash the chickpeas well and dry them completely using a clean towel. This helps achieve a crispy texture. - Step 2: Preheat the oven
Set your oven to 200°C (400°F) so it is ready for even cooking. - Step 3: Add oil and spices
Place the chickpeas in a bowl. Add olive oil, salt, and your chosen spices. Mix well so each chickpea is coated. - Step 4: Spread on tray
Line a baking tray with parchment paper and spread the chickpeas in a single layer. - Step 5: Bake until crispy
Cook for 25 to 30 minutes. Stir once in between for even crisping. - Step 6: Cool and serve
Let them cool for a few minutes. This makes them extra crunchy and ready to enjoy.
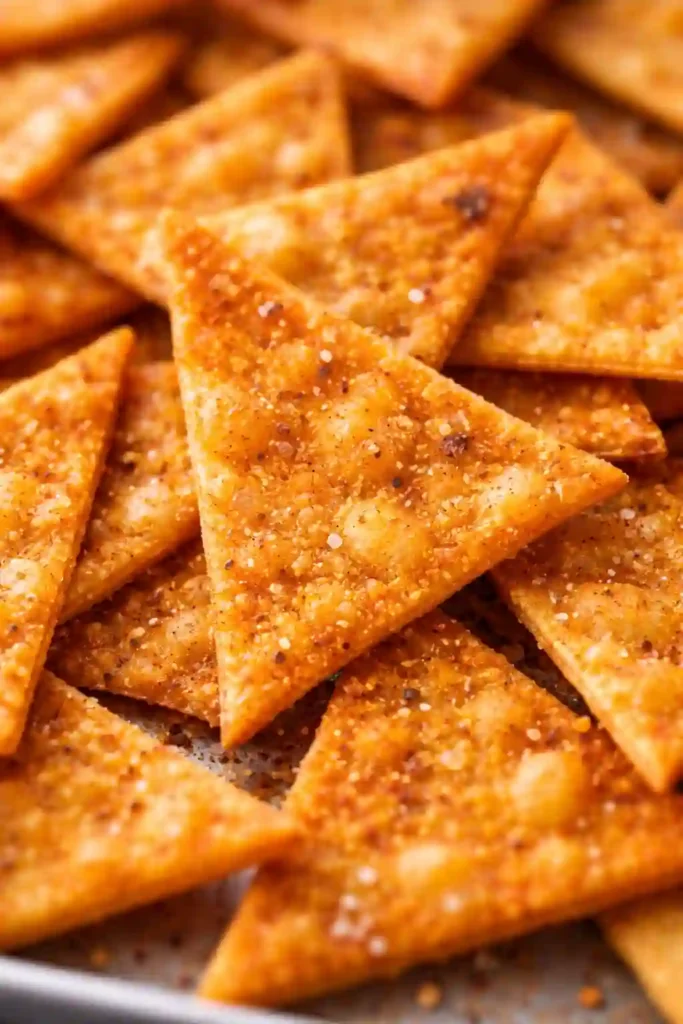
FAQs About Chickpea Chips
- Can I use canned chickpeas for this recipe?
Yes, canned chickpeas work very well and are a convenient option. Just make sure to rinse them thoroughly under clean water to remove excess salt and preservatives. After rinsing, dry them completely using a clean towel. Proper drying is very important because any moisture left can prevent the chips from becoming crispy. - Why are my chickpea chips not crispy?
This usually happens when the chickpeas are not dried well or when the tray is overcrowded. Moisture creates steam, which makes them soft instead of crunchy. Also, baking at a low temperature or not cooking long enough can affect the texture. Always preheat your oven and give them enough space on the tray. - Can I make chickpea chips in an air fryer?
Yes, you can easily make them in an air fryer. Cook them at around 180°C for 15 to 20 minutes. Shake the basket halfway through cooking to ensure even crisping. Keep checking near the end to avoid overcooking. - How long do chickpea chips stay fresh?
Chickpea chips are best enjoyed fresh on the same day. However, you can store them in an airtight container for up to 2 to 3 days. Keep them in a cool and dry place to maintain their crunch. - Can I change the flavors?
Absolutely. This recipe is very flexible. You can try spicy, cheesy, or herby flavors based on your preference. You can also experiment with different spice mixes to create your own unique taste. - Are chickpea chips healthy?
Yes, chickpea chips are a healthier snack option compared to many fried snacks. They are rich in protein and fiber, which can help you feel full for longer. They are also suitable for many diets, making them a smart and satisfying choice.
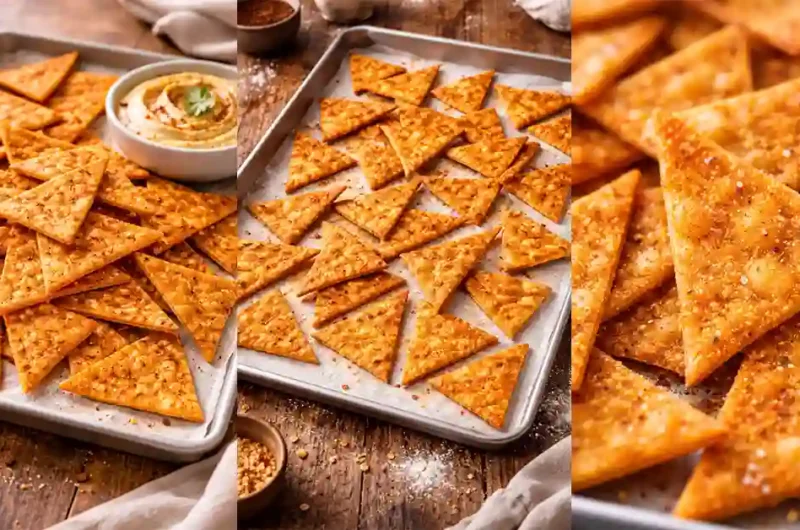
Chickpea Chips Recipe Quick and Healthy Snack Guide
10
minutes30
minutes150
kcalCooling Time: 5 to 10 minutes
Ingredients
1 ½ cups cooked chickpeas
1 tablespoon olive oil
½ teaspoon salt
½ teaspoon paprika
¼ teaspoon black pepper
½ teaspoon garlic powder
¼ teaspoon chili powder (optional)
1 tablespoon chickpea flour (optional)
1 teaspoon lemon juice (optional)
Directions
- Prepare the chickpeas
Start by rinsing 1 ½ cups of cooked or canned chickpeas under clean water. Drain them well and place them on a clean kitchen towel. Gently pat them dry. Removing extra moisture is very important because it helps the chips turn crispy instead of soft. - Remove loose skins
Take a few minutes to remove any loose skins from the chickpeas. This step is optional, but it improves the texture and gives a better crunch after baking. - Preheat your oven
Set your oven to 200°C (400°F) and allow it to fully heat before placing the chickpeas inside. A hot oven helps in even cooking and crispiness. - Season the chickpeas
Place the dried chickpeas in a mixing bowl. Add 1 tablespoon olive oil, ½ teaspoon salt, ½ teaspoon paprika, ¼ teaspoon black pepper, ½ teaspoon garlic powder, and optional chili powder. Mix everything well so each chickpea is evenly coated. - Arrange on baking tray
Line a baking tray with parchment paper. Spread the chickpeas in a single layer. Make sure they are not crowded, as this allows hot air to move around and cook them evenly. - Bake until crispy
Place the tray in the oven and bake for 25 to 30 minutes. Halfway through, shake the tray or stir the chickpeas to ensure even cooking. Keep an eye on them during the last few minutes to avoid burning. - Check for doneness
The chickpeas should be golden brown and firm to touch. When you bite into one, it should feel crunchy on the outside. - Add final touch
Once baked, remove the tray from the oven. You can add a squeeze of lemon juice or a light sprinkle of extra seasoning while they are still warm for added flavor. - Cool before serving
Let the chickpea chips cool for 5 to 10 minutes. They will become even crispier as they cool down, making them perfect for snacking.
Notes
- Dry the chickpeas very well
Moisture is the biggest reason chips turn soft. After washing, always pat the chickpeas dry with a clean towel. The drier they are, the crispier they will become. - Do not skip preheating
A fully heated oven helps the chickpeas cook evenly and develop a nice crunch. Putting them in a cold oven can make them chewy instead of crispy. - Let them cool before eating
Chickpea chips become crispier as they cool. Give them a few minutes after baking for the best texture. - Enjoy fresh for best taste
These chips are best eaten on the same day while they are still crunchy and flavorful.
Admin