Fruity Pebbles Sushi Recipe Easy Homemade Sweet Rolls
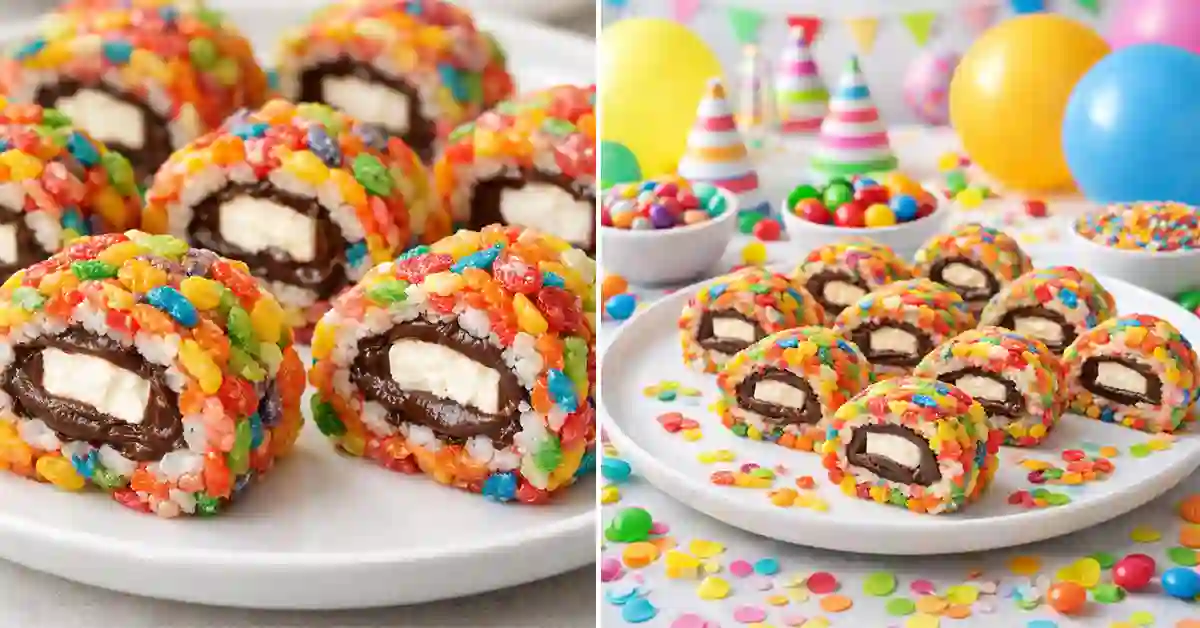
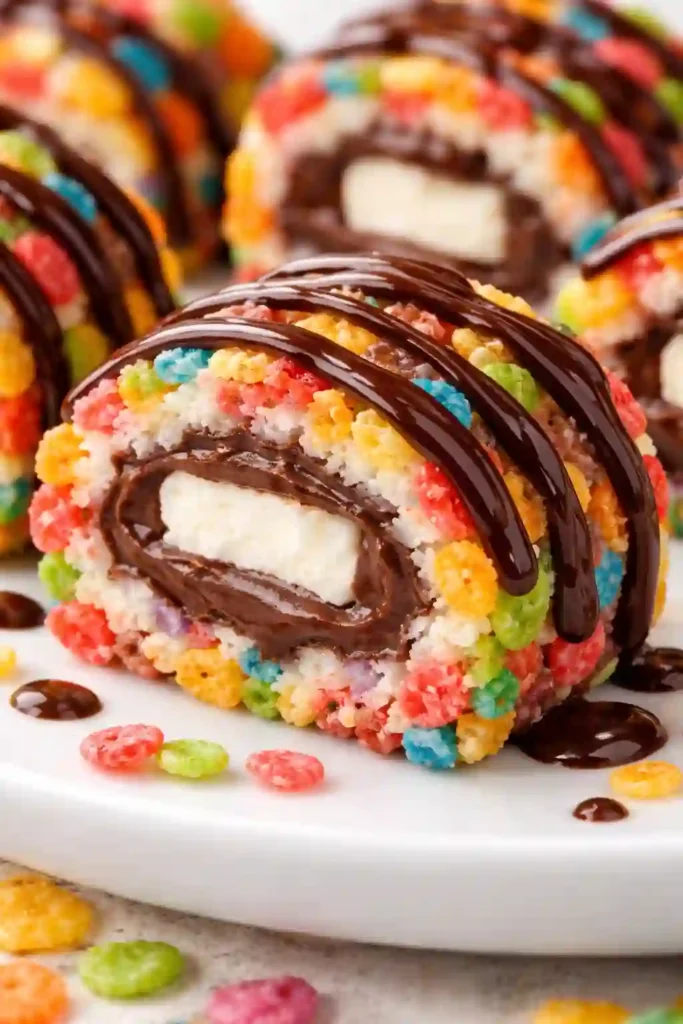
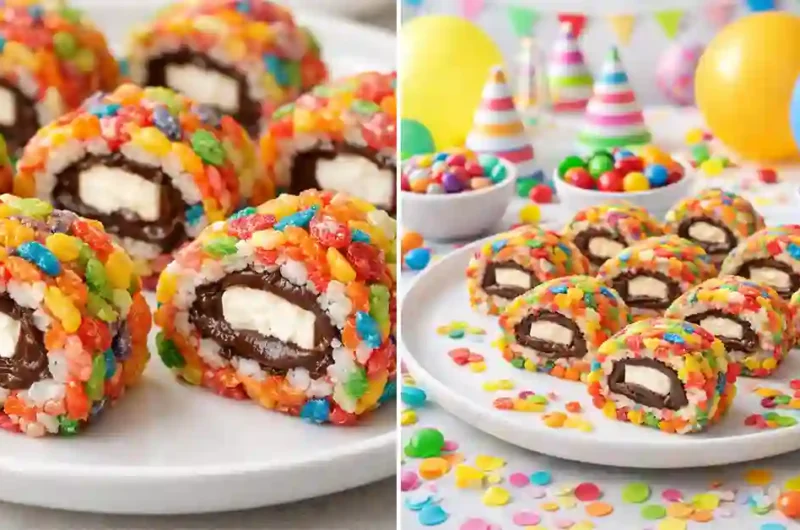
Fruity Pebbles Sushi is a fun and colorful dessert that looks like real sushi but tastes sweet and fruity. Instead of using rice and fish, this recipe uses soft melted marshmallows mixed with crunchy
Fruity Pebbles cereal. The mixture is rolled into a log shape and then sliced into small pieces, just like sushi rolls.
This treat is loved by kids and adults because of its bright colors and playful look. It is easy to make and does not need any baking, which makes it perfect for quick snacks or party desserts.
Many people like to add fillings such as chocolate spread, cream, or candy to make it even more exciting.
Why I Love This Recipe
I love this recipe because it is quick, fun, and full of bright colors. It takes only a few simple ingredients and turns them into something exciting. There is no baking, so it saves time and effort. It is perfect for kids and great for parties or small treats at home.
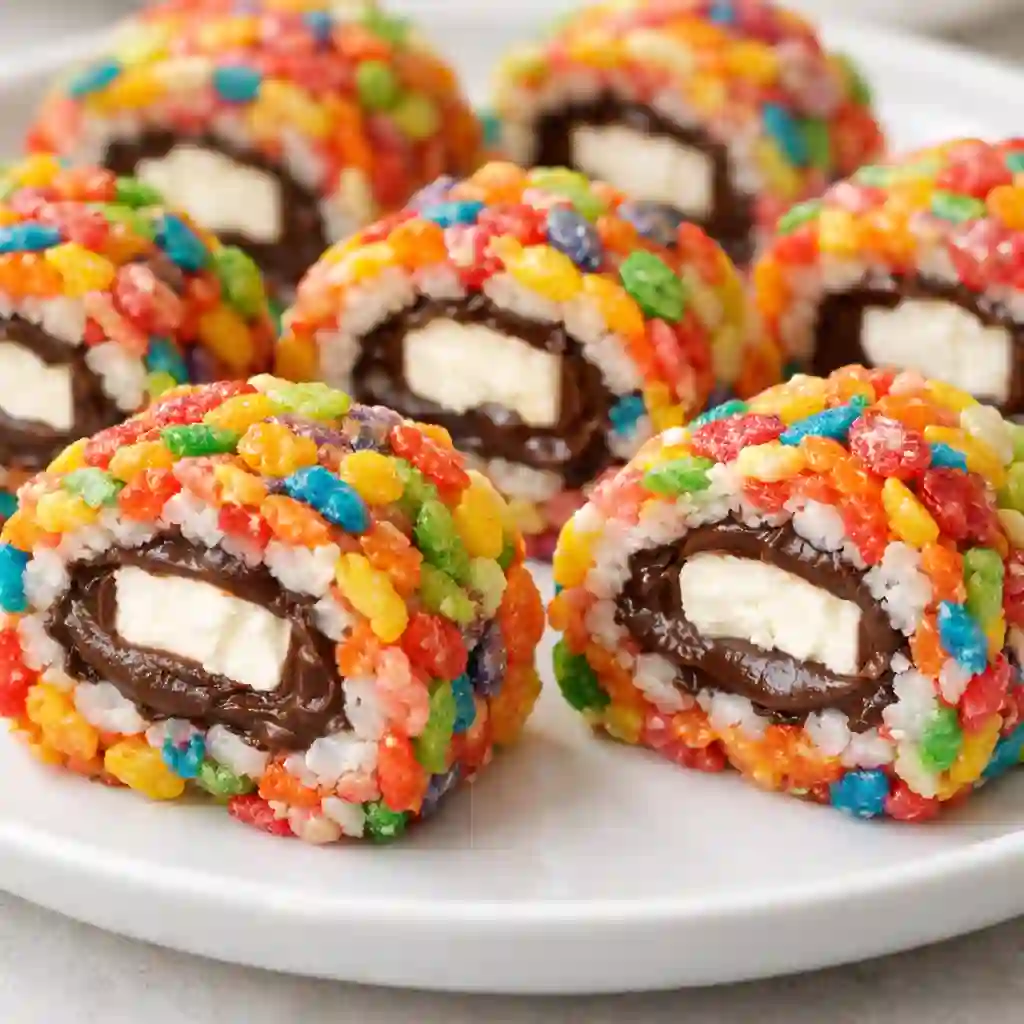
Ingredients for Fruity Pebbles Sushi
- Fruity Pebbles cereal – 4 cups
This is the main ingredient that gives the sushi its bright color and fruity taste. - Mini marshmallows – 3 cups
These melt down to create a soft and sticky base that holds everything together. - Butter – 2 tablespoons
Helps melt the marshmallows smoothly and adds a rich flavor. - Vanilla extract – 1 teaspoon
Adds a light sweet aroma and enhances the overall taste. - Cooking spray or extra butter – 1 teaspoon
Used to grease your hands or surface so the mixture does not stick. - Chocolate spread (like Nutella) – ½ cup
Used as a filling to give a creamy and chocolatey center. - Cream cheese – ½ cup (softened)
Adds a smooth and slightly tangy flavor that balances the sweetness. - Powdered sugar – 2 tablespoons
Mixed with cream cheese to make the filling a bit sweeter. - Sprinkles or small candies – ¼ cup (optional)
Perfect for adding extra color and fun to the rolls.
Tools You Will Need
- Large non-stick pot
Used to melt the butter and marshmallows evenly without burning. - Wooden spoon or spatula
Helps mix the melted marshmallows with the cereal smoothly. - Mixing bowl
Useful for preparing fillings like cream cheese and sugar. - Rolling mat or parchment paper
Makes it easy to shape and roll the mixture into a sushi style log. - Sharp knife
Needed to cut clean and even sushi pieces. - Measuring cups and spoons
Helps you use the right amount of each ingredient for best results.
Preparation Time
- Prep time – 10 minutes
This includes gathering ingredients, melting marshmallows, and mixing everything together. - Shaping time – 10 minutes
Time needed to roll the mixture and add fillings. - Cooling time – 20 minutes
Allows the rolls to set properly before slicing. - Total time – 40 minutes
A quick and easy treat that does not take much time to prepare.
How to Make Fruity Pebbles Sushi
- Melt the butter and marshmallows
Place a large non-stick pot on low heat. Add butter and let it melt slowly. Once melted, add the mini marshmallows. Stir continuously until the marshmallows are fully melted and smooth. Make sure the heat stays low to avoid burning. - Add vanilla extract
Turn off the heat and gently mix in the vanilla extract. This step adds a soft, sweet aroma and improves the overall flavor. Stir well so it blends evenly into the mixture. - Mix in the cereal
Pour the Fruity Pebbles cereal into the melted marshmallow mixture. Use a spatula to mix everything together. Make sure all the cereal is fully coated. Work quickly, as the mixture can start to set fast. - Prepare your surface
Lay a sheet of parchment paper or use a rolling mat. Lightly grease it with butter or cooking spray. This prevents sticking and makes rolling easier. - Spread the mixture evenly
Transfer the cereal mixture onto the prepared surface. Use greased hands or a spatula to press and spread it into a flat rectangle. Keep the thickness even so the sushi rolls look neat when cut. - Add the filling
Spread a thin layer of chocolate spread or cream cheese mixture across the surface. Leave a small space at the edges so the filling does not spill out while rolling. You can also sprinkle candies or sprinkles for extra fun. - Roll into a log shape
Carefully lift one side of the parchment paper or mat and begin rolling the mixture tightly, just like sushi. Press gently as you roll to keep the shape firm and compact. - Let it cool and set
Allow the roll to rest for about 15 to 20 minutes. This helps it firm up and makes slicing easier. Do not rush this step, as it ensures clean cuts. - Slice into pieces
Use a sharp knife to cut the roll into small, even slices. Wipe the knife between cuts if needed to keep the edges neat. - Serve and enjoy
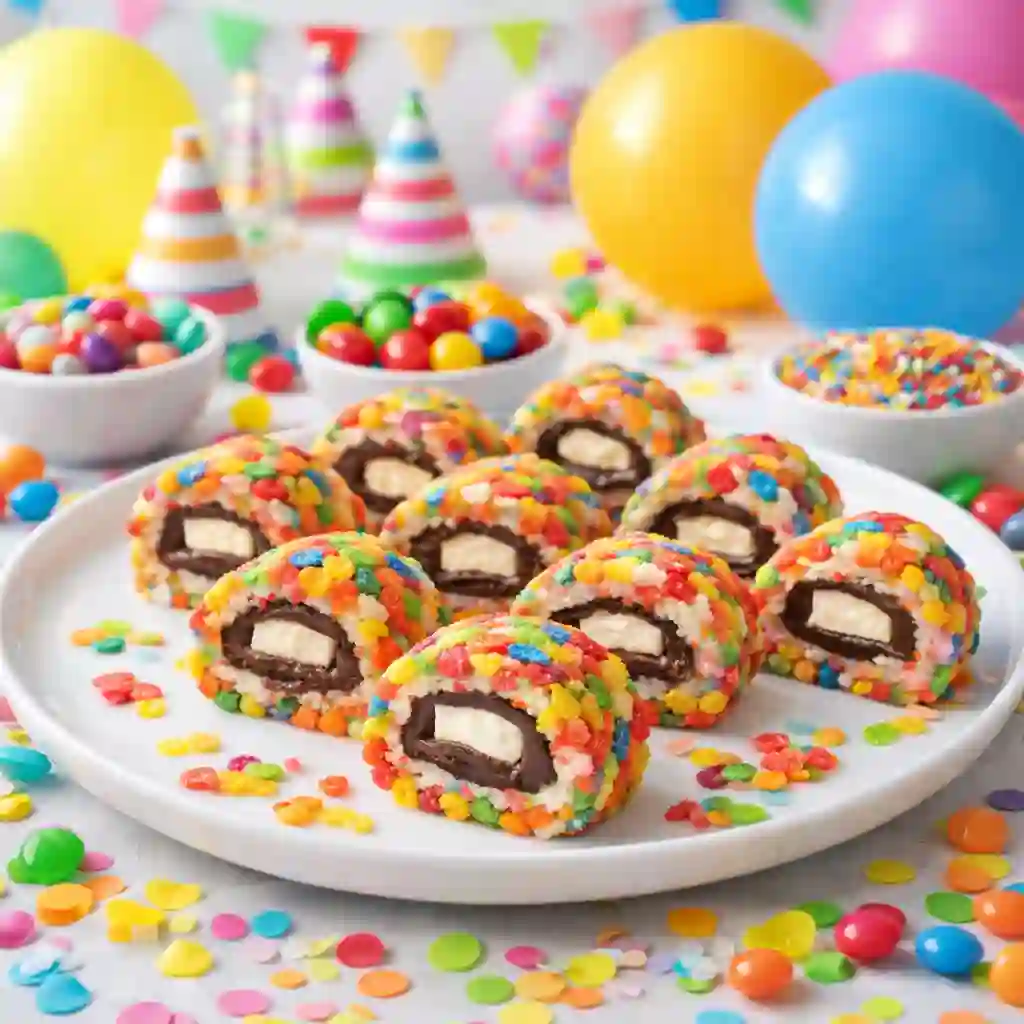
Arrange the pieces on a plate and serve fresh. These colorful sushi style treats are perfect for sharing and enjoying with family or friends.
Instructions
- Start with low heat
Always melt the butter and marshmallows on low heat. This keeps the texture smooth and prevents burning, which can affect the taste. - Stir constantly
Keep stirring while the marshmallows melt. This helps create a soft and even mixture without lumps. - Work quickly after mixing
Once the cereal is added, the mixture begins to set fast. Shape and spread it while it is still warm and easy to handle. - Grease your hands and tools
Lightly grease your hands, spatula, or paper to avoid sticking. This makes the process clean and smooth. - Keep the layer even
When spreading the mixture, try to keep the thickness the same across the surface. This helps create neat and even sushi slices. - Do not overfill
Add a thin layer of filling only. Too much filling can make rolling difficult and messy. - Roll gently but firmly
Roll the mixture with gentle pressure to keep the shape tight without breaking it. - Allow proper cooling time
Let the roll rest before cutting. This step is important for clean and sharp slices. - Use a sharp knife
A sharp knife gives smooth cuts. Clean the knife between slices for better results. - Serve fresh for best taste
These treats taste best when fresh, as they stay soft and slightly crunchy.
Tips for Perfect Fruity Pebbles Sushi
- Use fresh marshmallows
Fresh marshmallows melt better and give a soft, smooth texture. Old marshmallows can make the mixture dry and hard. - Keep the heat low
Always melt on low heat. High heat can burn the marshmallows and change the taste and texture. - Do not press too hard
When spreading the mixture, press gently. Pressing too hard can make the sushi dense and tough instead of light and chewy. - Grease everything well
Lightly grease your hands, tools, and surface. This helps prevent sticking and makes rolling much easier. - Work while it is warm
Shape and roll the mixture while it is still warm. Once it cools, it becomes harder to handle. - Keep the filling thin
A thin layer of filling works best. Too much can cause the roll to break or become messy when slicing. - Roll tightly for clean slices
Make sure the roll is firm and tight. This helps create neat and even sushi pieces when cut. - Let it set properly
Give enough time for the roll to cool before cutting. This step helps maintain shape and structure. - Use a clean, sharp knife
Wipe the knife after each cut to keep the slices neat and smooth. - Serve at the right time
Enjoy soon after making for the best texture and flavor.
Variations and Fun Ideas
- Chocolate lover version
Add cocoa powder to the marshmallow mix or use chocolate cereal for a richer taste. - Peanut butter twist
Spread a thin layer of peanut butter inside for a nutty flavor. - Rainbow candy rolls
Mix in colorful candies or sprinkles for extra fun and texture. - Mini sushi bites
Make smaller rolls for bite-sized treats, perfect for kids and parties.
How to Store Fruity Pebbles Sushi
- Room temperature storage
Keep in an airtight container for up to 1 day to maintain softness. - Refrigeration option
Store in the fridge for up to 3 days, but let it sit at room temperature before serving. - Avoid moisture
Keep away from humidity to prevent the cereal from becoming soggy.
Nutrition Facts (Approximate per serving)
- Calories – 150 to 180
- Sugar – 12g
- Fat – 5g
- Carbohydrates – 25g
- Protein – 1g
Final Thoughts
- Simple and fun treat
This recipe is easy to make and perfect for all ages. - Great for any occasion
Ideal for parties, snacks, or quick desserts at home. - Customizable to your taste
You can change fillings, shapes, and toppings easily. - A creative twist on a classic snack
It turns everyday cereal into something exciting and memorable.
Fruity Pebbles Sushi Recipe Easy Homemade Sweet Rolls
10
minutes180
kcalShaping time – 10 minutes
Time needed to roll the mixture and add fillings.
Cooling time – 20 minutes
Allows the rolls to set properly before slicing.
Ingredients
Fruity Pebbles cereal – 4 cups
Mini marshmallows – 3 cups
Butter – 2 tablespoons
Vanilla extract – 1 teaspoon
Cooking spray or extra butter – 1 teaspoon
Chocolate spread (like Nutella) – ½ cup
Cream cheese – ½ cup (softened)
Powdered sugar – 2 tablespoons
Sprinkles or small candies – ¼ cup (optional)
Directions
- Melt the butter and marshmallows
Place a large non-stick pot on low heat. Add butter and let it melt slowly. Once melted, add the mini marshmallows. Stir continuously until the marshmallows are fully melted and smooth. Make sure the heat stays low to avoid burning. - Add vanilla extract
Turn off the heat and gently mix in the vanilla extract. This step adds a soft, sweet aroma and improves the overall flavor. Stir well so it blends evenly into the mixture. - Mix in the cereal
Pour the Fruity Pebbles cereal into the melted marshmallow mixture. Use a spatula to mix everything together. Make sure all the cereal is fully coated. Work quickly, as the mixture can start to set fast. - Prepare your surface
Lay a sheet of parchment paper or use a rolling mat. Lightly grease it with butter or cooking spray. This prevents sticking and makes rolling easier. - Spread the mixture evenly
Transfer the cereal mixture onto the prepared surface. Use greased hands or a spatula to press and spread it into a flat rectangle. Keep the thickness even so the sushi rolls look neat when cut. - Add the filling
Spread a thin layer of chocolate spread or cream cheese mixture across the surface. Leave a small space at the edges so the filling does not spill out while rolling. You can also sprinkle candies or sprinkles for extra fun. - Roll into a log shape
Carefully lift one side of the parchment paper or mat and begin rolling the mixture tightly, just like sushi. Press gently as you roll to keep the shape firm and compact. - Let it cool and set
Allow the roll to rest for about 15 to 20 minutes. This helps it firm up and makes slicing easier. Do not rush this step, as it ensures clean cuts. - Slice into pieces
Use a sharp knife to cut the roll into small, even slices. Wipe the knife between cuts if needed to keep the edges neat. - Serve and enjoy
Arrange the pieces on a plate and serve fresh. These colorful sushi style treats are perfect for sharing and enjoying with family or friends.
Notes
- Start with low heat
Always melt the butter and marshmallows on low heat. This keeps the texture smooth and prevents burning, which can affect the taste. - Stir constantly
Keep stirring while the marshmallows melt. This helps create a soft and even mixture without lumps. - Roll gently but firmly
Roll the mixture with gentle pressure to keep the shape tight without breaking it. - Use a sharp knife
A sharp knife gives smooth cuts. Clean the knife between slices for better results.
Admin