
Soft, Warm, Perfect: The Quick Greek Pita Recipe You Can Make Today
You know that moment when you want something warm, soft, and comforting… but you don’t want to spend hours in the kitchen?
Maybe you tried store-bought pita before. It felt dry. Boring. Not fresh.
And deep down, you wished you could make that soft, fluffy pita you get at restaurants.
Good news , you can.
This quick Greek pita recipe is simple, fast, and made with basic ingredients you already have.
No stress. No fancy tools. Just soft, warm, chewy pita bread in your hands.
And once you try it… you may never go back to store-bought again.
WHAT IS THIS RECIPE?
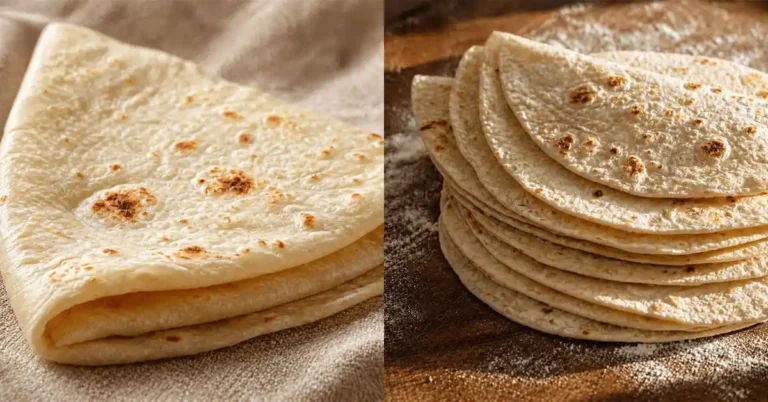
Greek pita is a soft, flat bread that is warm, slightly chewy, and perfect for wraps or dipping.
Unlike pocket pita, this one stays fluffy and bends easily without breaking.
It is cooked on a pan, not baked in the oven, which makes it faster and easier for beginners.
What makes this recipe special is how quick and simple it is.
You get fresh bread in less time, with a soft texture and a light golden color that feels homemade and comforting.
WHY YOU WILL LOVE THIS RECIPE
- It saves time — ready in about 30 minutes from start to finish
- Super easy — no special skills needed, perfect for beginners
- Budget-friendly — made with simple pantry ingredients
- Soft and chewy texture that feels better than store-bought
- Perfect for wraps, sandwiches, or dipping in sauces
- You can freeze it and use it anytime
- Healthier option with no hidden preservatives
Here’s where most people get this wrong… they think making bread is hard. It’s not.
INGREDIENTS
- 2 cups all-purpose flour — gives the pita its soft base (you can swap half with whole wheat for a healthier version)
- 1 teaspoon salt — enhances flavor and balances the dough
- 1 teaspoon sugar — helps the dough become soft and slightly fluffy
- 1 teaspoon instant yeast — helps the dough rise quickly (you can use active yeast, just activate it first)
- 3/4 cup warm water — should feel warm, not hot, to help yeast work properly
- 1 tablespoon olive oil — adds softness and a light rich taste
Optional:
- Extra flour for dusting — prevents sticking while rolling
HOW TO MAKE (STEP-BY-STEP)
- In a large bowl, add the flour, salt, sugar, and yeast. Mix everything gently with your hand or a spoon until well combined. Now slowly pour in the warm water and olive oil. Start mixing until it forms a soft dough. At first, it may feel sticky, and that is okay. Keep mixing until it starts coming together into a smooth ball. This step is important because proper mixing helps create that soft and chewy texture later.
- Place the dough on a clean surface and begin kneading. Use the palm of your hand to push the dough forward, then fold it back. Repeat this for about 8–10 minutes. The dough should become soft, smooth, and slightly elastic. If it sticks too much, lightly dust with flour, but do not add too much or it will become dry. You will know it is ready when it feels soft and springs back when you press it.
- Now place the dough in a lightly oiled bowl. Cover it with a clean cloth and let it rest for 15–20 minutes. This resting time allows the dough to relax and become easier to shape. It will slightly rise but does not need to double. This small rest makes a big difference in texture.
- Divide the dough into 6 equal pieces. Roll each piece into a small ball. Then flatten each ball gently with your hands. Use a rolling pin to roll it into a round shape, about 6 inches wide. Try to keep the thickness even so it cooks evenly. The dough should look smooth and soft.
- Heat a pan on medium heat. Do not use oil at this stage. Place one pita onto the hot pan. After about 1–2 minutes, you will see bubbles forming and the bottom turning golden. Flip it and cook the other side. Press lightly with a cloth or spatula to help it puff slightly. The pita should look golden with soft brown spots.
- Remove from the pan and cover with a clean cloth to keep it soft. Repeat with the remaining dough. Keep stacking them under the cloth so they stay warm and soft. This step helps trap steam and keeps them from drying out.
This small trick makes a huge difference… always cover your cooked pita immediately to keep it soft.
PRO TIPS
- Always use warm water, not hot, or it will kill the yeast and stop the dough from rising.
- Knead the dough well because this builds the soft and chewy texture you want.
- Do not add too much flour while kneading or your pita will turn dry.
- Let the dough rest even if you are in a hurry, it makes rolling easier.
- Roll evenly so the pita cooks at the same speed on all sides.
- Use medium heat, not high, or it will burn outside and stay raw inside.
- Cover cooked pita right away to lock in softness.
- If your pita feels stiff, you may have overcooked it.
- Lightly press while cooking to help it puff and stay soft.
- Use fresh yeast for the best results.
COMMON MISTAKES TO AVOID
- Using water that is too hot — kills the yeast and stops the rise
- Skipping kneading — leads to tough and dense pita
- Adding too much flour — makes the dough dry and hard
- Rolling uneven thickness — causes uneven cooking
- Cooking on very high heat — burns quickly without cooking inside
- Not covering after cooking — makes pita dry and stiff
- Not resting the dough — makes shaping harder
VARIATIONS / CUSTOMIZATION IDEAS
Now let’s make it even better…
- High protein version — add Greek yogurt to the dough for extra protein and softness
- Vegan option — this recipe is already vegan, just ensure no dairy is added
- Whole wheat version — replace half the flour with whole wheat for more fiber
- Garlic flavor — brush with garlic butter after cooking
- Herb pita — add dried oregano or parsley to the dough
- Quick no-yeast version — use baking powder instead of yeast for faster results
SERVING IDEAS
You can enjoy this pita in many ways.
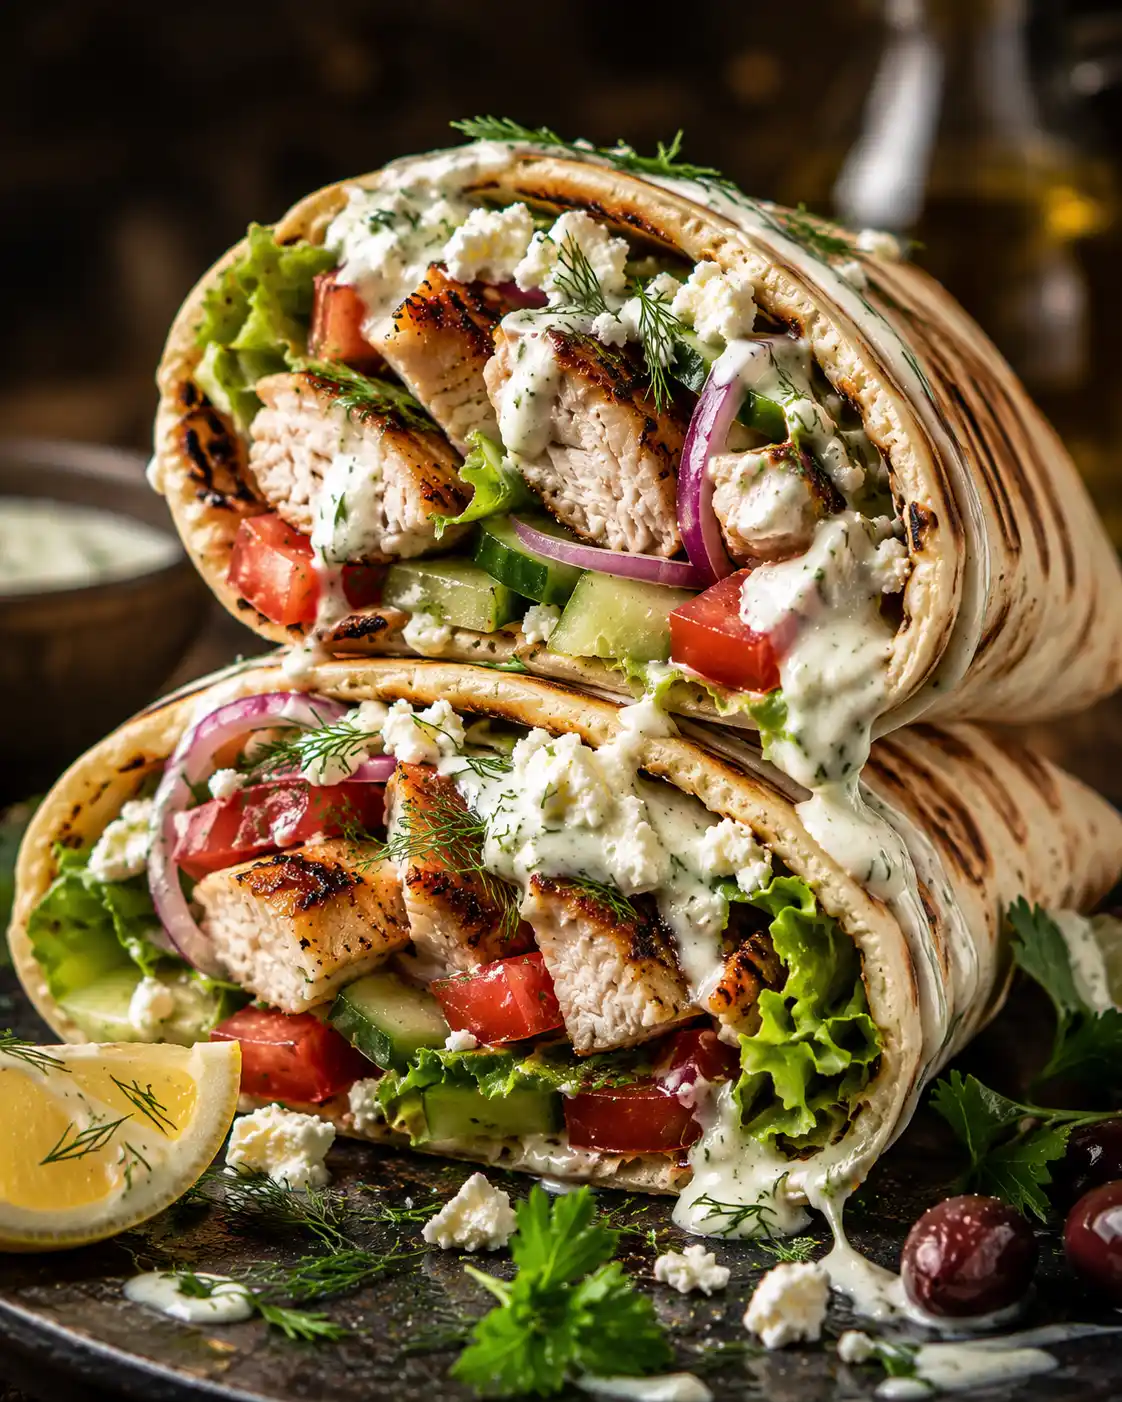
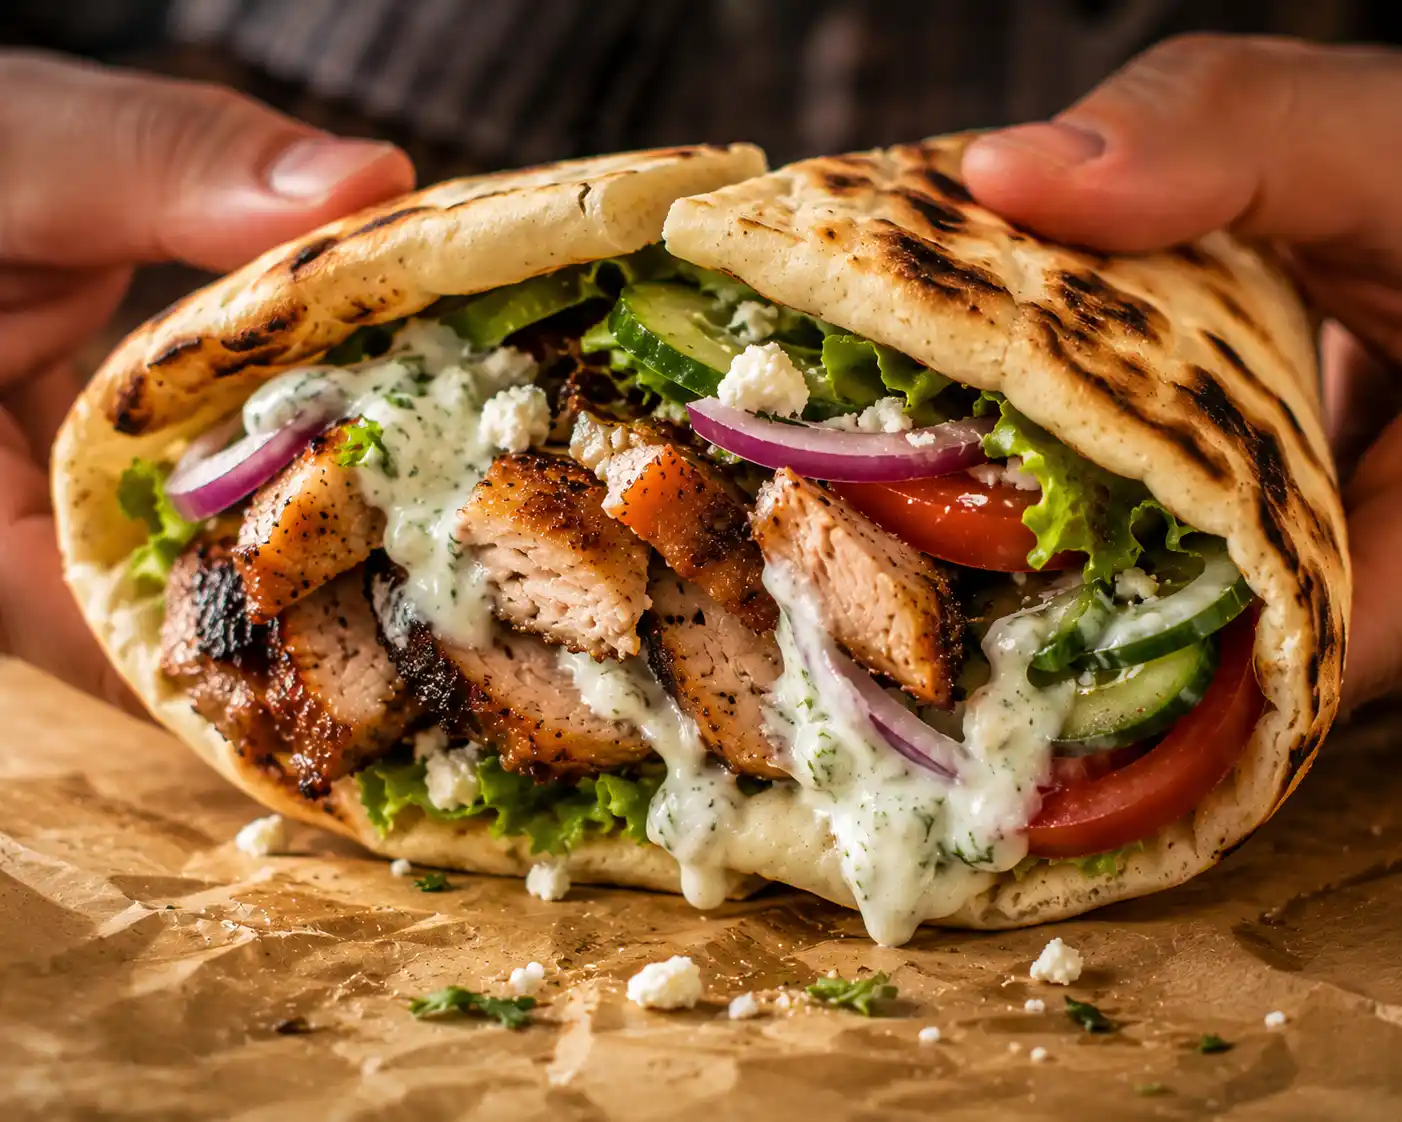
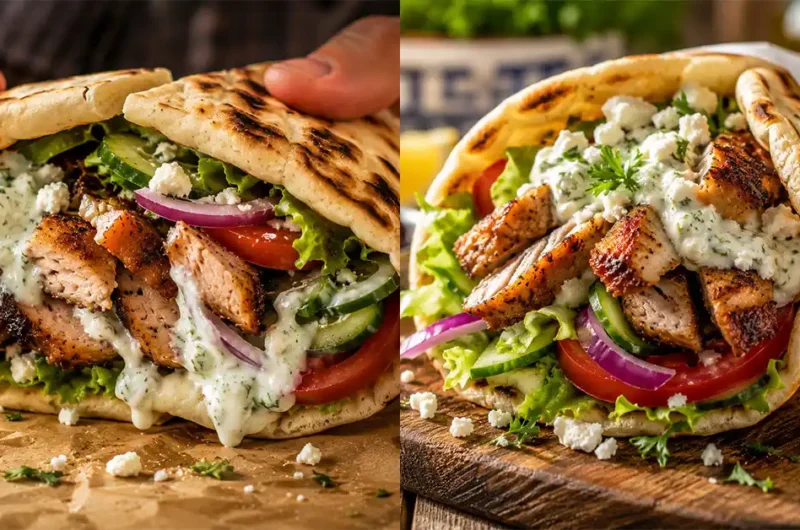
Use it for wraps with chicken, veggies, or falafel.
Dip it into hummus, yogurt sauce, or olive oil.
Make a quick sandwich with eggs or cheese.
Or just eat it warm with a little butter — simple and comforting.
STORAGE & REHEATING
Store pita in an airtight container at room temperature for up to 2 days.
For longer storage, keep it in the fridge for up to 5 days or freeze for 2 months.
To reheat, place it on a hot pan for a few seconds or microwave for 10–15 seconds.
Cover while reheating to keep it soft.
NUTRITION FACTS (Approximate per pita)
- Calories: 150–180
- Carbs: 30g
- Protein: 4g
- Fat: 2–3g
QUICK SUMMARY (SCANNABLE)
- Ready in about 30 minutes
- Soft, warm, and chewy texture
- Made with simple ingredients
- Perfect for wraps, dips, or snacks
- Easy for beginners
WHEN TO EAT THIS
This recipe fits into your real life easily.
Make it on busy mornings when you want something quick.
Use it after a workout with protein filling.
Perfect for afternoon snack cravings.
Or late at night when you want something warm and comforting without too much effort.
Once you try it… you will find reasons to make it again and again.
FAQs (Frequently Asked Questions)
- Can I make Greek pita without yeast?
Yes, you can make a quick version using baking powder instead of yeast. The texture will be slightly different, more like a soft flatbread rather than chewy pita. It is still tasty and works well for wraps when you are short on time.
- Why is my pita not soft and turning hard?
This usually happens if you add too much flour or overcook the bread. High heat can dry it out quickly. Also, not covering the pita after cooking lets the moisture escape, which makes it stiff instead of soft.
- How do I get that soft, chewy texture like restaurants?
The secret is proper kneading and resting. Knead until smooth and let the dough rest even if it is a short time. Also, cook on medium heat and cover right after cooking to trap steam.
- Can I freeze homemade pita bread?
Yes, pita freezes very well. Let it cool completely, then stack and store in an airtight bag. It can last up to 2 months in the freezer. Reheat directly on a pan or microwave for best results.
- What is the difference between Greek pita and regular pita?
Greek pita is thicker and softer, and it does not form a pocket. Regular pita often puffs and creates a pocket inside. Greek pita is better for wraps because it bends easily without breaking.
- Can I use whole wheat flour instead of all-purpose flour?
Yes, but it is best to mix both. Using 100 percent whole wheat can make the pita dense. A 50-50 mix keeps it soft while adding more fiber and nutrition.
- How do I store leftover pita to keep it fresh?
Store it in an airtight container or wrap it in foil. Keep it at room temperature for short use or refrigerate for longer storage. Always reheat before serving to bring back softness.
- Can I cook pita in the oven instead of a pan?
You can, but a pan gives better control and texture for this recipe. Oven baking works, but it may not give the same soft and chewy feel that pan cooking provides.
- Why does my dough feel too sticky while kneading?
A slightly sticky dough is normal and helps create soft pita. If it sticks too much, add a little flour slowly. Do not add too much at once, or the dough will become dry.
- Can I make the dough ahead of time?
Yes, you can prepare the dough and store it in the fridge for up to 24 hours. This can even improve the flavor. Let it come to room temperature before rolling and cooking.
Soft, Warm, Perfect: The Quick Greek Pita Recipe You Can Make Today
6
servings15
minutes10
minutes180
kcalIngredients
2 cups all-purpose flour — gives the pita its soft base (you can swap half with whole wheat for a healthier version)
1 teaspoon salt — enhances flavor and balances the dough
1 teaspoon sugar — helps the dough become soft and slightly fluffy
1 teaspoon instant yeast — helps the dough rise quickly (you can use active yeast, just activate it first)
3/4 cup warm water — should feel warm, not hot, to help yeast work properly
1 tablespoon olive oil — adds softness and a light rich taste
Optional:
Extra flour for dusting — prevents sticking while rolling
Directions
- In a large bowl, add the flour, salt, sugar, and yeast. Mix everything gently with your hand or a spoon until well combined. Now slowly pour in the warm water and olive oil. Start mixing until it forms a soft dough. At first, it may feel sticky, and that is okay. Keep mixing until it starts coming together into a smooth ball. This step is important because proper mixing helps create that soft and chewy texture later.
- Place the dough on a clean surface and begin kneading. Use the palm of your hand to push the dough forward, then fold it back. Repeat this for about 8–10 minutes. The dough should become soft, smooth, and slightly elastic. If it sticks too much, lightly dust with flour, but do not add too much or it will become dry. You will know it is ready when it feels soft and springs back when you press it.
- Now place the dough in a lightly oiled bowl. Cover it with a clean cloth and let it rest for 15–20 minutes. This resting time allows the dough to relax and become easier to shape. It will slightly rise but does not need to double. This small rest makes a big difference in texture.
- Divide the dough into 6 equal pieces. Roll each piece into a small ball. Then flatten each ball gently with your hands. Use a rolling pin to roll it into a round shape, about 6 inches wide. Try to keep the thickness even so it cooks evenly. The dough should look smooth and soft.
- Heat a pan on medium heat. Do not use oil at this stage. Place one pita onto the hot pan. After about 1–2 minutes, you will see bubbles forming and the bottom turning golden. Flip it and cook the other side. Press lightly with a cloth or spatula to help it puff slightly. The pita should look golden with soft brown spots.
- Remove from the pan and cover with a clean cloth to keep it soft. Repeat with the remaining dough. Keep stacking them under the cloth so they stay warm and soft. This step helps trap steam and keeps them from drying out.
Admin