
No Knead Artisan Bread Recipe Anyone Can Make at Home
No knead artisan bread is a simple way to make fresh, bakery-style bread at home without the hard work of kneading. In traditional bread recipes, you need to knead the dough for a long time to develop gluten.
But in this method, time does that work for you. The dough is mixed gently and then left to rest for several hours, or even overnight. During this time, the gluten forms naturally, creating a soft and airy texture inside the bread.
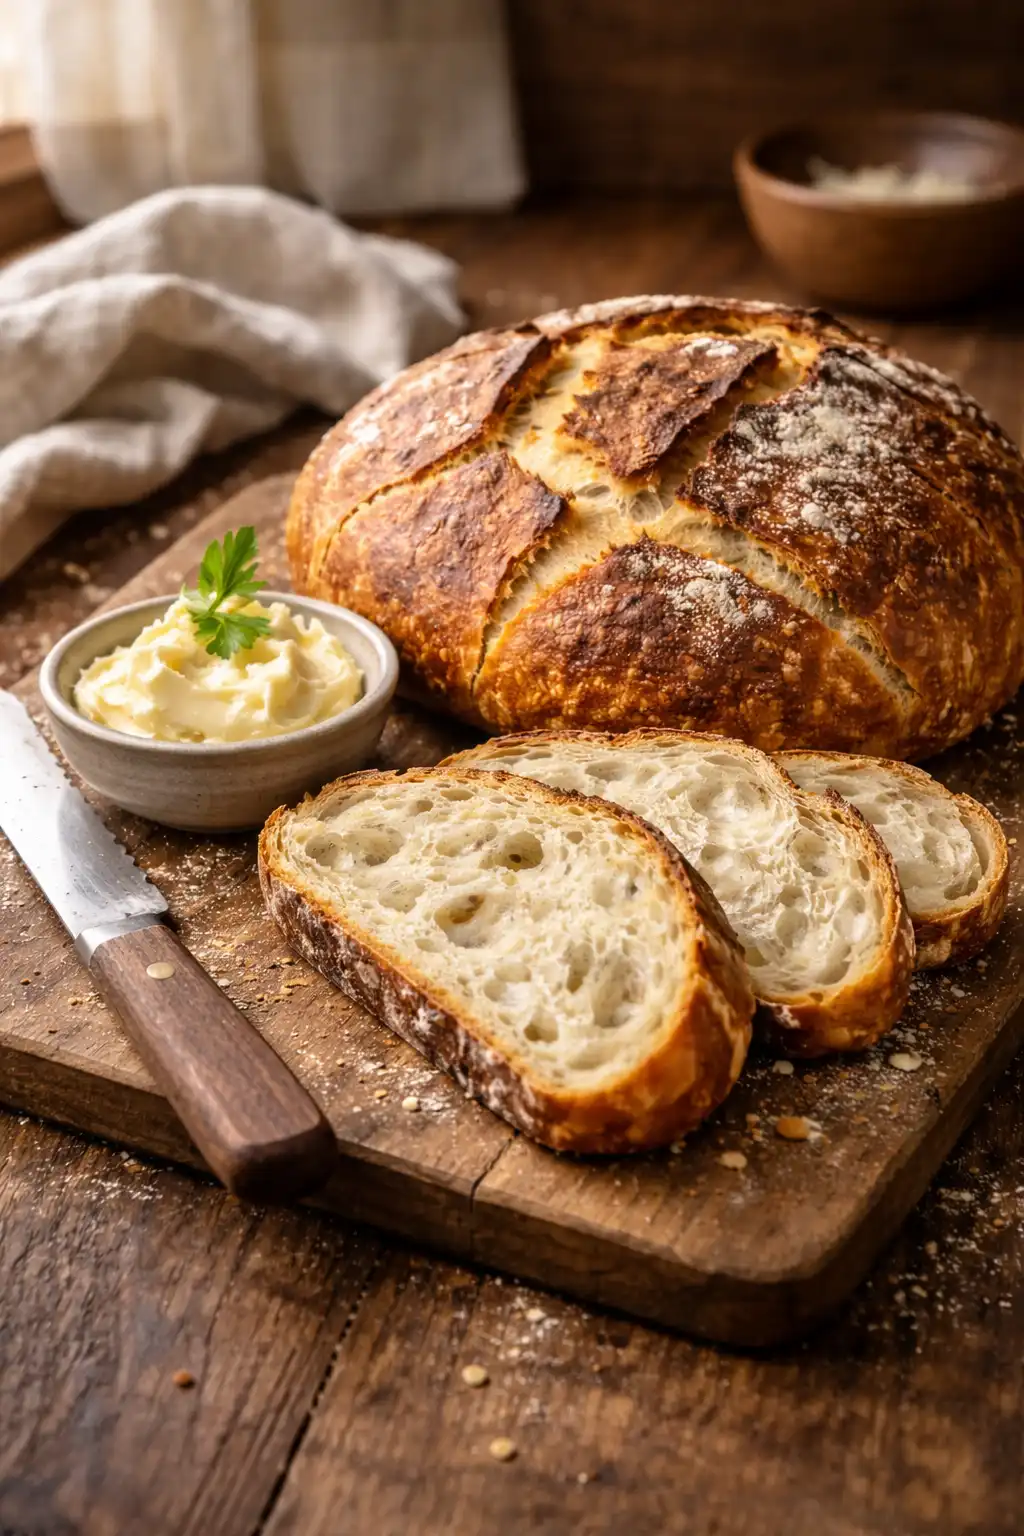
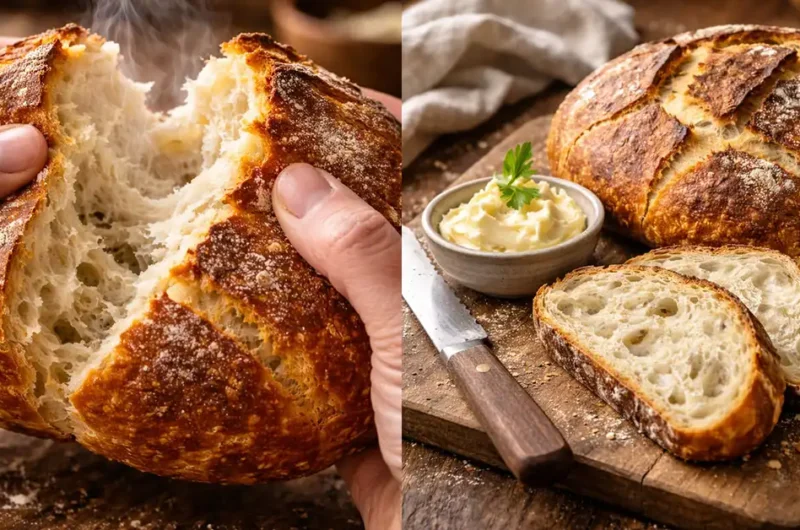
This bread is known for its rustic look. It usually has a round shape, a crispy golden crust, and a light, chewy center with small air pockets.
The best part is that it uses very basic ingredients like flour, water, yeast, and salt. There is no need for special tools or advanced baking skills.
Why I Love This Recipe
I love this recipe because it is simple, reliable, and always gives great results. There is no need for kneading, which saves time and effort. The dough comes together with just a few basic ingredients, yet the final bread has a rich flavor and a crispy crust.

Ingredients for No Knead Artisan Bread
- All-purpose flour – 3 cups
This is the main base of the bread. It gives structure and helps create a soft inside with a chewy texture. - Warm water – 1 ½ cups
Water brings the dough together and activates the yeast. Make sure it is warm, not hot, for best results. - Instant yeast – ½ teaspoon
A small amount is enough since the dough rests for a long time. It helps the bread rise slowly and develop flavor. - Salt – 1 ½ teaspoons
Salt adds taste and balances the flavor. It also helps control the yeast during the rising process. - Olive oil – 1 tablespoon (optional)
This adds a slight richness and improves the texture of the bread, making it softer inside. - Extra flour – for dusting
Used when shaping the dough so it does not stick to your hands or surface.
These simple ingredients work together to create a beautiful, crusty loaf with very little effort.
Preparation Time
- Mixing time – 5 to 10 minutes
The dough comes together quickly with minimal effort. No kneading is required, which saves time. - Resting time – 12 to 18 hours
This is the most important step. The dough rests at room temperature, allowing it to rise slowly and develop flavor. - Second rise – 1 to 2 hours
After shaping, the dough needs extra time to become light and airy before baking. - Baking time – 30 to 45 minutes
The bread bakes until it forms a golden, crispy crust and a soft inside. - Cooling time – 30 minutes
Let the bread cool before slicing to keep the texture perfect.
Equipment Needed
- Large mixing bowl
Used to combine and rest the dough comfortably. - Wooden spoon or spatula
Helps mix the ingredients evenly without overworking the dough. - Plastic wrap or clean cloth
Covers the bowl during resting to keep moisture inside. - Dutch oven or heavy pot with lid
Creates steam while baking, giving the bread a crispy crust. - Parchment paper
Makes it easy to transfer the dough without sticking. - Measuring cups and spoons
Ensures accurate ingredient quantities for consistent results.
How to Make No Knead Artisan Bread
- Step 1: Mix the ingredients
In a large bowl, add flour, salt, and yeast. Pour in warm water and mix using a spoon until a sticky dough forms. Do not overmix. The dough should look rough and slightly wet. - Step 2: Let the dough rest
Cover the bowl with a clean cloth or plastic wrap. Leave it at room temperature for 12 to 18 hours. During this time, the dough will rise, bubble, and become soft. - Step 3: Check the dough
After resting, the dough should look airy with small bubbles on the surface. It will be sticky, which is normal and important for a soft texture. - Step 4: Shape the dough
Lightly dust a surface with flour. Gently place the dough on it and fold it a few times. Shape it into a round ball. Avoid pressing too hard to keep the air inside. - Step 5: Second rise
Place the shaped dough on parchment paper. Cover it again and let it rest for 1 to 2 hours. It will puff up and become lighter. - Step 6: Preheat the pot
Place a Dutch oven with its lid inside the oven and preheat at 230°C (450°F) for about 30 minutes. A hot pot helps create a crispy crust. - Step 7: Transfer the dough
Carefully take out the hot pot. Lift the dough using parchment paper and place it inside. Be careful, as the pot will be very hot. - Step 8: Bake with lid on
Cover the pot and bake for 30 minutes. This traps steam inside, helping the bread rise well and form a crust. - Step 9: Bake without lid
Remove the lid and bake for another 10 to 15 minutes. This step gives the bread a deep golden color. - Step 10: Cool before slicing
Take the bread out and let it cool for at least 30 minutes. This helps set the texture and makes slicing easier.
Tips for Perfect No Knead Artisan Bread
- Use fresh yeast
Always check that your yeast is active. Old yeast can stop the dough from rising properly. - Measure ingredients correctly
Use proper measuring cups for flour and water. Too much flour can make the bread dense. - Do not rush the resting time
The long resting period is key. It helps develop flavor and texture without kneading. - Keep the dough slightly sticky
Sticky dough gives a soft and airy inside. Avoid adding too much extra flour. - Use a hot Dutch oven
Preheating the pot is important. It creates steam, which helps form a crispy crust. - Handle the dough gently
Do not press or overwork the dough. Gentle handling keeps the air bubbles inside. - Bake until golden brown
A deep golden crust means the bread is fully baked and has a rich flavor. - Let it cool before cutting
Cutting too early can ruin the texture. Allow the bread to cool for the best result. - Store it properly
Keep the bread in a paper bag or wrapped in cloth to maintain its crust and freshness.
Common Mistakes to Avoid
- Using too much flour
Adding extra flour makes the dough dry and heavy instead of soft and airy. - Skipping resting time
Short resting time leads to poor texture and less flavor in the bread. - Not preheating the pot
A cold pot will not create the steam needed for a crispy crust. - Overhandling the dough
Pressing or kneading too much removes air bubbles and makes the bread dense.
Nutrition Facts (Per Serving)
- Calories – 120 to 150
- Carbohydrates – 25g
- Protein – 4g
- Fat – 1g
- Fiber – 1g
- Sodium – 200mg
These values may vary slightly based on ingredients and portion size.
Instructions
- Mix all ingredients in a bowl until a sticky dough forms.
- Cover and let it rest for 12 to 18 hours at room temperature.
- Shape the dough gently and allow a second rise for 1 to 2 hours.
- Preheat a Dutch oven in the oven.
- Transfer the dough into the hot pot and cover with a lid.
- Bake until golden brown, then cool before slicing and serving.
FAQs
- Can I make this bread without a Dutch oven?
Yes, you can still make this bread without a Dutch oven. You can use any heavy pot with a lid that is safe for high heat. If you do not have a lid, you can place a tray of hot water in the oven to create steam. This helps form a crispy crust, though the result may be slightly different. - Why is my dough too sticky to handle?
This dough is meant to be sticky. It helps create a soft and airy texture inside the bread. If it feels too hard to handle, lightly dust your hands and surface with flour. Avoid adding too much flour into the dough, as it can make the bread dense. - Can I use whole wheat flour instead of all-purpose flour?
Yes, but it is best to mix it with all-purpose flour. Using only whole wheat flour can make the bread heavier. A mix of both gives better texture while still adding extra flavor. - How do I know when the bread is fully baked?
The bread should have a deep golden brown crust. When you tap the bottom, it should sound hollow. This is a simple way to check if it is done. - How should I store the bread?
Store the bread at room temperature in a paper bag or wrapped in a clean cloth. This keeps the crust crisp. Avoid plastic bags, as they can make the crust soft. - Can I freeze this bread?
Yes, you can freeze it once it has completely cooled. Wrap it well and store it in the freezer. When ready to eat, let it thaw at room temperature and warm it in the oven for a fresh taste. - Why did my bread turn out dense?
This can happen if the dough did not rest long enough or if too much flour was added. Make sure to follow the resting time and keep the dough slightly sticky for the best result.
No Knead Artisan Bread Recipe Anyone Can Make at Home
4
servings15
minutes300
kcalIngredients
All-purpose flour – 3 cups
Warm water – 1 ½ cups
Instant yeast – ½ teaspoon
Salt – 1 ½ teaspoons
Olive oil – 1 tablespoon (optional)
Extra flour – for dusting
Directions
- Mix the ingredients
In a large bowl, add flour, salt, and yeast. Pour in warm water and mix using a spoon until a sticky dough forms. Do not overmix. The dough should look rough and slightly wet. - Let the dough rest
Cover the bowl with a clean cloth or plastic wrap. Leave it at room temperature for 12 to 18 hours. During this time, the dough will rise, bubble, and become soft. - Check the dough
After resting, the dough should look airy with small bubbles on the surface. It will be sticky, which is normal and important for a soft texture. - Shape the dough
Lightly dust a surface with flour. Gently place the dough on it and fold it a few times. Shape it into a round ball. Avoid pressing too hard to keep the air inside. - Second rise
Place the shaped dough on parchment paper. Cover it again and let it rest for 1 to 2 hours. It will puff up and become lighter. - Preheat the pot
Place a Dutch oven with its lid inside the oven and preheat at 230°C (450°F) for about 30 minutes. A hot pot helps create a crispy crust. - Transfer the dough
Carefully take out the hot pot. Lift the dough using parchment paper and place it inside. Be careful, as the pot will be very hot. - Bake with lid on
Cover the pot and bake for 30 minutes. This traps steam inside, helping the bread rise well and form a crust. - Bake without lid
Remove the lid and bake for another 10 to 15 minutes. This step gives the bread a deep golden color. - Cool before slicing
Take the bread out and let it cool for at least 30 minutes. This helps set the texture and makes slicing easier.
Notes
- Use fresh yeast
Always check that your yeast is active. Old yeast can stop the dough from rising properly. - Measure ingredients correctly
Use proper measuring cups for flour and water. Too much flour can make the bread dense. - Handle the dough gently
Do not press or overwork the dough. Gentle handling keeps the air bubbles inside. - Let it cool before cutting
Cutting too early can ruin the texture. Allow the bread to cool for the best result. - Store it properly
Keep the bread in a paper bag or wrapped in cloth to maintain its crust and freshness.
Admin