Kitkat Bars Recipe Best Homemade Chocolate Bars
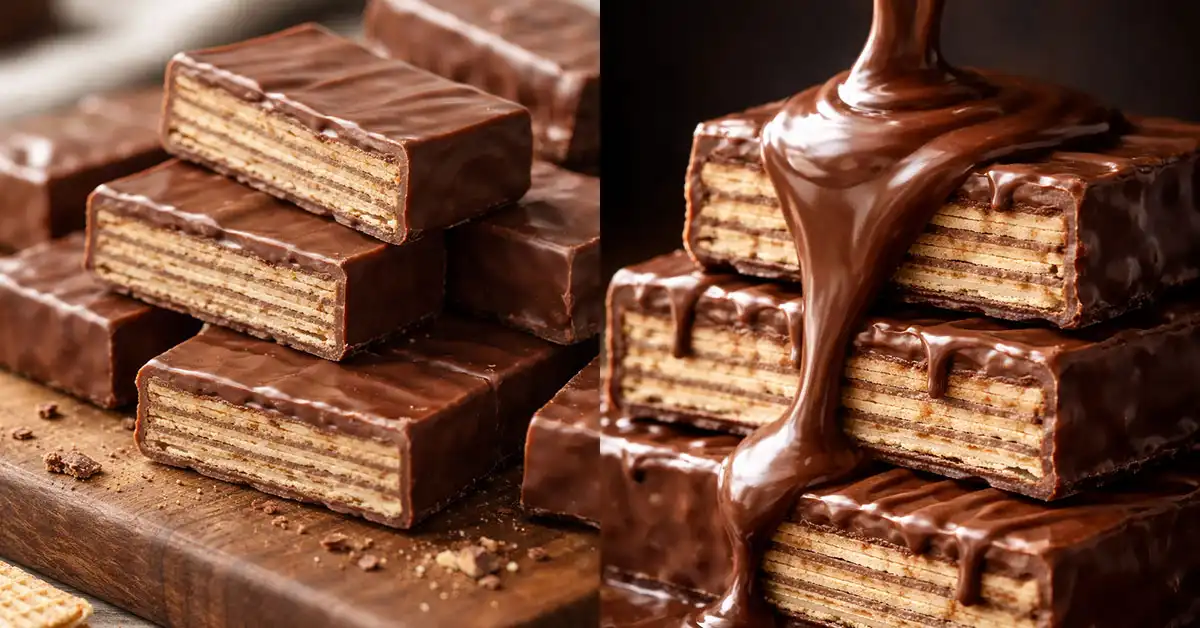
KitKat bars are a popular chocolate treat made with light and crispy wafer layers covered in smooth milk chocolate.
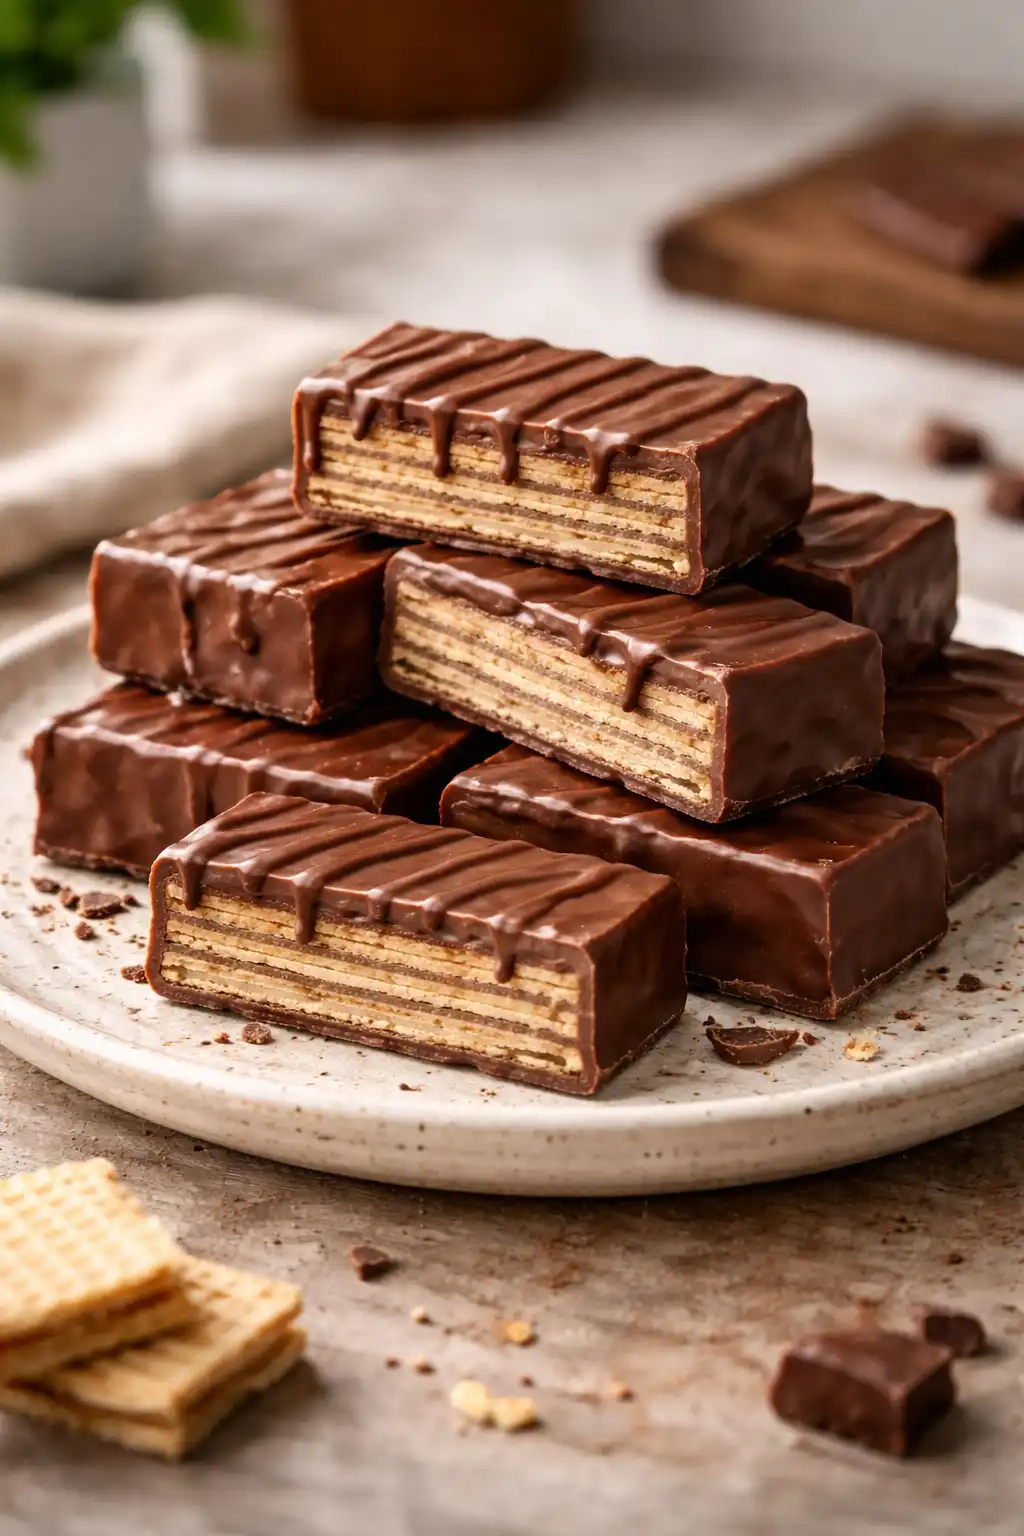
The original KitKat is loved all over the world for its perfect balance of crunch and sweetness. Each bar is made by stacking thin wafer sheets with a creamy filling in between, then coating the whole thing in rich chocolate.
When people talk about a “KitKat Bars Recipe,” they usually mean a homemade version inspired by this classic chocolate bar.
Instead of buying it from the store, you can create a similar layered dessert at home using simple ingredients like wafers, melted chocolate, and sometimes peanut butter or butterscotch.
The result is a delicious treat that looks and tastes close to the original but is easier to make in your own kitchen.
Why I Love This Recipe
I love this recipe because it is simple, quick, and always turns out delicious. It uses easy ingredients that are easy to find, and you do not need any special skills to make it. The mix of crispy wafers and smooth chocolate creates a perfect bite every time.

Ingredients for KitKat Bars
Here are the simple ingredients you need to make delicious homemade KitKat bars:
- Wafer biscuits – 200 grams
Use plain crispy wafer biscuits. These create the light and crunchy layers that make this dessert special. - Milk chocolate – 300 grams
Choose good quality milk chocolate for a smooth and rich taste. You can also use chocolate chips if you prefer. - Peanut butter – ½ cup (optional)
This adds a creamy texture and a slightly nutty flavor. It also helps bind the layers together. - Butter – 2 tablespoons
Melted butter makes the chocolate smoother and easier to spread evenly. - Condensed milk – ½ cup
This gives sweetness and helps hold everything in place while adding a soft, creamy touch. - Butterscotch chips – ½ cup (optional)
These add extra flavor and sweetness, making the bars even more tasty. - Vanilla essence – ½ teaspoon
A small amount enhances the overall flavor and gives a pleasant aroma.
All these ingredients are easy to find and come together to create a perfect balance of crunch and sweetness.
Kitchen Tools You Need
- Mixing bowl
Use a medium bowl to combine and melt your ingredients easily. - Saucepan or double boiler
Helps melt chocolate smoothly without burning. - Spatula
Perfect for mixing and spreading the chocolate evenly. - Baking tray or dish
Use a flat tray to layer and set the bars properly. - Knife
Needed to cut the bars into neat pieces after setting. - Parchment paper
Prevents sticking and makes removal easy.
How to Make KitKat Bars
- Prepare your tray
Start by lining a baking tray or dish with parchment paper. This step makes it easy to remove the bars later and keeps the layers neat. Make sure the paper covers the sides as well. - Melt the chocolate mixture
Take a saucepan or use a double boiler. Add the milk chocolate, butter, and condensed milk. Heat on low and stir slowly until everything melts into a smooth and creamy mixture. Do not use high heat, as it can burn the chocolate and ruin the taste. - Add extra flavor (optional)
Once the chocolate is melted, add peanut butter and vanilla essence. Stir well until fully combined. This step gives a richer taste and a soft texture to the bars. - Start layering the wafers
Place a layer of wafer biscuits at the bottom of the prepared tray. Make sure they are arranged evenly and cover the whole base without large gaps. - Spread the chocolate layer
Pour a portion of the melted chocolate mixture over the wafer layer. Use a spatula to spread it evenly so all wafers are covered properly. - Repeat the layers
Add another layer of wafer biscuits on top of the chocolate. Then spread more chocolate mixture. Repeat this process until all ingredients are used. Usually, 3 to 4 layers work best for a good thickness. - Top layer finishing
For the final layer, pour the remaining chocolate mixture and spread it smoothly. You can sprinkle butterscotch chips or crushed wafers on top for extra texture and taste. - Let it set
Place the tray in the refrigerator for at least 2 to 3 hours. This helps the bars firm up and hold their shape. Do not rush this step, as proper setting is important. - Cut into bars
Once fully set, remove the tray from the fridge. Lift the parchment paper and place it on a flat surface. Use a sharp knife to cut into equal bars or squares. - Serve and enjoy
Your homemade KitKat bars are now ready. Serve them chilled or at room temperature. They are perfect for snacks, desserts, or sharing with family and friends.
Preparation Time
- Preparation time – 15 minutes
This includes gathering ingredients, lining the tray, and arranging the wafer layers. - Cooking time – 10 minutes
Time needed to melt the chocolate mixture slowly and mix all ingredients well. - Setting time – 2 to 3 hours
The bars need enough time in the refrigerator to become firm and hold shape. - Total time – about 2 hours 25 minutes
Most of the time is for chilling, not active work.
Tips for Perfect KitKat Bars
- Use good quality chocolate
Always choose smooth and rich chocolate for the best taste. Good chocolate melts better and gives a glossy finish. - Melt on low heat
Keep the heat low while melting chocolate. High heat can burn it and make the texture grainy. - Layer evenly
Arrange wafer biscuits in neat and even layers. This helps the bars hold their shape and look clean when cut. - Do not rush the setting time
Let the bars chill fully in the refrigerator. If you cut them too early, they may break or lose shape. - Use parchment paper
This makes it easy to remove the bars without sticking and keeps the edges smooth. - Cut with a sharp knife
A sharp knife helps create clean and neat pieces without cracking the layers. - Store properly
Keep the bars in an airtight container in a cool place or fridge to maintain freshness and texture.
Variations You Can Try
- Dark chocolate version
Use dark chocolate instead of milk chocolate for a richer and less sweet taste. - White chocolate twist
Replace milk chocolate with white chocolate for a creamy and unique flavor. - Nutty crunch
Add chopped almonds, peanuts, or hazelnuts between layers for extra crunch. - Caramel flavor
Drizzle caramel sauce between layers to make the bars more indulgent. - Healthy option
Use sugar-free chocolate and skip condensed milk for a lighter version.
How to Store KitKat Bars
- Use an airtight container
Store the bars in a sealed container to keep them fresh and prevent dryness. - Keep in the refrigerator
Place them in the fridge, especially in warm weather, to maintain their shape. - Avoid heat exposure
Do not leave them at room temperature for too long, as chocolate can melt. - Shelf life
They stay fresh for up to 5–7 days when stored properly.
Nutrition Facts (Approximate per serving)
- Calories – 180–220 kcal
- Carbohydrates – 20–25 grams
- Sugar – 15–18 grams
- Fat – 10–12 grams
- Protein – 2–3 grams
Instructions
- Line a tray with parchment paper.
- Melt chocolate, butter, and condensed milk on low heat.
- Add peanut butter and mix well.
- Layer wafer biscuits in the tray.
- Spread melted chocolate mixture evenly.
- Repeat layers until finished.
- Add final chocolate layer on top.
- Refrigerate for 2–3 hours.
- Cut into bars and serve.
FAQs
- Can I make KitKat bars without peanut butter?
Yes, you can easily skip peanut butter if you do not like its taste or have allergies. The recipe will still turn out delicious with just chocolate and wafers. Peanut butter only adds a creamy texture and slight nutty flavor, but it is not necessary. - What type of wafers should I use?
Use plain, crispy wafer biscuits for the best result. Avoid flavored or cream-filled wafers, as they can change the taste and texture. Light and crunchy wafers help create clean layers and give the perfect bite. - Can I use dark chocolate instead of milk chocolate?
Yes, dark chocolate works very well if you prefer a less sweet taste. It gives a richer flavor and balances the sweetness of condensed milk. You can even mix both dark and milk chocolate for a better flavor. - How long do these bars need to set?
The bars usually need about 2 to 3 hours in the refrigerator to set properly. If they still feel soft, leave them for a little longer. Proper setting helps them hold their shape when cutting. - Can I freeze KitKat bars?
Yes, you can freeze them if you want to store them for a longer time. Place them in an airtight container and freeze for up to one month. Let them sit at room temperature for a few minutes before eating. - Why are my bars falling apart?
This usually happens if there is not enough chocolate mixture to bind the layers or if they were not chilled long enough. Make sure each layer is well covered and allow enough time to set. - Can I make this recipe without condensed milk?
Yes, you can replace it with melted chocolate and a little butter or cream. However, condensed milk adds sweetness and helps the bars stay soft and firm. - How do I cut clean and neat bars?
Use a sharp knife and cut after the bars are fully set. You can also warm the knife slightly for smoother cuts.
Kitkat Bars Recipe Best Homemade Chocolate Bars
Course: Dessert4
servings15
minutes10
minutes300
kcalSetting time – 2 to 3 hours
Ingredients
Wafer biscuits – 200 grams
Milk chocolate – 300 grams
Peanut butter – ½ cup (optional)
Butter – 2 tablespoons
Condensed milk – ½ cup
Butterscotch chips – ½ cup (optional)
Vanilla essence – ½ teaspoon
Directions
- Prepare your tray
Start by lining a baking tray or dish with parchment paper. This step makes it easy to remove the bars later and keeps the layers neat. Make sure the paper covers the sides as well. - Melt the chocolate mixture
Take a saucepan or use a double boiler. Add the milk chocolate, butter, and condensed milk. Heat on low and stir slowly until everything melts into a smooth and creamy mixture. Do not use high heat, as it can burn the chocolate and ruin the taste. - Add extra flavor (optional)
Once the chocolate is melted, add peanut butter and vanilla essence. Stir well until fully combined. This step gives a richer taste and a soft texture to the bars. - Start layering the wafers
Place a layer of wafer biscuits at the bottom of the prepared tray. Make sure they are arranged evenly and cover the whole base without large gaps. - Spread the chocolate layer
Pour a portion of the melted chocolate mixture over the wafer layer. Use a spatula to spread it evenly so all wafers are covered properly. - Repeat the layers
Add another layer of wafer biscuits on top of the chocolate. Then spread more chocolate mixture. Repeat this process until all ingredients are used. Usually, 3 to 4 layers work best for a good thickness. - Top layer finishing
For the final layer, pour the remaining chocolate mixture and spread it smoothly. You can sprinkle butterscotch chips or crushed wafers on top for extra texture and taste. - Let it set
Place the tray in the refrigerator for at least 2 to 3 hours. This helps the bars firm up and hold their shape. Do not rush this step, as proper setting is important. - Cut into bars
Once fully set, remove the tray from the fridge. Lift the parchment paper and place it on a flat surface. Use a sharp knife to cut into equal bars or squares. - Serve and enjoy
Your homemade KitKat bars are now ready. Serve them chilled or at room temperature. They are perfect for snacks, desserts, or sharing with family and friends.
Notes
- Use good quality chocolate
Always choose smooth and rich chocolate for the best taste. Good chocolate melts better and gives a glossy finish. - Layer evenly
Arrange wafer biscuits in neat and even layers. This helps the bars hold their shape and look clean when cut. - Use parchment paper
This makes it easy to remove the bars without sticking and keeps the edges smooth. - Store properly
Keep the bars in an airtight container in a cool place or fridge to maintain freshness and texture.
Admin