Sweet, Crunchy, Gooey: The Best Chocolate Turtles You Can Make at Home
You know that moment when you want something sweet, but nothing at home feels good enough?
You check the kitchen. Nothing exciting.
You think about buying candy… but you want something fresh, homemade, and better.
That is where this recipe comes in.
These homemade chocolate turtles are soft, crunchy, and gooey all at the same time. And the best part? You can make them in your own kitchen without stress.
If you love chocolate, caramel, and nuts, you are about to find your new favorite treat.
WHAT IS THIS RECIPE?
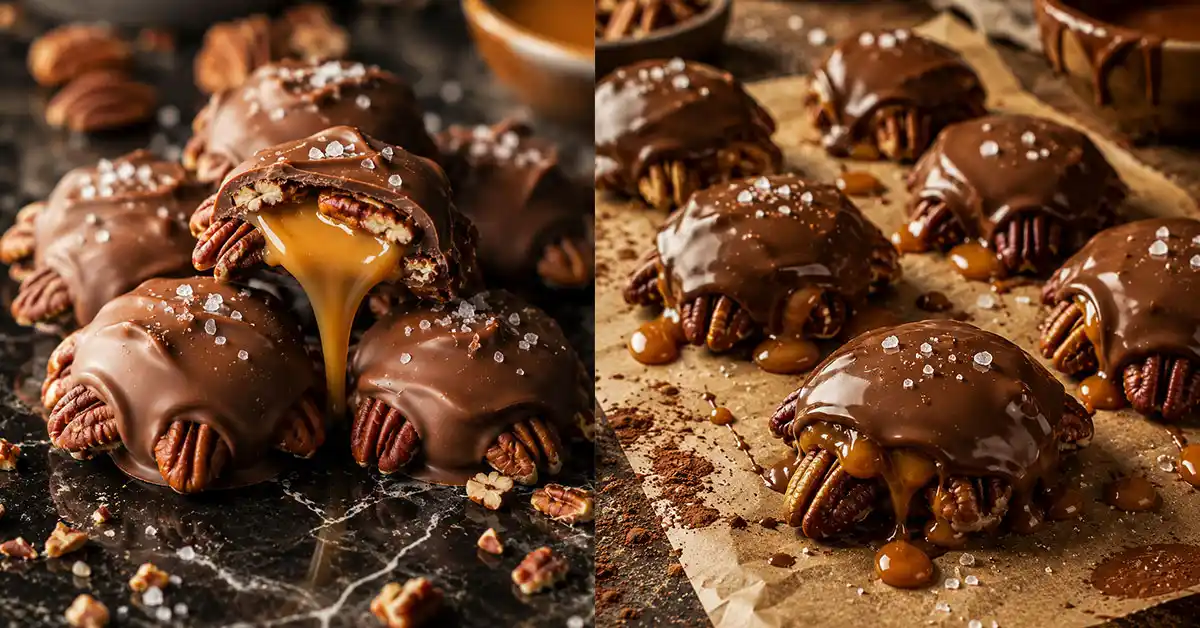
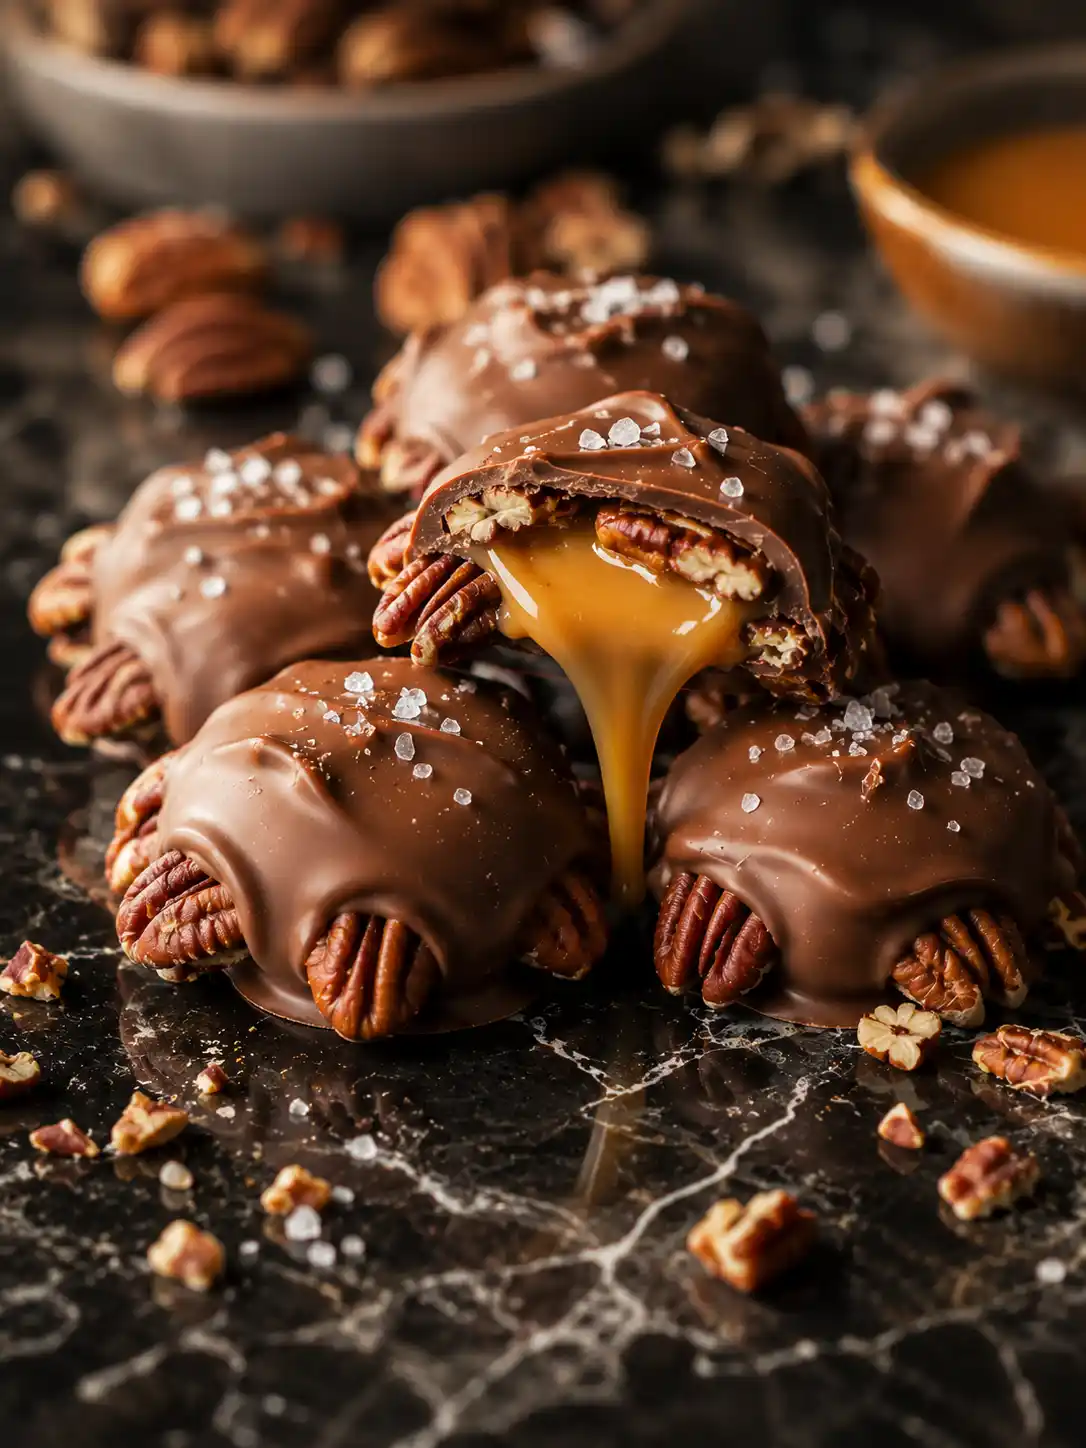
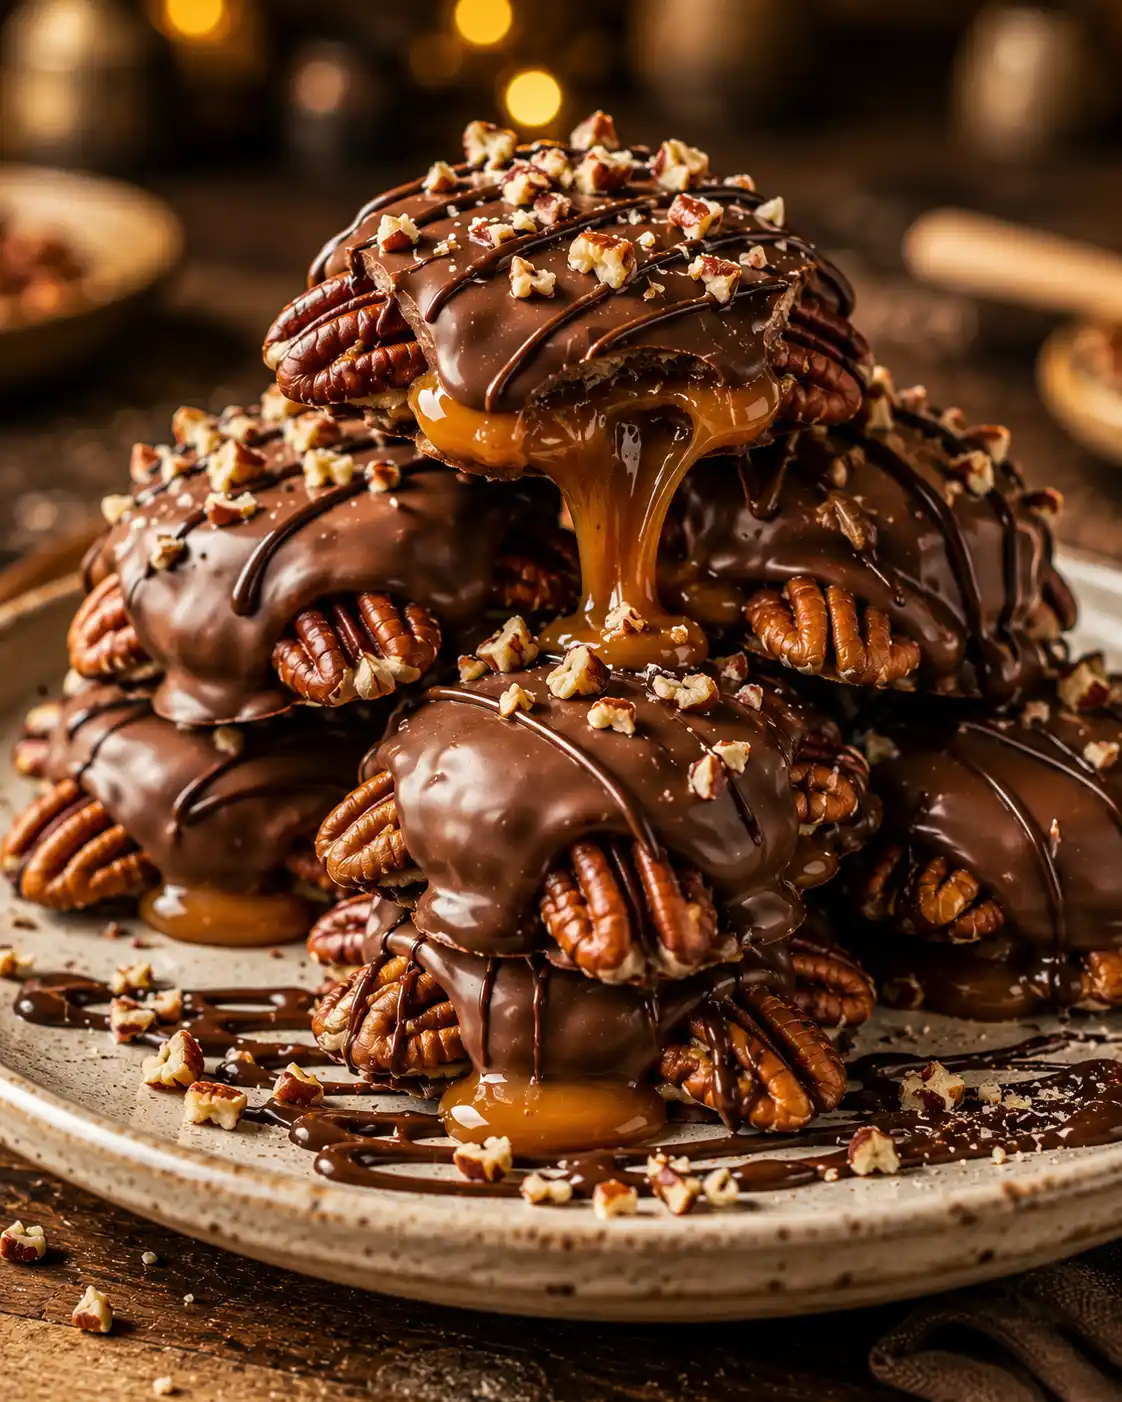
Chocolate turtles are small candy treats made with nuts, soft caramel, and melted chocolate.
They look a bit like little turtles, which is how they got their name.
The nuts form the base, the caramel sits on top, and everything is covered in smooth chocolate.
What makes this recipe special is how simple it is. You do not need fancy tools or hard steps.
Just a few basic ingredients, and you get a rich, bakery-style treat at home.
WHY YOU WILL LOVE THIS RECIPE
- It is super easy to make, even if you are new in the kitchen
- You only need a few simple ingredients
- It tastes better than store-bought candy
- You can make a big batch and save money
- The texture is perfect: crunchy, soft, and creamy together
- Great for gifts, parties, or late-night cravings
Here’s where most people get this wrong… they rush the caramel and ruin the texture.
INGREDIENTS
- 2 cups pecans (or walnuts) – use fresh nuts for the best crunch
- 20 soft caramels – you can use store-bought wrapped caramels
- 2 tablespoons heavy cream – helps make the caramel smooth and creamy
- 2 cups chocolate chips (milk or dark) – choose good quality for better taste
- 1 teaspoon vanilla extract (optional) – adds a deeper flavor
- Pinch of salt – balances the sweetness
Tip: If you want a stronger taste, use dark chocolate. For a sweeter treat, use milk chocolate.
HOW TO MAKE (STEP-BY-STEP)
- Start by placing your nuts on a baking tray lined with parchment paper. Arrange them in small clusters, about 4–5 nuts per group. Make sure they are close together so they hold the caramel well. You want them to look like little piles, not spread out too much. This step is simple, but it helps shape your turtles nicely later.
- Now melt the caramel. Place the caramels and heavy cream in a small saucepan. Heat on low, stirring slowly. Do not rush this step. The caramel should become smooth and thick, not burnt or too runny. Keep stirring until everything melts into a creamy mixture. This small trick makes a huge difference in texture.
- Once the caramel is ready, spoon a small amount over each nut cluster. Try to keep it centered so it does not spread too much. The caramel should look glossy and slightly thick. Let it sit for a few minutes so it starts to set. This helps keep everything in place when you add chocolate.
- Next, melt your chocolate. You can use a microwave or double boiler. Heat in short bursts and stir often. The chocolate should be smooth, shiny, and easy to pour. If it looks thick or grainy, it may be overheated, so go slow.
- Pour or spoon the melted chocolate over each caramel cluster. Make sure the caramel is mostly covered. You can leave a little bit showing for a nice look. The chocolate should flow smoothly and coat everything evenly.
- Let the turtles cool at room temperature or place them in the fridge for faster setting. After about 20–30 minutes, they should be firm but still soft when you bite into them. The final texture should be crunchy, chewy, and creamy all at once.
PRO TIPS
- Always use low heat when melting caramel to avoid burning
- Stir constantly so the caramel stays smooth
- Use parchment paper so nothing sticks
- Do not overcrowd the tray, give space between clusters
- Let caramel cool slightly before adding chocolate
- Use high-quality chocolate for better flavor
- Add a pinch of salt on top for a sweet-salty taste
- Chill in the fridge if your kitchen is warm
- Use a spoon or small scoop for even portions
- Store properly to keep texture fresh
COMMON MISTAKES TO AVOID
- Overheating caramel makes it hard and bitter
- Using low-quality chocolate affects taste
- Skipping cream makes caramel too thick
- Pouring chocolate too early melts the caramel base
- Not letting them set properly makes them messy
- Spreading nuts too far apart ruins the shape
VARIATIONS / CUSTOMIZATION IDEAS
Now let’s make it even better…
- Use almonds or cashews instead of pecans for a new flavor
- Add sea salt on top for a sweet and salty twist
- Use dark chocolate for a richer taste
- Try white chocolate drizzle for a fancy look
- Make a vegan version using dairy-free caramel and chocolate
- Add peanut butter for extra creaminess
SERVING IDEAS
Serve these chocolate turtles as a snack with tea or coffee.
Add them to dessert trays for parties.
Wrap them in small boxes for gifts.
Or just enjoy them quietly when you need something sweet.
STORAGE & REHEATING
Store in an airtight container at room temperature for up to 5 days.
For longer storage, keep them in the fridge for up to 2 weeks.
Do not microwave, as it can melt the chocolate too much.
Let them sit at room temperature before eating for the best texture.
NUTRITION FACTS (Approximate)
- Calories: 150 per piece
- Fat: 9g
- Sugar: 12g
- Protein: 2g
QUICK SUMMARY
- Easy homemade candy recipe
- Needs simple ingredients
- Perfect mix of crunchy, chewy, and creamy
- Great for snacks or gifts
- Ready in under 30 minutes
WHEN TO EAT THIS
Enjoy these when you want a quick sweet treat.
Perfect for late-night cravings.
Great for parties or family gatherings.
Also a fun weekend recipe when you want something simple but special.
FAQs
- What type of nuts work best for chocolate turtles? Pecans are the most popular choice because they have a rich, buttery taste and a soft crunch. However, walnuts, almonds, or even cashews also work well. Choose fresh nuts for the best flavor and texture.
- Can I use homemade caramel instead of store-bought? Yes, you can use homemade caramel if you prefer. Just make sure it is thick but still pourable. If it is too runny, it will spread too much. If too thick, it will not sit nicely on the nuts.
- Why did my chocolate turn dull or grainy? This usually happens when chocolate is overheated. Always melt chocolate slowly using low heat or short microwave bursts. Stir often to keep it smooth and shiny.
- How do I keep the turtles from sticking to the tray? Always use parchment paper or a silicone mat. This makes it easy to remove them once set and keeps the bottom clean and smooth.
- Can I make these ahead of time? Yes, these are perfect for making ahead. You can prepare them a few days before serving. Store them in an airtight container to keep them fresh and tasty.
- Are chocolate turtles good for gifting? Absolutely. They look beautiful and taste amazing. Place them in small boxes or wrap them in clear bags with a ribbon for a simple but thoughtful gift.
- Can I freeze chocolate turtles? Yes, you can freeze them for up to 2 months. Place them in a sealed container. When ready to eat, let them thaw at room temperature for the best texture.
- What is the best chocolate to use? Use high-quality chocolate chips or bars. Milk chocolate gives a sweeter taste, while dark chocolate gives a richer, deeper flavor. Choose based on your preference.
- Why is my caramel too hard after cooling? This happens if the caramel is overheated or cooked too long. Keep the heat low and stir gently. Adding a little cream helps keep it soft and chewy.
- Can I make a healthier version of this recipe? Yes, you can use dark chocolate, reduce the caramel, or choose natural sweeteners. You can also add nuts like almonds for extra protein and crunch.
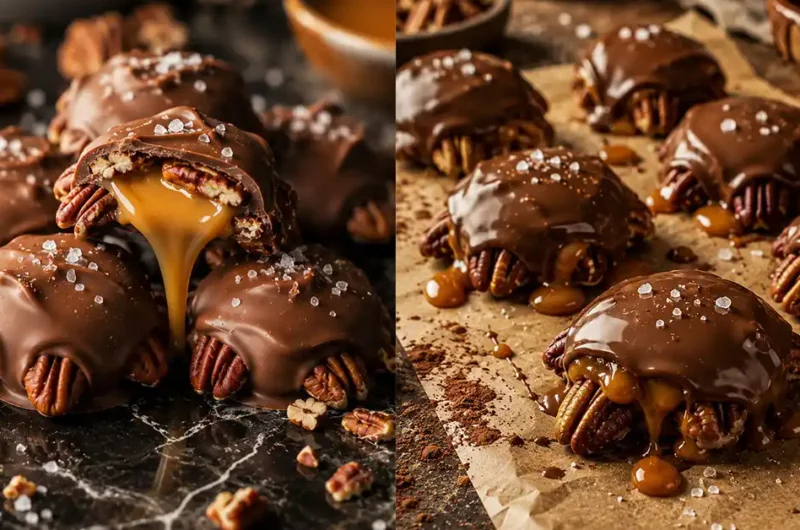
Sweet, Crunchy, Gooey: The Best Chocolate Turtles You Can Make at Home
Course: Dessert20
servings15
minutes10
minutes220
kcalIngredients
2 cups pecans (or walnuts) – use fresh nuts for the best crunch
20 soft caramels – you can use store-bought wrapped caramels
2 tablespoons heavy cream – helps make the caramel smooth and creamy
2 cups chocolate chips (milk or dark) – choose good quality for better taste
1 teaspoon vanilla extract (optional) – adds a deeper flavor
Pinch of salt – balances the sweetness
Directions
- Start by placing your nuts on a baking tray lined with parchment paper. Arrange them in small clusters, about 4–5 nuts per group. Make sure they are close together so they hold the caramel well. You want them to look like little piles, not spread out too much. This step is simple, but it helps shape your turtles nicely later.
- Now melt the caramel. Place the caramels and heavy cream in a small saucepan. Heat on low, stirring slowly. Do not rush this step. The caramel should become smooth and thick, not burnt or too runny. Keep stirring until everything melts into a creamy mixture. This small trick makes a huge difference in texture.
- Once the caramel is ready, spoon a small amount over each nut cluster. Try to keep it centered so it does not spread too much. The caramel should look glossy and slightly thick. Let it sit for a few minutes so it starts to set. This helps keep everything in place when you add chocolate.
- Next, melt your chocolate. You can use a microwave or double boiler. Heat in short bursts and stir often. The chocolate should be smooth, shiny, and easy to pour. If it looks thick or grainy, it may be overheated, so go slow.
- Pour or spoon the melted chocolate over each caramel cluster. Make sure the caramel is mostly covered. You can leave a little bit showing for a nice look. The chocolate should flow smoothly and coat everything evenly.
- Let the turtles cool at room temperature or place them in the fridge for faster setting. After about 20–30 minutes, they should be firm but still soft when you bite into them. The final texture should be crunchy, chewy, and creamy all at once.
Admin