Low Carb High Protein Meals Simple Healthy Dinner Recipes!

Low Carb High Protein Meals are a great choice for people who want healthy and filling food.
These meals contain plenty of protein and fewer carbohydrates, which can help with weight control and muscle support.
From simple salads to tasty chicken and seafood dishes, these meal ideas are easy to prepare and perfect for lunch or dinner.
1 – Grilled Chicken Avocado Salad.
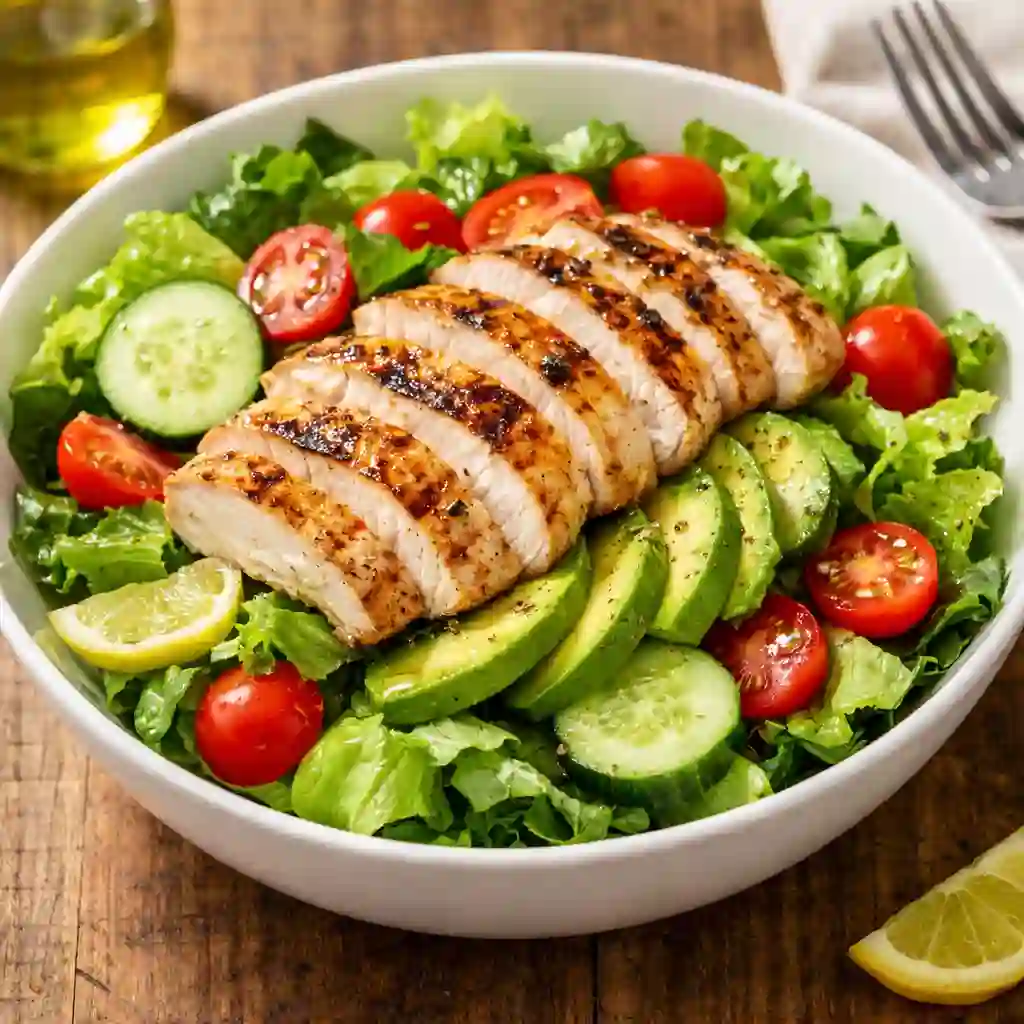
Grilled Chicken Avocado Salad is a fresh, filling meal that is perfect for anyone looking for a low carb and high protein option.
Juicy grilled chicken adds rich protein, while creamy avocado provides healthy fats that keep you full longer.
Crisp vegetables bring freshness and texture to every bite.
This salad is simple to prepare and works well for lunch or dinner.
Ingredients
- 1 large chicken breast
- 1 ripe avocado
- 2 cups fresh lettuce (romaine or mixed greens)
- ½ cup cherry tomatoes
- ¼ cucumber, sliced
- 1 tablespoon olive oil
- 1 teaspoon lemon juice
- 1 clove garlic, minced
- Salt to taste
- Black pepper to taste
How to Make Grilled Chicken Avocado Salad
- Start by washing the lettuce, tomatoes, and cucumber thoroughly. Pat them dry using a clean towel so the salad stays crisp and fresh.
- Place the chicken breast on a clean cutting board. Season both sides with salt, black pepper, and minced garlic. Lightly rub the seasoning into the chicken so the flavor spreads evenly.
- Drizzle a small amount of olive oil over the chicken. This helps the chicken cook evenly and keeps it juicy while grilling.
- Heat a grill pan or regular pan over medium heat. Once the pan is warm, place the chicken breast on it carefully.
- Grill the chicken for about 5 to 7 minutes on one side. Turn it over and cook the other side for another 5 to 7 minutes until the chicken is fully cooked and golden brown.
- Check that the chicken is cooked through. The inside should be white and the juices should run clear.
- Remove the chicken from the pan and let it rest for about 5 minutes. This step helps keep the chicken tender and juicy.
- While the chicken rests, chop the lettuce into bite sized pieces and place it in a large bowl.
- Slice the cherry tomatoes in half and add them to the bowl with the lettuce.
- Cut the cucumber into thin slices and mix it with the vegetables.
- Cut the avocado in half, remove the seed, and gently scoop out the flesh. Slice the avocado into thin pieces.
- Add the avocado slices to the salad bowl carefully so they stay intact.
- Slice the grilled chicken into thin strips and place it on top of the salad.
- Drizzle olive oil and lemon juice over the salad as a light dressing.
- Toss the salad gently to combine all the ingredients without crushing the avocado.
- Serve immediately for the best flavor and freshness.
Nutritional Facts (Approximate per serving)
- Calories: 350
- Protein: 35 g
- Carbohydrates: 8 g
- Fiber: 4 g
- Fat: 20 g
- Sugar: 2 g
This meal is rich in protein and healthy fats while staying low in carbohydrates, making it a great choice for balanced eating.
2 – Baked Salmon with Garlic Broccoli.
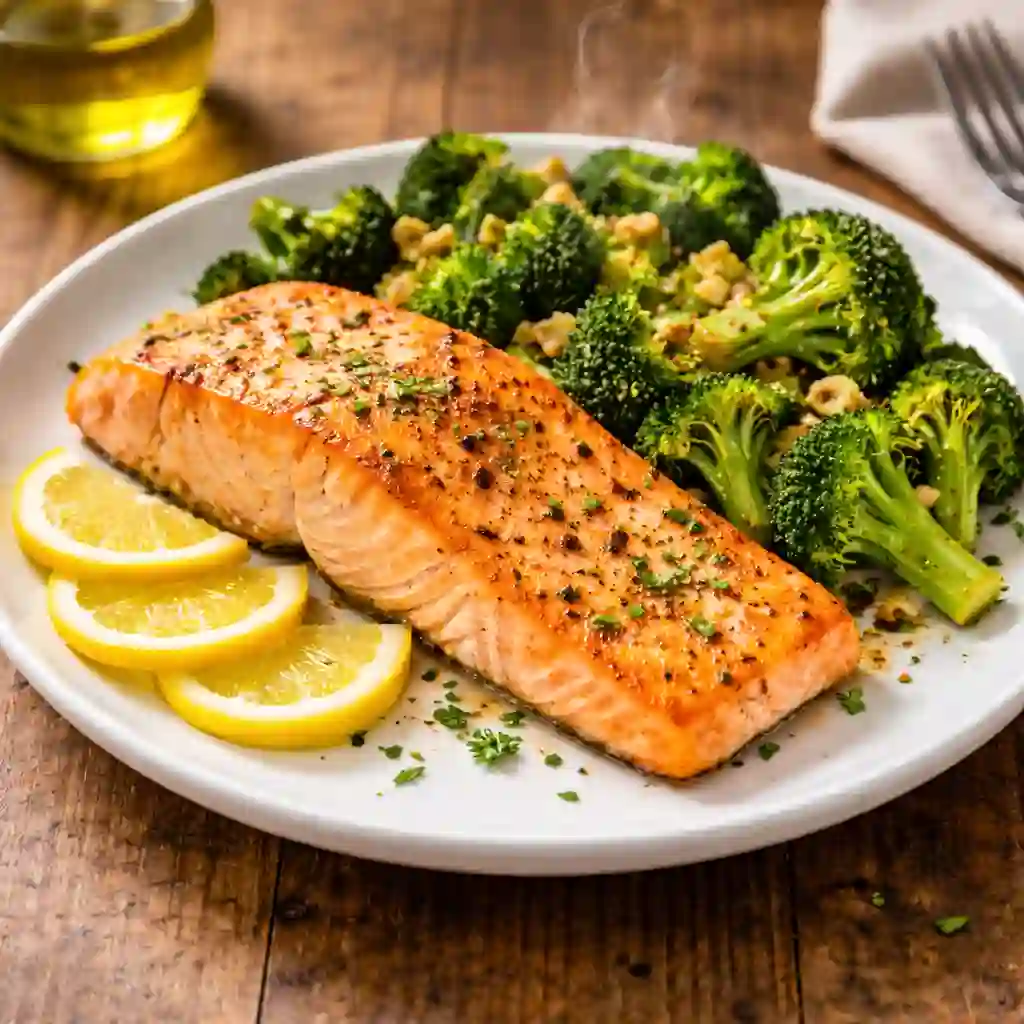
Baked Salmon with Garlic Broccoli is a simple and healthy meal that is perfect for a low carb and high protein diet.
Salmon is rich in protein and healthy fats that support heart health and muscle recovery.
Garlic broccoli adds a fresh and flavorful side that is full of vitamins and fiber.
This meal is light yet satisfying and easy to prepare at home. It works well for lunch or dinner and helps support balanced eating and healthy living.
Ingredients
- 1 salmon fillet
- 1 cup broccoli florets
- 1 tablespoon olive oil
- 2 cloves garlic, minced
- 1 teaspoon lemon juice
- Salt to taste
- Black pepper to taste
- ½ teaspoon paprika (optional)
How to Make Baked Salmon with Garlic Broccoli
- Start by preheating the oven to 200°C (400°F). A properly heated oven helps the salmon cook evenly and keeps the texture soft and tender.
- Wash the broccoli thoroughly under clean water. Cut it into small florets so it cooks evenly and absorbs the garlic flavor better.
- Place the broccoli florets into a bowl. Add half of the olive oil, a small pinch of salt, and black pepper. Toss gently to coat the broccoli.
- Spread the seasoned broccoli on one side of a baking tray. Make sure the pieces are not stacked so they roast properly.
- Place the salmon fillet on the other side of the baking tray. Pat it dry with a paper towel to remove extra moisture.
- Drizzle the remaining olive oil over the salmon. Sprinkle salt, black pepper, and paprika on top for extra flavor.
- Add the minced garlic over the salmon and broccoli. Garlic adds aroma and enhances the taste of the entire dish.
- Squeeze fresh lemon juice over the salmon. This helps balance the flavor and gives the fish a fresh taste.
- Place the tray in the oven and bake for about 12 to 15 minutes.
- During baking, the salmon will become tender and slightly flaky while the broccoli will turn lightly roasted and flavorful.
- Check the salmon by gently pressing it with a fork. If it flakes easily, it is fully cooked.
- Remove the tray from the oven carefully and allow the salmon to rest for a minute.
- Place the baked salmon on a serving plate and add the roasted garlic broccoli on the side.
- If desired, add an extra squeeze of lemon juice for brightness and freshness.
- Serve the dish warm and enjoy a healthy meal that is both satisfying and nutritious.
Nutritional Facts (Approximate per serving)
- Calories: 320
- Protein: 34 g
- Carbohydrates: 7 g
- Fiber: 3 g
- Fat: 18 g
- Sugar: 2 g
This meal provides high quality protein and healthy fats while keeping carbohydrates low, making it a balanced and nourishing option.
3 – Egg and Spinach Omelet.
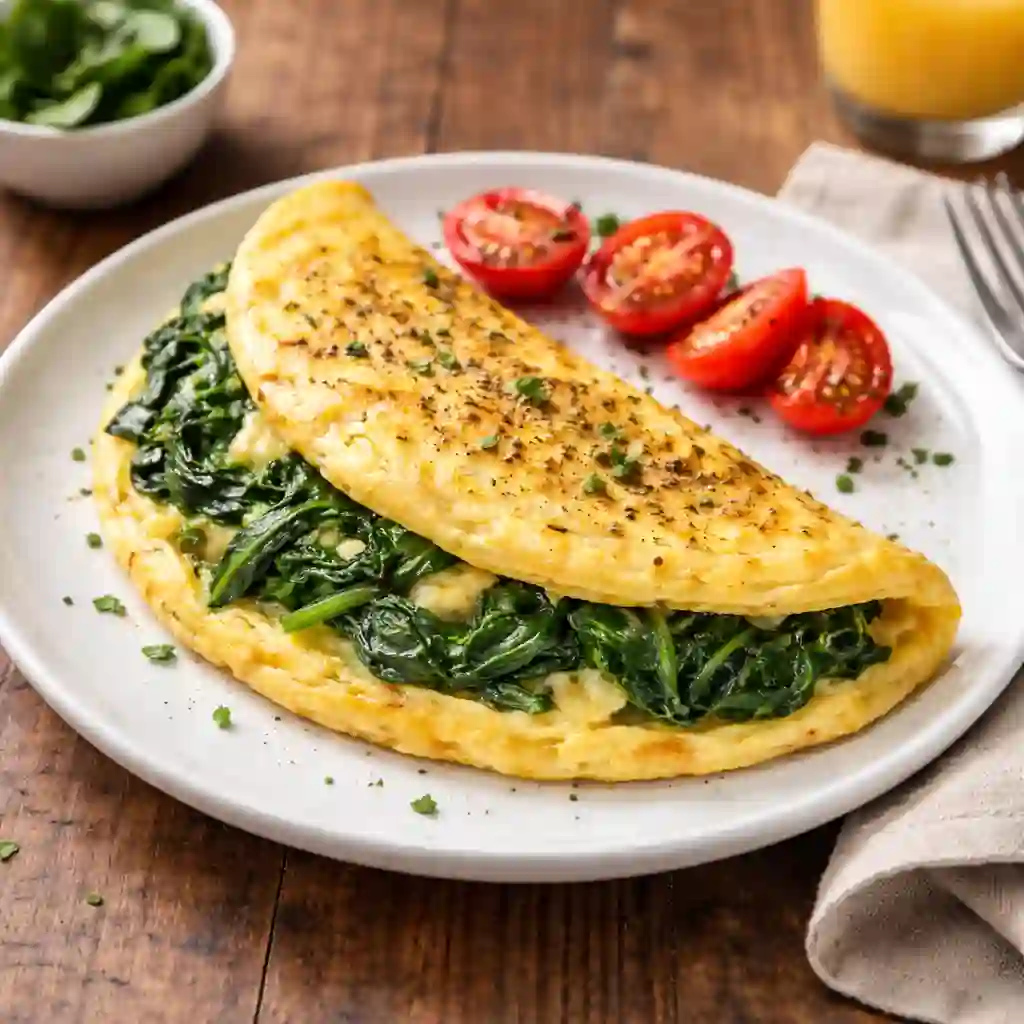
Egg and Spinach Omelet is a simple, healthy meal that fits perfectly into a low carb and high protein lifestyle.
Eggs provide high quality protein that helps keep you full and supports muscle strength.
Fresh spinach adds vitamins, minerals, and fiber that help maintain overall health.
This omelet is quick to prepare and works well for breakfast, lunch, or even a light dinner.
It is a nutritious meal that is both satisfying and easy to enjoy every day.
Ingredients
- 2 large eggs
- 1 cup fresh spinach leaves
- 1 tablespoon olive oil or butter
- 1 tablespoon chopped onion (optional)
- Salt to taste
- Black pepper to taste
- 1 tablespoon shredded cheese (optional)
How to Make Egg and Spinach Omelet
- Start by washing the fresh spinach under clean running water. Drain it well and pat it dry using a paper towel so there is no extra moisture.
- Place the eggs into a small bowl. Add a pinch of salt and black pepper.
- Beat the eggs gently using a fork or whisk until the yolks and egg whites are fully combined. This helps create a soft and fluffy omelet.
- Heat a non stick pan over medium heat. Add olive oil or butter and allow it to melt and spread evenly across the pan.
- If you are using onions, add the chopped onion to the pan first. Cook for about one minute until the onions become soft and slightly fragrant.
- Add the fresh spinach to the pan. Stir gently and cook for about one to two minutes until the spinach becomes soft and slightly wilted.
- Spread the spinach evenly across the pan so it forms an even layer.
- Slowly pour the beaten eggs over the spinach mixture. Make sure the eggs cover the entire surface of the pan.
- Allow the eggs to cook without stirring for about two minutes. The edges will begin to set while the center remains slightly soft.
- If you like, sprinkle shredded cheese over the eggs at this stage for extra flavor.
- Use a spatula to gently lift one side of the omelet and fold it over the other side.
- Let the omelet cook for another minute so the inside is fully cooked but still soft.
- Carefully slide the omelet onto a plate.
- If desired, sprinkle a small amount of black pepper or fresh herbs on top.
- Serve warm and enjoy a healthy, protein rich meal that is both light and satisfying.
Nutritional Facts (Approximate per serving)
- Calories: 230
- Protein: 18 g
- Carbohydrates: 3 g
- Fiber: 1 g
- Fat: 16 g
- Sugar: 1 g
This omelet provides a strong source of protein while keeping carbohydrates low, making it a balanced and nutritious meal choice.
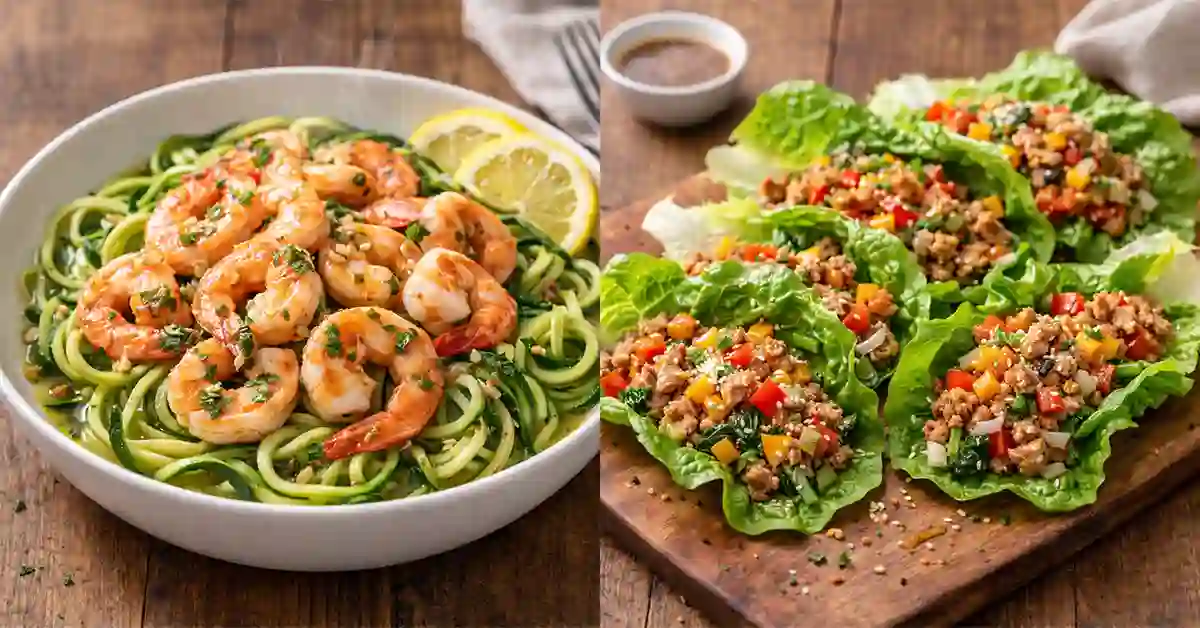
4 – Turkey Lettuce Wraps.
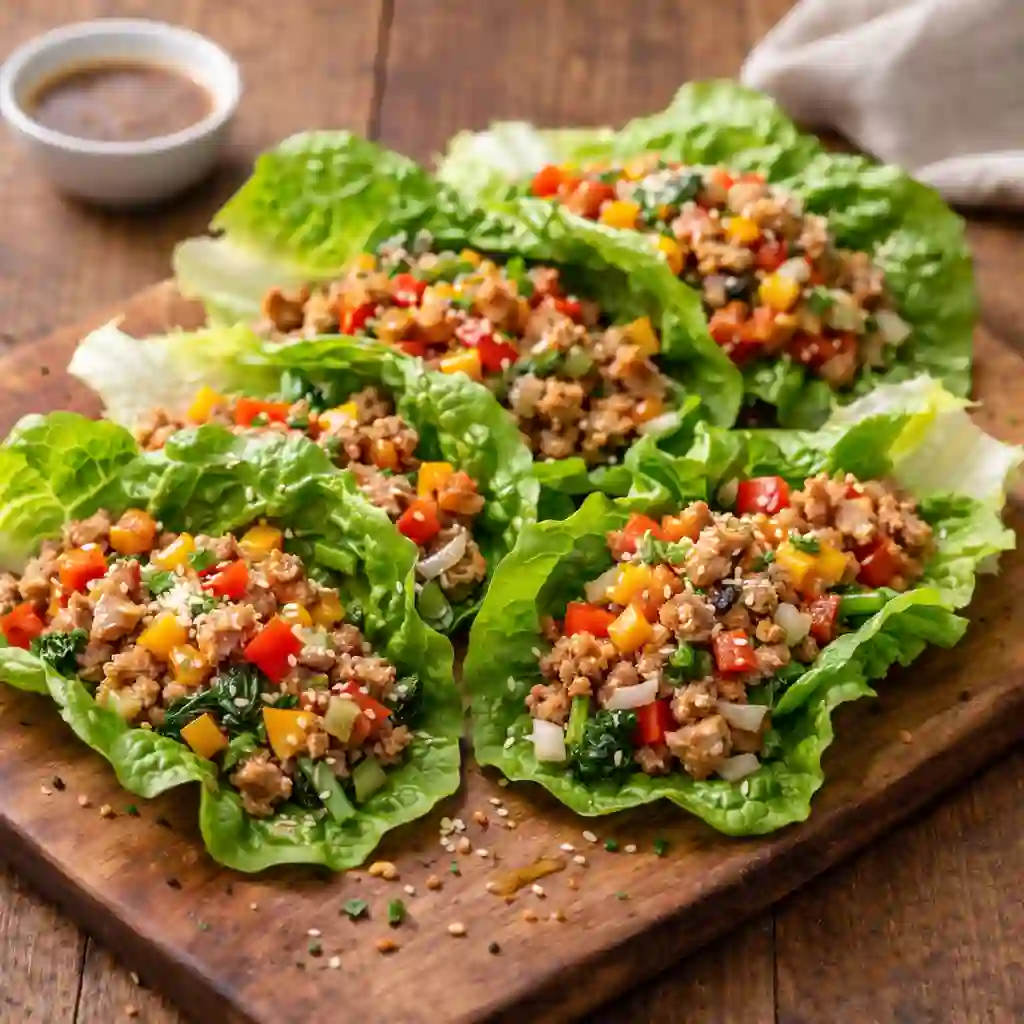
Turkey Lettuce Wraps are a light, healthy meal that is perfect for anyone looking for a low carb and high protein option.
Lean turkey provides a rich source of protein that helps support muscle strength and keeps you feeling full longer.
Crisp lettuce replaces traditional bread or tortillas, helping reduce carbohydrates while adding freshness and crunch.
This meal is simple to prepare, full of flavor, and works well for lunch or dinner when you want something healthy and satisfying.
Ingredients
- 1 cup ground turkey
- 6 large lettuce leaves (romaine or butter lettuce)
- 1 tablespoon olive oil
- 1 clove garlic, minced
- 2 tablespoons finely chopped onion
- ¼ cup diced bell pepper
- 1 tablespoon soy sauce or low sodium soy sauce
- 1 teaspoon sesame oil (optional)
- Salt to taste
- Black pepper to taste
How to Make Turkey Lettuce Wraps
- Start by washing the lettuce leaves carefully under clean running water. Pat them dry gently with a paper towel so they remain crisp.
- Select large, sturdy lettuce leaves that can easily hold the turkey filling. Set them aside on a clean plate.
- Heat a large pan over medium heat. Add olive oil and allow it to warm up for a few seconds.
- Add the chopped onion to the pan and cook for about one minute. Stir gently until the onions become soft and slightly fragrant.
- Add the minced garlic and cook for another 30 seconds. Garlic will release a rich aroma that enhances the flavor of the dish.
- Place the ground turkey into the pan. Use a spatula to break the turkey into small pieces while it cooks.
- Cook the turkey for about 5 to 7 minutes, stirring occasionally, until the meat is fully cooked and no longer pink.
- Add the diced bell pepper to the pan. Cook for another two minutes so the peppers become slightly tender while still keeping a light crunch.
- Pour the soy sauce over the turkey mixture. Stir well so the seasoning spreads evenly through the meat.
- Add a small amount of sesame oil if you want a deeper flavor. Mix everything together gently.
- Taste the mixture and add salt and black pepper if needed.
- Allow the filling to cook for another minute so all the flavors combine nicely.
- Turn off the heat and allow the turkey mixture to cool slightly for easier handling.
- Take one lettuce leaf and spoon a portion of the turkey mixture into the center.
- Repeat the process for the remaining lettuce leaves until all the filling is used.
- Serve the lettuce wraps fresh and warm. They can be folded or rolled for easy eating.
Nutritional Facts (Approximate per serving)
- Calories: 260
- Protein: 28 g
- Carbohydrates: 6 g
- Fiber: 2 g
- Fat: 14 g
- Sugar: 2 g
This meal offers a strong amount of lean protein while keeping carbohydrates low, making it a healthy and balanced option.
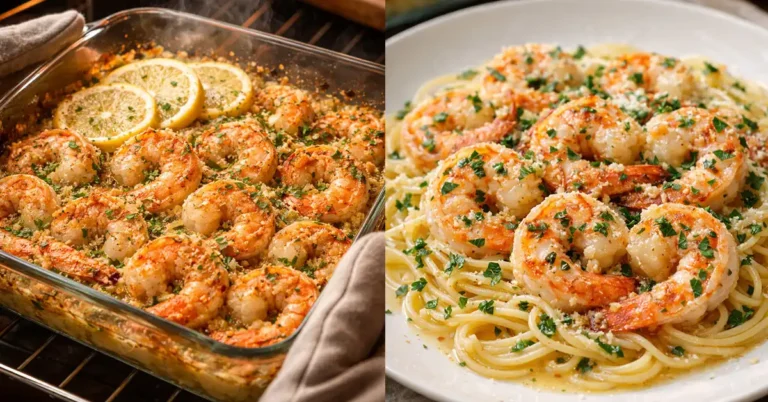
5 – Garlic Butter Shrimp with Zucchini Noodles.
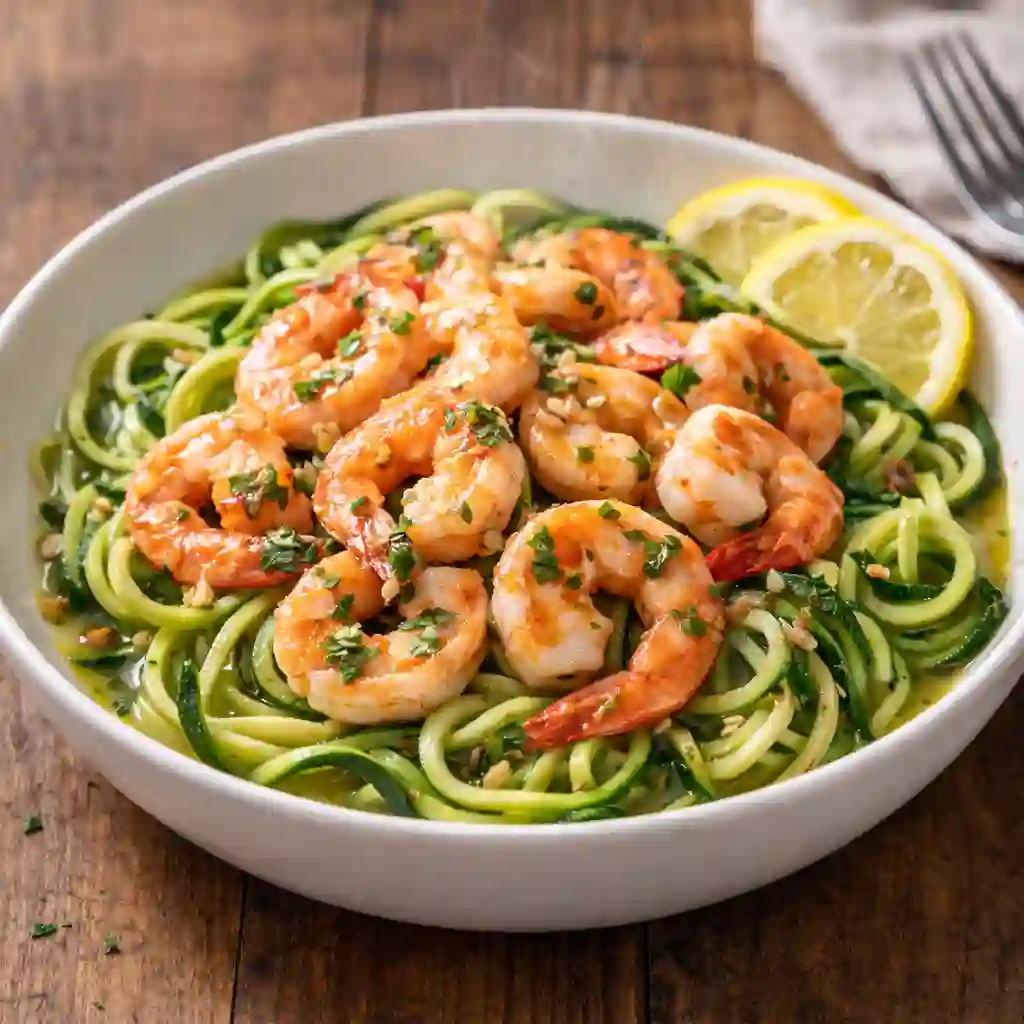
Garlic Butter Shrimp with Zucchini Noodles is a light and flavorful meal that fits perfectly into a low carb and high protein lifestyle.
Shrimp provides a lean source of protein that supports muscle health and keeps you satisfied.
Zucchini noodles replace traditional pasta, helping reduce carbohydrates while still giving the dish a satisfying texture.
The garlic butter sauce adds rich flavor without making the meal heavy, creating a healthy and delicious option for lunch or dinner.
Ingredients
- 200 g shrimp, peeled and cleaned
- 2 medium zucchini
- 2 tablespoons butter
- 2 cloves garlic, minced
- 1 tablespoon olive oil
- 1 teaspoon lemon juice
- Salt to taste
- Black pepper to taste
- 1 tablespoon chopped parsley (optional)
How to Make Garlic Butter Shrimp with Zucchini Noodles
- Start by washing the zucchini thoroughly under clean water. Dry them gently using a clean towel.
- Use a spiralizer or vegetable peeler to turn the zucchini into thin noodle like strips. These will act as a healthy substitute for pasta.
- Place the zucchini noodles on a paper towel for a few minutes. This helps remove extra moisture so the noodles do not become watery while cooking.
- Clean and prepare the shrimp if they are not already peeled and deveined. Rinse them under cold water and pat them dry.
- Heat a large pan over medium heat. Add olive oil and allow it to warm up for a few seconds.
- Place the shrimp into the pan in a single layer. Cook for about 1 to 2 minutes on one side.
- Turn the shrimp over and cook for another 1 to 2 minutes until they turn pink and fully cooked.
- Remove the shrimp from the pan and place them on a plate for a moment.
- In the same pan, add butter and allow it to melt slowly over medium heat.
- Add the minced garlic to the melted butter. Stir gently and cook for about 30 seconds until the garlic becomes fragrant.
- Place the zucchini noodles into the pan with the garlic butter mixture.
- Toss the noodles gently so they are evenly coated with the butter and garlic.
- Cook the zucchini noodles for about 2 to 3 minutes. Stir lightly so they stay tender and do not become too soft.
- Add the cooked shrimp back into the pan with the noodles.
- Drizzle lemon juice over the mixture and add salt and black pepper to taste.
- Toss everything together gently so the shrimp and noodles mix well with the sauce.
- Sprinkle chopped parsley on top for added freshness and color if desired.
- Remove the pan from heat and serve the dish warm for the best flavor and texture.
Nutritional Facts (Approximate per serving)
- Calories: 280
- Protein: 30 g
- Carbohydrates: 6 g
- Fiber: 2 g
- Fat: 15 g
- Sugar: 3 g
This meal offers lean protein from shrimp and keeps carbohydrates low by using zucchini noodles instead of traditional pasta.
6 – Chicken and Cauliflower Rice Bowl.
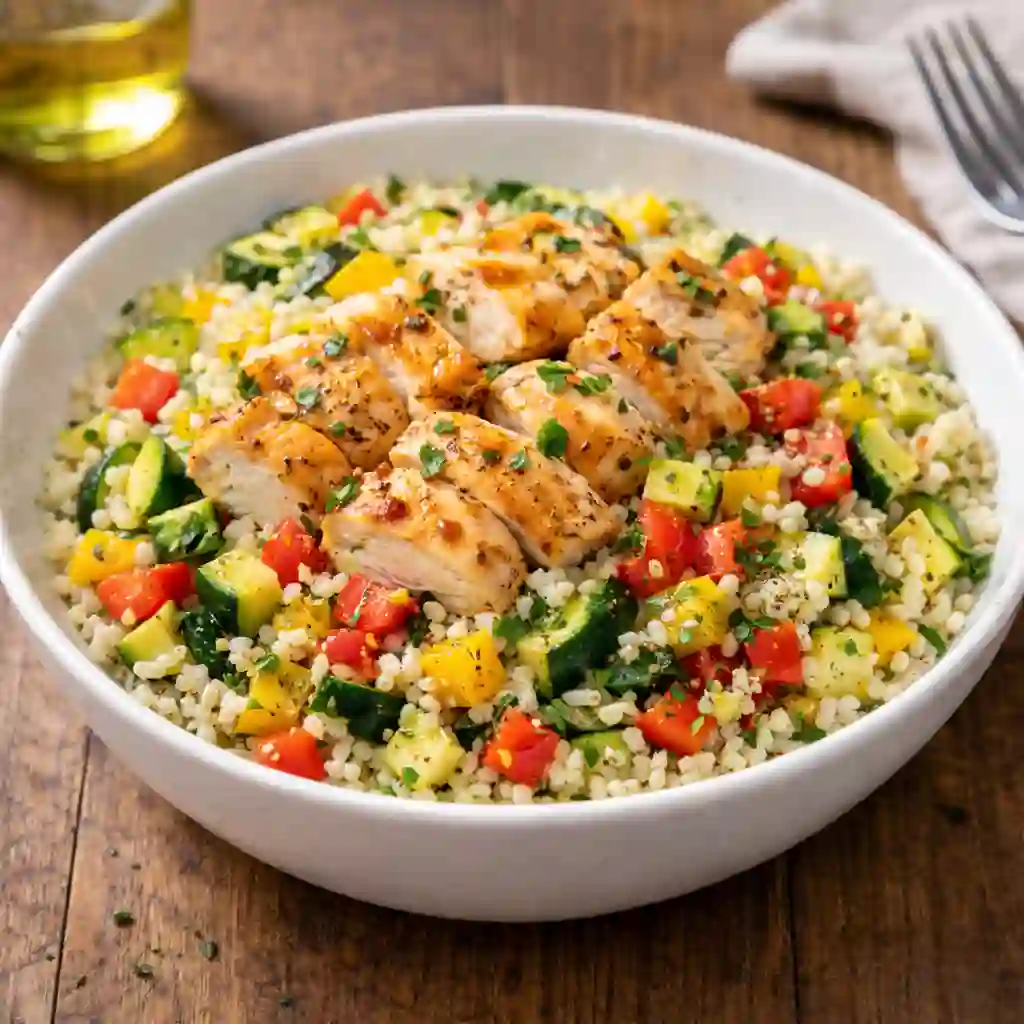
Chicken and Cauliflower Rice Bowl is a wholesome and satisfying meal that is perfect for a low carb and high protein lifestyle.
Tender chicken provides a strong source of protein that helps support muscle health and keeps you full longer.
Cauliflower rice replaces traditional rice, helping reduce carbohydrates while still creating a hearty meal.
Fresh vegetables and simple seasonings add flavor and texture, making this bowl a healthy option for lunch or dinner.
Ingredients
- 1 large chicken breast, diced
- 1½ cups cauliflower rice
- 1 tablespoon olive oil
- 1 clove garlic, minced
- ¼ cup diced bell pepper
- ¼ cup chopped zucchini
- 2 tablespoons chopped onion
- 1 teaspoon lemon juice
- Salt to taste
- Black pepper to taste
- 1 tablespoon chopped parsley or green onions (optional)
How to Make Chicken and Cauliflower Rice Bowl
- Begin by preparing the cauliflower rice. If using a whole cauliflower, wash it well and cut it into small florets.
- Place the florets in a food processor and pulse them until they become small rice sized pieces. If you are using ready made cauliflower rice, simply measure the needed amount.
- Set the cauliflower rice aside on a plate and allow it to dry slightly. This helps prevent it from becoming too soft during cooking.
- Cut the chicken breast into small bite sized cubes. This helps the chicken cook faster and evenly.
- Season the diced chicken lightly with salt and black pepper.
- Heat a large pan over medium heat and add olive oil.
- Add the chopped onion to the pan and cook for about one minute until it becomes soft and slightly fragrant.
- Add the minced garlic and stir for about 30 seconds to release its flavor.
- Place the diced chicken into the pan. Spread it out so it cooks evenly.
- Cook the chicken for about 5 to 7 minutes, stirring occasionally until the pieces turn golden and fully cooked.
- Add the diced bell pepper and chopped zucchini to the pan.
- Stir the vegetables with the chicken and cook for another 2 to 3 minutes so they become slightly tender.
- Push the chicken and vegetables to one side of the pan.
- Add the cauliflower rice to the empty side of the pan.
- Stir the cauliflower rice gently and cook it for about 3 to 4 minutes.
- Mix the cauliflower rice with the chicken and vegetables so everything combines well.
- Add lemon juice and adjust the salt and black pepper according to taste.
- Stir the mixture gently and cook for one more minute so the flavors blend nicely.
- Turn off the heat and sprinkle chopped parsley or green onions on top if desired.
- Transfer the mixture to a serving bowl and enjoy the warm, balanced meal.
Nutritional Facts (Approximate per serving)
- Calories: 300
- Protein: 34 g
- Carbohydrates: 8 g
- Fiber: 3 g
- Fat: 14 g
- Sugar: 3 g
This bowl provides a strong amount of protein from chicken while cauliflower rice keeps the carbohydrate level low, making it a healthy and filling meal.
7 – Greek Yogurt Protein Bowl.
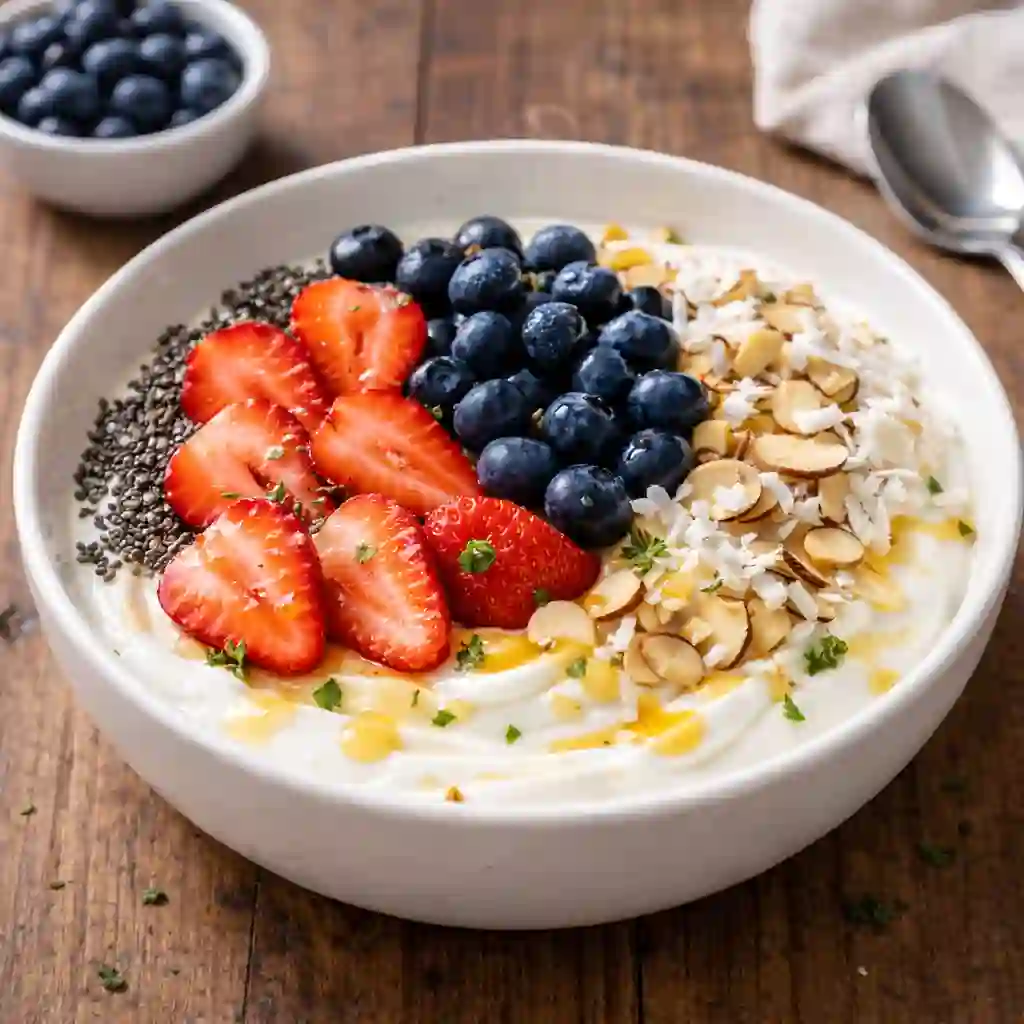
Greek Yogurt Protein Bowl is a creamy, nutritious meal that works well for a low carb and high protein lifestyle.
Greek yogurt provides a rich source of protein that helps keep you full and supports muscle health.
Fresh toppings like nuts and berries add texture, natural sweetness, and important nutrients.
This bowl is quick to prepare and requires very little cooking.
It is a refreshing choice for breakfast, a light lunch, or a healthy snack during the day.
Ingredients
- 1 cup plain Greek yogurt
- 1 tablespoon chia seeds
- 1 tablespoon chopped almonds or walnuts
- ¼ cup fresh berries (strawberries or blueberries)
- 1 teaspoon honey (optional)
- 1 tablespoon unsweetened coconut flakes (optional)
- ½ teaspoon cinnamon (optional)
How to Make Greek Yogurt Protein Bowl
- Begin by selecting a bowl that is large enough to hold the yogurt and toppings comfortably.
- Spoon one cup of plain Greek yogurt into the bowl. Greek yogurt is thick and creamy, which makes it a great base for a protein rich meal.
- Use a spoon to spread the yogurt evenly across the bowl so the toppings can be added easily.
- Wash the fresh berries under clean running water. Pat them dry gently with a paper towel.
- Slice larger berries such as strawberries into smaller pieces so they mix well with the yogurt.
- Place the berries evenly over the yogurt. This adds natural sweetness and a fresh taste to the bowl.
- Add one tablespoon of chia seeds on top of the yogurt and berries. Chia seeds add fiber and healthy nutrients while also improving texture.
- Sprinkle chopped almonds or walnuts over the bowl. Nuts add healthy fats and a slight crunch that balances the creamy yogurt.
- If you prefer a little natural sweetness, drizzle a small amount of honey over the bowl.
- Add unsweetened coconut flakes for extra texture and flavor if desired.
- Sprinkle a small amount of cinnamon over the yogurt bowl. Cinnamon adds warmth and a mild spice flavor.
- Gently mix the toppings into the yogurt or leave them layered on top depending on your preference.
- Allow the bowl to sit for one to two minutes. This allows the chia seeds to absorb some moisture and slightly thicken the mixture.
- Taste the bowl and adjust toppings if needed.
- Serve immediately for a fresh, creamy, and satisfying meal.
Nutritional Facts (Approximate per serving)
- Calories: 250
- Protein: 22 g
- Carbohydrates: 10 g
- Fiber: 3 g
- Fat: 12 g
- Sugar: 6 g
This bowl provides a strong source of protein from Greek yogurt while keeping carbohydrates relatively low, making it a balanced and nourishing option.
8 – Steak with Roasted Asparagus.
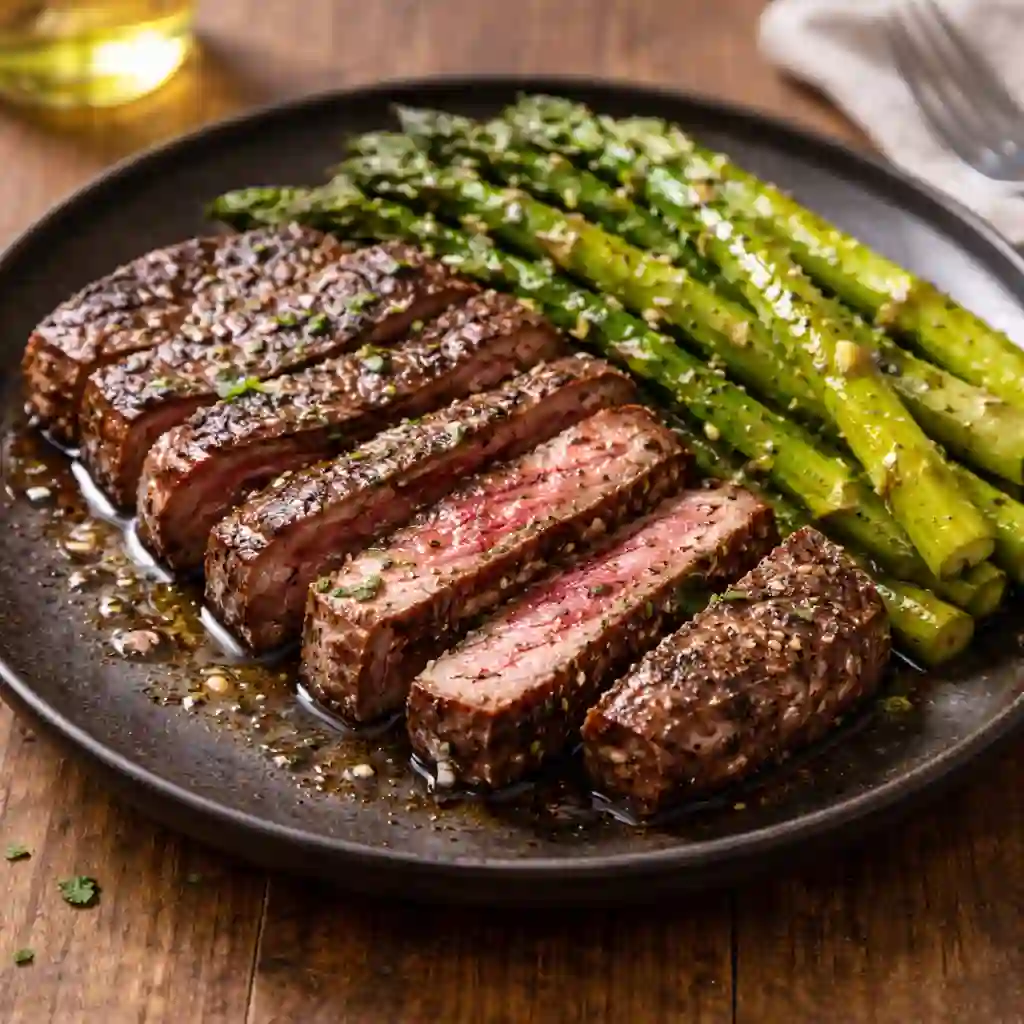
Steak with Roasted Asparagus is a rich and satisfying meal that works well for a low carb and high protein lifestyle.
Tender steak provides a strong source of protein that supports muscle strength and keeps you feeling full for longer periods.
Roasted asparagus adds a fresh, slightly crisp texture along with important vitamins and minerals.
This meal is simple to prepare yet full of flavor, making it a great option for a healthy lunch or dinner.
Ingredients
- 1 steak (about 200 g)
- 1 cup fresh asparagus
- 1 tablespoon olive oil
- 1 clove garlic, minced
- 1 teaspoon lemon juice
- Salt to taste
- Black pepper to taste
- ½ teaspoon paprika (optional)
How to Make Steak with Roasted Asparagus
- Begin by washing the asparagus under clean running water. Trim the tough ends from the bottom of the asparagus stalks.
- Place the asparagus in a bowl and drizzle a small amount of olive oil over it.
- Add a pinch of salt and black pepper. Toss the asparagus gently so it becomes evenly coated with oil and seasoning.
- Preheat the oven to 200°C (400°F). A hot oven helps roast the asparagus properly and gives it a slightly crisp texture.
- Spread the asparagus on a baking tray in a single layer. This allows each piece to roast evenly.
- Place the tray in the oven and roast the asparagus for about 10 to 12 minutes until it becomes tender and lightly browned.
- While the asparagus is roasting, prepare the steak.
- Remove the steak from the refrigerator and allow it to sit at room temperature for a few minutes. This helps it cook evenly.
- Pat the steak dry with a paper towel to remove excess moisture.
- Season both sides of the steak with salt, black pepper, and paprika if desired.
- Heat a heavy pan or grill pan over medium high heat.
- Add a small amount of olive oil to the pan and allow it to heat.
- Place the steak carefully into the hot pan.
- Cook the steak for about 3 to 4 minutes on one side without moving it. This helps create a rich, golden crust.
- Turn the steak over using tongs and cook the other side for another 3 to 4 minutes depending on your preferred doneness.
- Add the minced garlic to the pan during the final minute of cooking to enhance flavor.
- Remove the steak from the pan and allow it to rest for about 5 minutes. Resting helps keep the steak juicy and tender.
- Remove the roasted asparagus from the oven and drizzle a little lemon juice over it for freshness.
- Slice the steak into thin strips and place it on a serving plate.
- Arrange the roasted asparagus beside the steak and serve warm.
Nutritional Facts (Approximate per serving)
- Calories: 360
- Protein: 35 g
- Carbohydrates: 5 g
- Fiber: 2 g
- Fat: 22 g
- Sugar: 2 g
This meal provides a rich source of protein from steak while asparagus adds nutrients and fiber with very low carbohydrates.
9 – Tuna Avocado Salad.
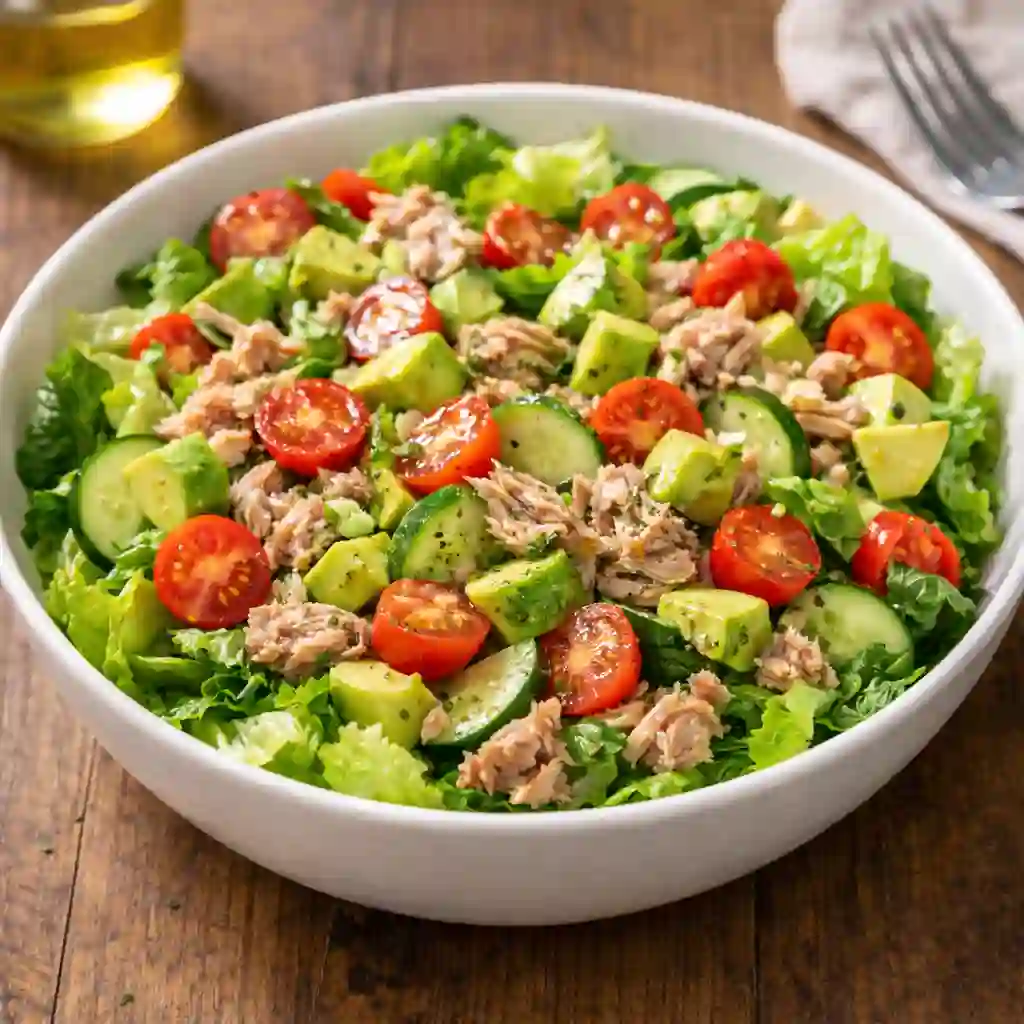
Tuna Avocado Salad is a fresh and nourishing meal that fits perfectly into a low carb and high protein lifestyle.
Tuna provides a lean source of protein that helps support muscle health and keeps you satisfied for longer periods.
Creamy avocado adds healthy fats that improve flavor and texture while also providing important nutrients.
Combined with fresh vegetables and light seasoning, this salad becomes a simple yet satisfying dish that works well for lunch or a light dinner.
Ingredients
- 1 can tuna in water, drained
- 1 ripe avocado
- 1 cup lettuce or mixed greens
- ¼ cup cherry tomatoes, sliced
- ¼ cucumber, diced
- 1 tablespoon olive oil
- 1 teaspoon lemon juice
- Salt to taste
- Black pepper to taste
- 1 tablespoon chopped parsley (optional)
How to Make Tuna Avocado Salad
- Begin by washing the lettuce, tomatoes, and cucumber thoroughly under clean running water.
- Pat the vegetables dry gently using a paper towel so the salad remains fresh and crisp.
- Chop the lettuce into bite sized pieces and place it in a large salad bowl.
- Slice the cherry tomatoes in half and add them to the bowl with the lettuce.
- Dice the cucumber into small pieces and mix it with the other vegetables.
- Open the can of tuna and drain the water completely.
- Place the tuna into a small bowl and gently break it apart using a fork so it becomes light and flaky.
- Add the tuna to the bowl with the vegetables and mix gently.
- Cut the avocado in half and remove the seed carefully.
- Scoop the avocado flesh out using a spoon and place it on a cutting board.
- Slice the avocado into small cubes or thin slices depending on your preference.
- Add the avocado pieces to the salad bowl carefully so they keep their shape.
- In a small bowl, mix olive oil and lemon juice to create a light dressing.
- Pour the dressing over the salad ingredients.
- Add salt and black pepper according to taste.
- Toss the salad gently so the tuna, vegetables, and avocado mix evenly without crushing the avocado.
- Sprinkle chopped parsley on top for added freshness if desired.
- Allow the salad to sit for about one minute so the flavors blend together.
- Serve immediately for the best taste and texture.
Nutritional Facts (Approximate per serving)
- Calories: 310
- Protein: 32 g
- Carbohydrates: 7 g
- Fiber: 3 g
- Fat: 18 g
- Sugar: 2 g
This salad provides high quality protein from tuna and healthy fats from avocado while keeping carbohydrates low.
Admin