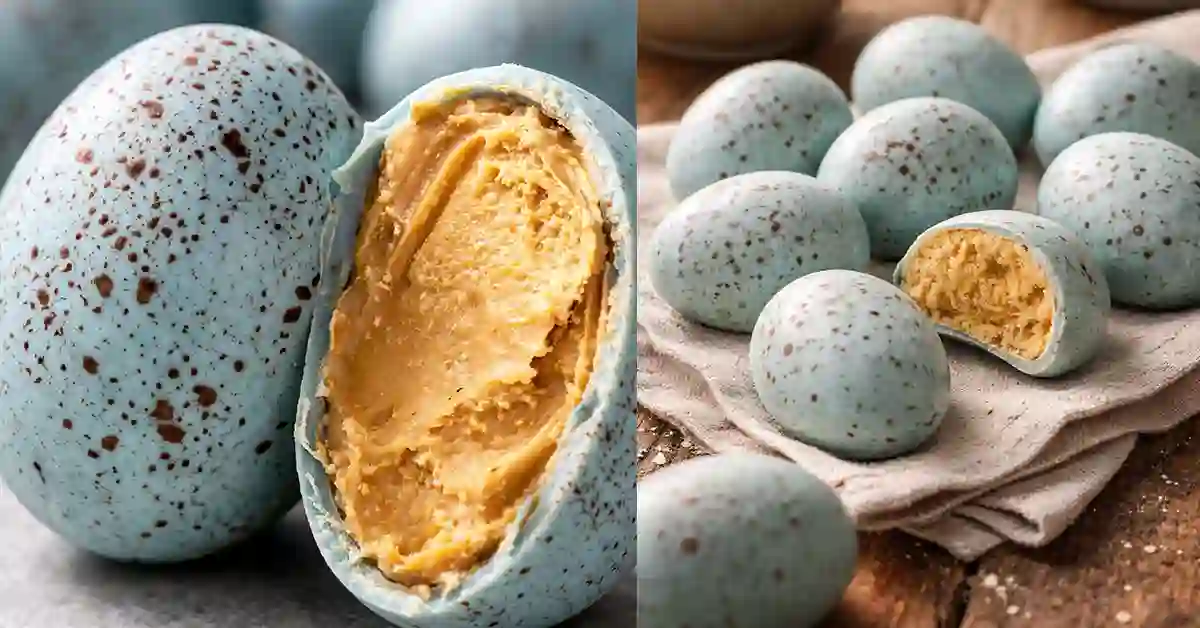
Peanut Butter Eggs Recipe Easy and Delicious Homemade
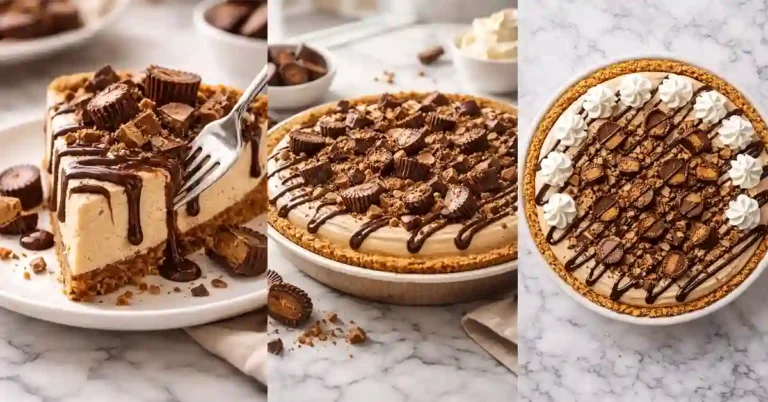
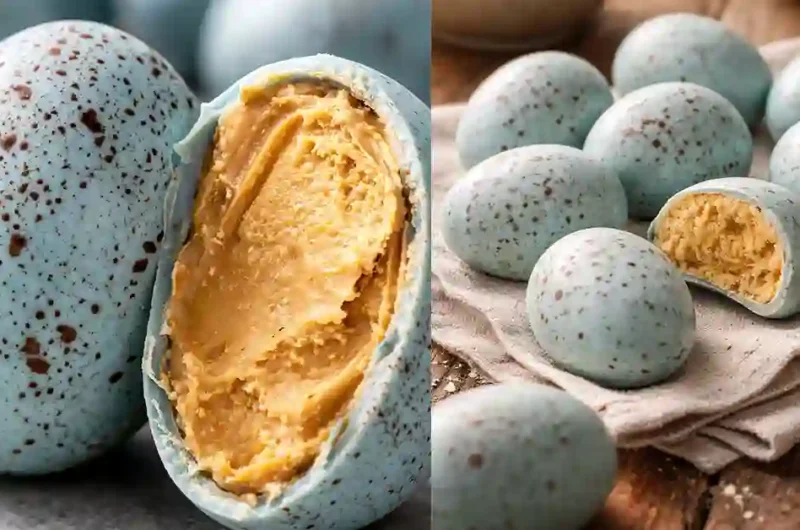
Peanut Butter Eggs are a sweet and creamy homemade treat shaped like eggs and coated in smooth chocolate. They are most popular during Festivals, but people enjoy them all year because they are simple, tasty, and fun to make.
These treats are made with a soft peanut butter filling that is slightly sweet and rich, then dipped in melted chocolate to create a perfect outer layer.
Many people love Peanut Butter Eggs because they taste similar to Reese’s eggs, but homemade versions feel fresher and more special.
You can easily make them in your own kitchen using basic ingredients like peanut butter, powdered sugar, butter, and chocolate.
Why I Love This Recipe
I love this recipe because it is simple, quick, and always turns out delicious. The creamy peanut butter filling and smooth chocolate coating create the perfect balance of taste and texture.
It reminds me of classic treats like Reese’s, but feels more special when made at home.
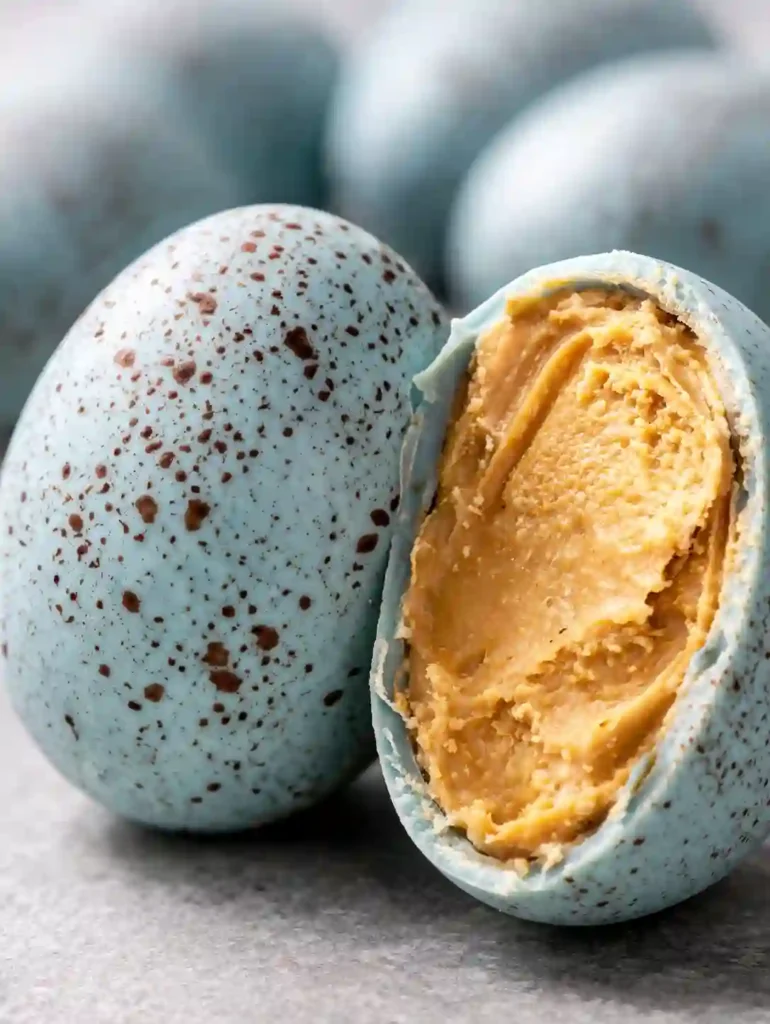
Ingredients for Peanut Butter Eggs
- Peanut Butter – 1 cup
Use creamy peanut butter for a smooth and soft filling. It gives the eggs their rich taste and texture. - Unsalted Butter – 4 tablespoons (softened)
This helps make the mixture soft and easy to shape. It also adds a light, creamy flavor. - Powdered Sugar – 2 to 2½ cups
Adds sweetness and helps thicken the filling. Add slowly until the dough is soft but not sticky. - Vanilla Extract – 1 teaspoon
Gives a mild sweet aroma and improves the overall flavor. - Salt – a small pinch
Balances the sweetness and enhances the peanut butter taste. - Chocolate (Milk or Dark) – 2 cups (melted)
Used for coating the eggs. You can choose milk chocolate for a sweeter taste or dark chocolate for a richer flavor. - Coconut Oil or Shortening – 1 tablespoon (optional)
Helps make the chocolate smooth and shiny for easy dipping.
These simple ingredients come together to create a rich, soft, and chocolatey treat that is perfect for any occasion.
Kitchen Tools You’ll Need
- Mixing Bowl – For combining all ingredients smoothly
- Hand Mixer or Spoon – To mix the filling until soft and creamy
- Baking Tray – To place shaped eggs before chilling
- Parchment Paper – Prevents sticking
- Microwave-Safe Bowl – For melting chocolate evenly
- Fork or Toothpick – For dipping eggs into chocolate easily
How to Make Peanut Butter Eggs
- Prepare the Filling
In a large mixing bowl, add peanut butter and softened butter. Mix them well until the texture becomes smooth and creamy. This step is important because it creates the base of your filling. - Add Sweetness and Flavor
Add powdered sugar slowly into the mixture while mixing. Do not add it all at once. Keep mixing until a soft dough forms that is easy to handle. Then add vanilla extract and a small pinch of salt. Mix again until everything is well combined. - Check the Texture
The mixture should be soft but not sticky. If it feels too sticky, add a little more powdered sugar. If it feels too dry, add a small amount of peanut butter. The right texture will make shaping easier. - Shape the Eggs
Take a small portion of the mixture and roll it into a ball using your hands. Then gently press and shape it into an egg form. Repeat this process with the remaining mixture. Try to keep the sizes even for a better final look. - Chill the Eggs
Place all the shaped eggs on a tray lined with parchment paper. Put the tray in the refrigerator for about 30 to 45 minutes. This helps the eggs become firm and keeps their shape during dipping. - Melt the Chocolate
In a microwave-safe bowl, melt the chocolate in short intervals. Stir after each interval to prevent burning. You can also add a little coconut oil to make the chocolate smooth and glossy. - Dip the Eggs
Take the chilled eggs out of the fridge. Using a fork or toothpick, dip each egg into the melted chocolate. Make sure it is fully coated. Let the extra chocolate drip off before placing it back on the tray. - Set the Chocolate
Place the coated eggs back on the tray and let them rest until the chocolate hardens. You can speed this up by placing them in the fridge for a few minutes. - Final Touch
Once the chocolate is fully set, your peanut butter eggs are ready to enjoy.
Tips for Perfect Peanut Butter Eggs
- Use the Right Peanut Butter
Choose creamy peanut butter for the best texture. Natural peanut butter can be too oily and may affect the consistency of the filling. - Add Sugar Slowly
Always add powdered sugar in small amounts while mixing. This helps you control the texture and prevents the mixture from becoming too dry. - Keep the Dough Soft but Firm
The mixture should be easy to shape without sticking to your hands. Adjust with a little more sugar or peanut butter if needed. - Chill Before Dipping
Do not skip the chilling step. Cold eggs hold their shape better and do not fall apart when dipped in warm chocolate. - Melt Chocolate Carefully
Heat chocolate in short intervals and stir often. This prevents burning and keeps the texture smooth and glossy. - Use a Fork for Dipping
A fork or toothpick helps coat the eggs evenly and allows extra chocolate to drip off easily. - Work in Small Batches
Keep some eggs in the fridge while dipping others. This keeps them firm and easier to handle. - Create a Smooth Finish
Tap the fork gently on the bowl edge to remove excess chocolate. This gives a clean and neat look. - Let Them Set Properly
Allow enough time for the chocolate to harden completely before serving or storing. - Store Correctly
Keep them in an airtight container in the fridge to maintain freshness and texture.
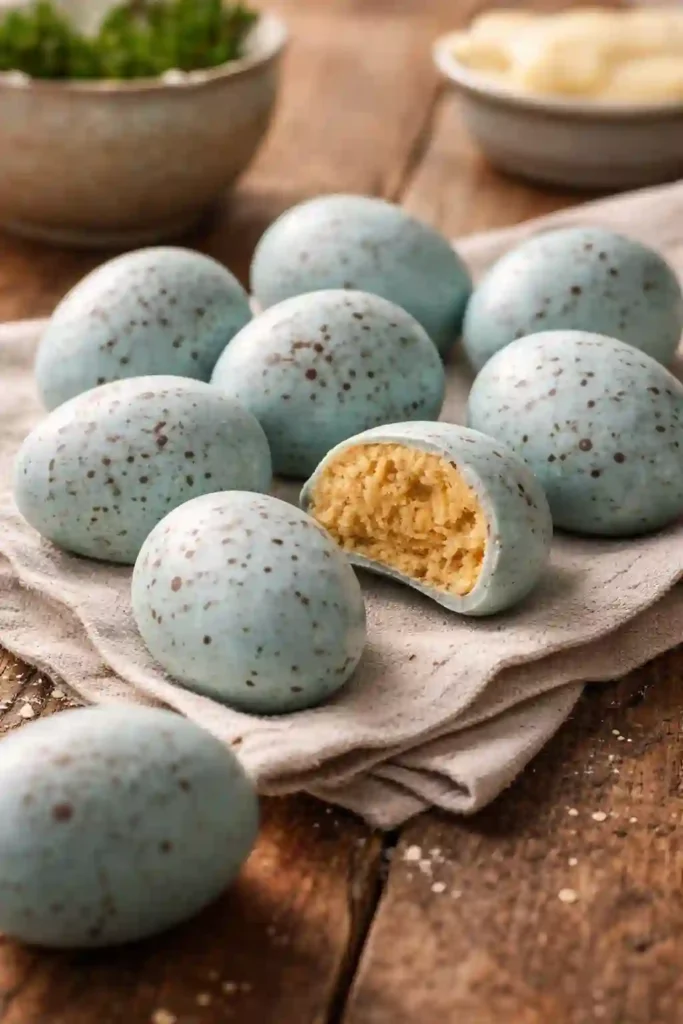
Variations and Substitutions
- Crunchy Texture Option
Use crunchy peanut butter instead of creamy for a slight crunch in every bite. - Healthier Version
Replace powdered sugar with a natural sweetener like honey or maple syrup. Adjust the quantity to keep the mixture firm. - Chocolate Choices
Try dark, milk, or even white chocolate for coating. Each one gives a different flavor experience. - Dairy-Free Option
Use plant-based butter and dairy-free chocolate to make this recipe suitable for those avoiding dairy. - Flavor Twist
Add a few drops of almond extract or mix in crushed nuts for extra taste.
How to Store Peanut Butter Eggs
- Refrigerator Storage
Place the eggs in an airtight container and store them in the fridge. They stay fresh for up to one week. - Freezer Storage
You can freeze them for up to one month. Store in a sealed container and thaw in the fridge before eating. - Layering Tip
Use parchment paper between layers to prevent sticking.
Preparation Time
- Prep Time – 20 minutes
- Chilling Time – 30 to 45 minutes
- Coating Time – 15 minutes
- Total Time – About 1 hour
Nutrition Facts (Per Serving – Approximate)
- Calories – 180 to 220 kcal
- Carbohydrates – 18g
- Protein – 4g
- Fat – 12g
- Sugar – 14g
- Fiber – 1g
These values may vary depending on the ingredients used and portion size.
Instructions
- In a bowl, mix peanut butter and softened butter until smooth and creamy.
- Add powdered sugar slowly and mix until a soft dough forms.
- Stir in vanilla extract and a pinch of salt for better flavor.
- Shape small portions into egg forms using your hands.
- Place them on a lined tray and chill until firm.
- Melt chocolate in short intervals, stirring until smooth.
- Dip each egg into melted chocolate and coat evenly.
- Let excess chocolate drip off, then place back on the tray.
- Allow them to set until the coating becomes firm.
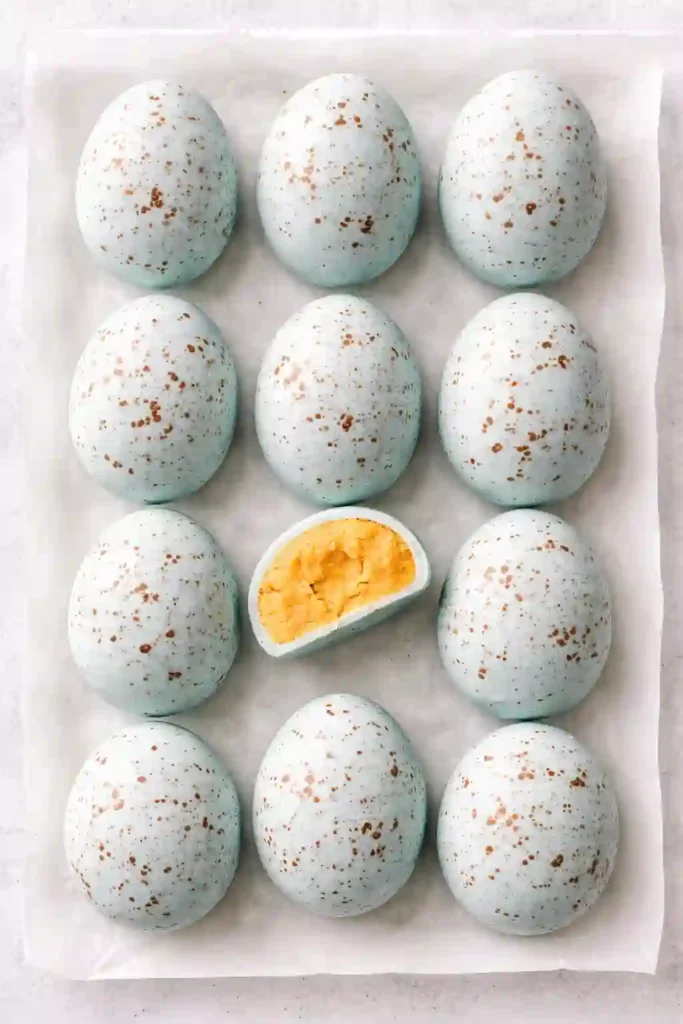
FAQs
- Can I use natural peanut butter?
Yes, but it may change the texture. Natural peanut butter is more oily, so the filling can become too soft. If you use it, you may need to add extra powdered sugar to balance it. - Why is my mixture too sticky?
This usually happens when there is not enough powdered sugar. Add a little more sugar, one spoon at a time, until the dough becomes easy to handle. - Can I make these ahead of time?
Yes, these treats are perfect for making in advance. You can prepare them a few days before serving and store them in the fridge. - Do I have to refrigerate them?
It is best to keep them in the fridge so they stay firm and fresh. At room temperature, they may become too soft, especially in warm weather. - What type of chocolate works best?
You can use milk, dark, or white chocolate depending on your taste. Melting chocolate or chocolate chips both work well for coating. - How do I get a smooth chocolate coating?
Melt the chocolate slowly and stir often. Adding a small amount of coconut oil can help make it smoother and easier to dip. - Can I freeze peanut butter eggs?
Yes, they freeze well. Store them in an airtight container and thaw in the fridge before eating. - Why are my eggs losing shape?
This can happen if they are not chilled enough. Always refrigerate them before dipping in chocolate to help them hold their shape. - Can I make them without butter?
Yes, but the texture may be slightly less creamy. Butter helps create a softer and richer filling.
Peanut Butter Eggs Recipe Easy and Delicious Homemade
Course: Dessert16
servings20
minutes40
minutes220
kcalChilling Time – 30 to 45 minutes
Coating Time – 15 minutes
Ingredients
Peanut Butter – 1 cup
Unsalted Butter – 4 tablespoons (softened)
Powdered Sugar – 2 to 2½ cups
Vanilla Extract – 1 teaspoon
Salt – a small pinch
Chocolate (Milk or Dark) – 2 cups (melted)
Coconut Oil or Shortening – 1 tablespoon (optional)
Directions
- Prepare the Filling
In a large mixing bowl, add peanut butter and softened butter. Mix them well until the texture becomes smooth and creamy. This step is important because it creates the base of your filling. - Add Sweetness and Flavor
Add powdered sugar slowly into the mixture while mixing. Do not add it all at once. Keep mixing until a soft dough forms that is easy to handle. Then add vanilla extract and a small pinch of salt. Mix again until everything is well combined. - Check the Texture
The mixture should be soft but not sticky. If it feels too sticky, add a little more powdered sugar. If it feels too dry, add a small amount of peanut butter. The right texture will make shaping easier. - Shape the Eggs
Take a small portion of the mixture and roll it into a ball using your hands. Then gently press and shape it into an egg form. Repeat this process with the remaining mixture. Try to keep the sizes even for a better final look. - Chill the Eggs
Place all the shaped eggs on a tray lined with parchment paper. Put the tray in the refrigerator for about 30 to 45 minutes. This helps the eggs become firm and keeps their shape during dipping. - Melt the Chocolate
In a microwave-safe bowl, melt the chocolate in short intervals. Stir after each interval to prevent burning. You can also add a little coconut oil to make the chocolate smooth and glossy. - Dip the Eggs
Take the chilled eggs out of the fridge. Using a fork or toothpick, dip each egg into the melted chocolate. Make sure it is fully coated. Let the extra chocolate drip off before placing it back on the tray. - Set the Chocolate
Place the coated eggs back on the tray and let them rest until the chocolate hardens. You can speed this up by placing them in the fridge for a few minutes. - Final Touch
Once the chocolate is fully set, your peanut butter eggs are ready to enjoy.
Notes
- Use the Right Peanut Butter
Choose creamy peanut butter for the best texture. Natural peanut butter can be too oily and may affect the consistency of the filling. - Use a Fork for Dipping
A fork or toothpick helps coat the eggs evenly and allows extra chocolate to drip off easily. - Let Them Set Properly
Allow enough time for the chocolate to harden completely before serving or storing. - Store Correctly
Keep them in an airtight container in the fridge to maintain freshness and texture.
Admin