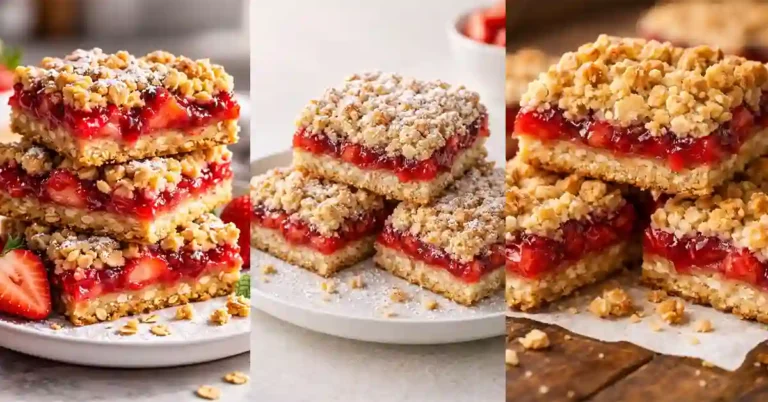
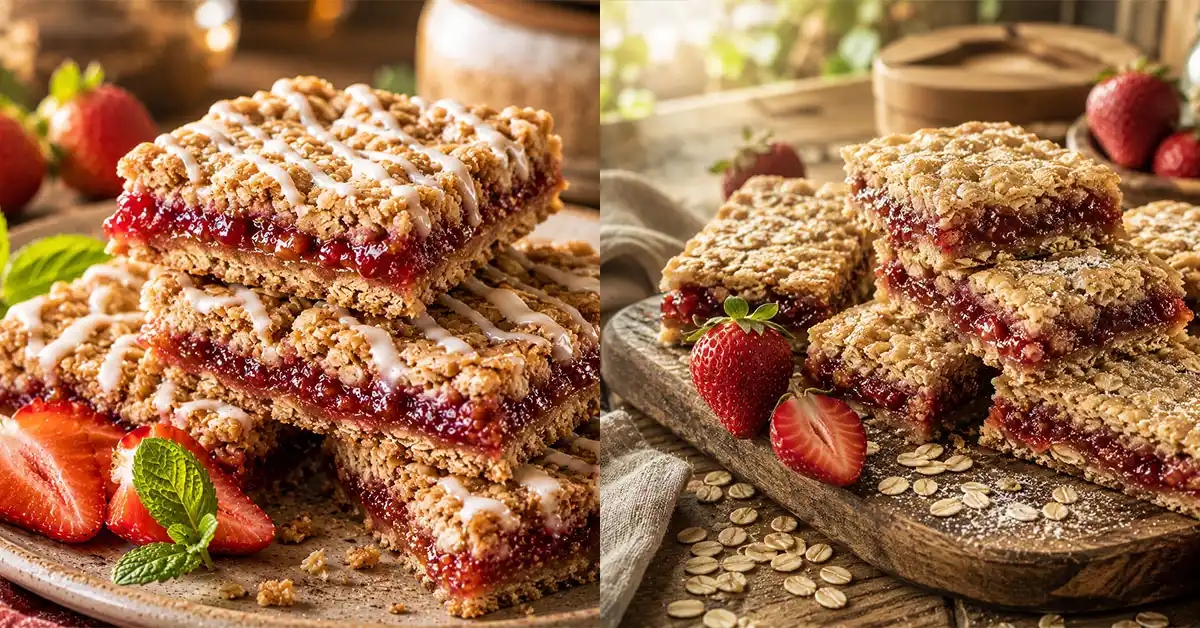
Strawberry Nutrigrain Bars Recipe Healthy Snack Idea
You know that moment when you want something sweet… but also a little healthy?
You grab a snack bar, take a bite… and it feels dry, boring, and not fresh.
That’s the problem.
Most store-bought bars look good, but they don’t taste homemade.
But what if you could make soft, chewy, fruity bars at home… with simple ingredients… and in less time than you think?
These strawberry nutrigrain bars are your answer.
They are sweet, soft, slightly chewy, and filled with real strawberry flavor. Perfect for breakfast, lunchbox, or a quick snack when you feel hungry.
Once you try these, you may never go back to packaged bars again.
What Is This Recipe?
This recipe is a homemade version of nutrigrain-style bars filled with sweet strawberry jam.
It has a soft outer layer made from oats and flour, and a smooth fruity filling inside.
The best part? You control everything.
You can make it healthier, sweeter, or even change the flavor.
These bars are baked until lightly golden on the outside while staying soft and chewy inside.
They taste fresh, real, and much better than anything from a box.
Why You Will Love This Recipe
- It saves you money because you can make many bars at once instead of buying small packs
- It tastes fresher and softer than store-bought bars
- It is very easy to make with simple kitchen ingredients
- You can control sugar and make it healthier
- Perfect for kids, lunchboxes, or quick snacks
- It stays soft for days if stored properly
- You can change the filling to any fruit you like
Here’s where most people get this wrong…
They rush the dough or use too much filling, which breaks the bars. But don’t worry, I will show you the right way.
Ingredients
- 1 ½ cups all-purpose flour – gives structure and softness
- 1 cup rolled oats – adds a light chewy texture
- ½ cup brown sugar – gives a warm, rich sweetness
- ½ teaspoon salt – balances the flavor
- ½ teaspoon baking soda – helps the bars stay soft
- ½ cup unsalted butter (melted) – makes the dough smooth and rich
- 1 teaspoon vanilla extract – adds a sweet aroma
- 2 tablespoons milk – helps bind the dough
- 1 cup strawberry jam – the main fruity filling
Tip: You can use homemade strawberry jam for a fresher taste.
Swap idea: Use honey instead of sugar for a more natural sweetness.
How To Make (Step-by-Step)
- Start by preheating your oven to 180°C (350°F) and line a baking tray with parchment paper. This step is very important because it helps the bars not stick and makes cleanup easy. In a large bowl, mix the flour, oats, brown sugar, salt, and baking soda. Stir slowly until everything looks evenly combined. The mixture should feel dry but well mixed, with no lumps of sugar or flour left behind.
- Now pour in the melted butter, vanilla extract, and milk into the dry mixture. Use a spoon or your hands to mix everything together. Keep mixing until the dough becomes soft and slightly crumbly but holds together when pressed. It should not feel too wet or too dry. If it feels too dry, add a tiny bit more milk. This small trick makes a huge difference in getting the perfect texture.
- Take about two-thirds of the dough and press it firmly into the bottom of your lined tray. Use your fingers or the back of a spoon to spread it evenly. Make sure there are no gaps, as this layer holds the filling. The base should look smooth and slightly packed down. Press gently but firmly so it does not break later.
- Now spread the strawberry jam over the base layer. Use a spoon to gently spread it evenly across the surface. Leave a small space around the edges so the jam does not leak out while baking. The layer should look smooth, glossy, and evenly spread. Avoid adding too much jam, or the bars may become too soft and messy.
- Take the remaining dough and crumble it over the jam layer. Spread it gently so it covers most of the jam but still allows some of the red color to peek through. This gives the bars a beautiful look. Press lightly but do not flatten too much. You want a slightly crumbly top for texture.
- Bake the tray in the oven for about 25–30 minutes. Watch closely as it bakes. The top should turn light golden and the edges should look slightly crisp. The smell will be sweet and warm, which is a good sign. Do not overbake, or the bars may turn dry instead of soft and chewy.
- Remove from the oven and let it cool completely in the tray. This step is very important. If you cut the bars while they are still warm, they may fall apart. Once cooled, cut into even rectangles. The bars should feel soft, slightly chewy, and easy to hold.
Pro Tips
- Always use room temperature ingredients for better mixing and smoother dough
- Do not skip lining the tray, it prevents sticking and breaking
- Press the base layer firmly so it holds the filling well
- Use thick jam, not watery, to avoid soggy bars
- Let the bars cool fully before cutting to keep clean shapes
- Add a little lemon zest for a fresh fruity flavor twist
- Do not overmix the dough or it may become tough
- Store in an airtight box to keep them soft longer
- Use a sharp knife for clean and neat cuts
- Slightly warm before eating for extra softness
Common Mistakes To Avoid
- Using too much jam makes the bars messy and hard to hold
- Not pressing the base layer properly causes it to break
- Overbaking makes the bars dry instead of soft
- Cutting while hot makes the bars fall apart
- Using watery jam leads to soggy texture
- Skipping parchment paper makes removal difficult
- Adding too much milk can make the dough sticky
Variations / Customization Ideas
Now let’s make it even better…
- High protein version: Add protein powder and reduce flour slightly
- Vegan option: Use plant butter and dairy-free milk
- Quick version: Use ready-made dough to save time
- Flavor change: Try blueberry, apple, or raspberry jam
- Crunchy twist: Add chopped nuts to the top layer
- Low sugar option: Use sugar-free jam and reduce sugar
Serving Ideas
Enjoy these bars with a glass of cold milk for a comforting snack.
Pack them in lunchboxes for kids or work.
Serve slightly warm with tea or coffee in the evening.
You can even crumble them over yogurt for a fun dessert.
Storage & Reheating
Store the bars in an airtight container at room temperature for up to 3 days.
For longer storage, keep them in the fridge for up to 1 week.
To reheat, warm in the microwave for 10–15 seconds to make them soft again.
Nutrition Facts (Approximate)
- Calories: 180 per bar
- Carbs: 25g
- Fat: 7g
- Protein: 3g
- Sugar: 12g
Quick Summary (Scannable)
- Easy homemade strawberry nutrigrain bars
- Soft, chewy, and fruity
- Budget friendly and customizable
- Perfect for snacks or breakfast
- Stores well and stays soft
When To Eat This
These bars fit into your day so easily.
Busy morning? Grab one and go.
After workout? Quick energy boost.
Afternoon craving? Sweet but not heavy.
Late night snack? Soft, comforting, and just enough.
Once you make these, you will always want a batch ready.
FAQs About Strawberry Nutrigrain Bars Recipe
- Can I use fresh strawberries instead of jam?
Yes, you can use fresh strawberries, but they need a little prep first. Fresh strawberries release water while baking, which can make your bars soggy. To fix this, cook the strawberries in a pan with a little sugar until they become thick and jam-like. Let the mixture cool before spreading it on the dough. This way, you still get that real fruit flavor, but without ruining the texture of your bars. - How do I keep the bars soft for longer?
The key to soft bars is proper storage. Always let the bars cool completely before storing them. Place them in an airtight container and keep them at room temperature for up to 3 days. If you want them to last longer, store them in the fridge. You can also add a slice of bread inside the container. It helps keep moisture in, which keeps the bars soft and chewy. - Can I make this recipe gluten free?
Yes, you can easily make a gluten free version. Simply replace all-purpose flour with a gluten free flour blend. Also make sure your oats are labeled gluten free. The texture may be slightly different, but the bars will still be soft, tasty, and enjoyable. - Why are my bars falling apart?
This usually happens if the base layer is not pressed firmly enough or if the bars are cut while still warm. Always press the dough tightly into the pan so it holds together during baking. After baking, let the bars cool fully before cutting. This helps them set properly and keeps them from crumbling. - Can I freeze these bars?
Yes, these bars freeze very well. Wrap each bar individually in plastic wrap or store them in a freezer-safe container. They can last up to 2 months in the freezer. When you want to eat them, let them thaw at room temperature or warm them slightly in the microwave for a soft texture. - What other fillings can I use?
You are not limited to strawberry filling. You can try blueberry, raspberry, apple cinnamon, or even mixed fruit jam. Each variation gives a new flavor, so you can make different batches and never get bored. - Are these bars good for kids?
Absolutely. These bars are perfect for kids because they are soft, easy to hold, and not too messy. You can also control the sugar and ingredients, making them a better option than many packaged snacks. Kids love the fruity taste, and parents love how simple they are to make.
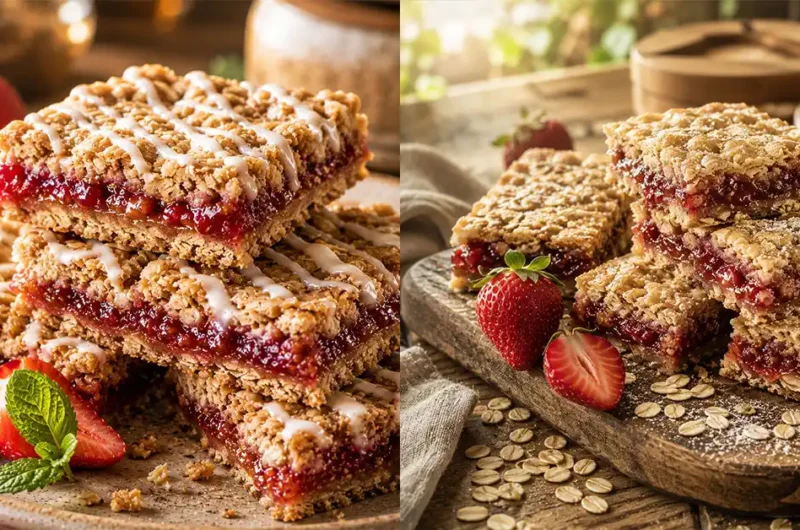
Strawberry Nutrigrain Bars Recipe Healthy Snack Idea
12
servings12
minutes30
minutes180
kcalIngredients
1 ½ cups all-purpose flour – gives structure and softness
1 cup rolled oats – adds a light chewy texture
½ cup brown sugar – gives a warm, rich sweetness
½ teaspoon salt – balances the flavor
½ teaspoon baking soda – helps the bars stay soft
½ cup unsalted butter (melted) – makes the dough smooth and rich
1 teaspoon vanilla extract – adds a sweet aroma
2 tablespoons milk – helps bind the dough
1 cup strawberry jam – the main fruity filling
Directions
- Start by preheating your oven to 180°C (350°F) and line a baking tray with parchment paper. This step is very important because it helps the bars not stick and makes cleanup easy. In a large bowl, mix the flour, oats, brown sugar, salt, and baking soda. Stir slowly until everything looks evenly combined. The mixture should feel dry but well mixed, with no lumps of sugar or flour left behind.
- Now pour in the melted butter, vanilla extract, and milk into the dry mixture. Use a spoon or your hands to mix everything together. Keep mixing until the dough becomes soft and slightly crumbly but holds together when pressed. It should not feel too wet or too dry. If it feels too dry, add a tiny bit more milk. This small trick makes a huge difference in getting the perfect texture.
- Take about two-thirds of the dough and press it firmly into the bottom of your lined tray. Use your fingers or the back of a spoon to spread it evenly. Make sure there are no gaps, as this layer holds the filling. The base should look smooth and slightly packed down. Press gently but firmly so it does not break later.
- Now spread the strawberry jam over the base layer. Use a spoon to gently spread it evenly across the surface. Leave a small space around the edges so the jam does not leak out while baking. The layer should look smooth, glossy, and evenly spread. Avoid adding too much jam, or the bars may become too soft and messy.
- Take the remaining dough and crumble it over the jam layer. Spread it gently so it covers most of the jam but still allows some of the red color to peek through. This gives the bars a beautiful look. Press lightly but do not flatten too much. You want a slightly crumbly top for texture.
- Bake the tray in the oven for about 25–30 minutes. Watch closely as it bakes. The top should turn light golden and the edges should look slightly crisp. The smell will be sweet and warm, which is a good sign. Do not overbake, or the bars may turn dry instead of soft and chewy.
- Remove from the oven and let it cool completely in the tray. This step is very important. If you cut the bars while they are still warm, they may fall apart. Once cooled, cut into even rectangles. The bars should feel soft, slightly chewy, and easy to hold.
Admin