
The Cheesy Baked Italian Subs You Will Crave Every Weekend
You know that moment when you are super hungry but nothing sounds exciting?
You open the fridge, look around, and still feel stuck.
You want something warm, cheesy, and filling… but also quick and easy.
That is exactly where these baked Italian subs come in.
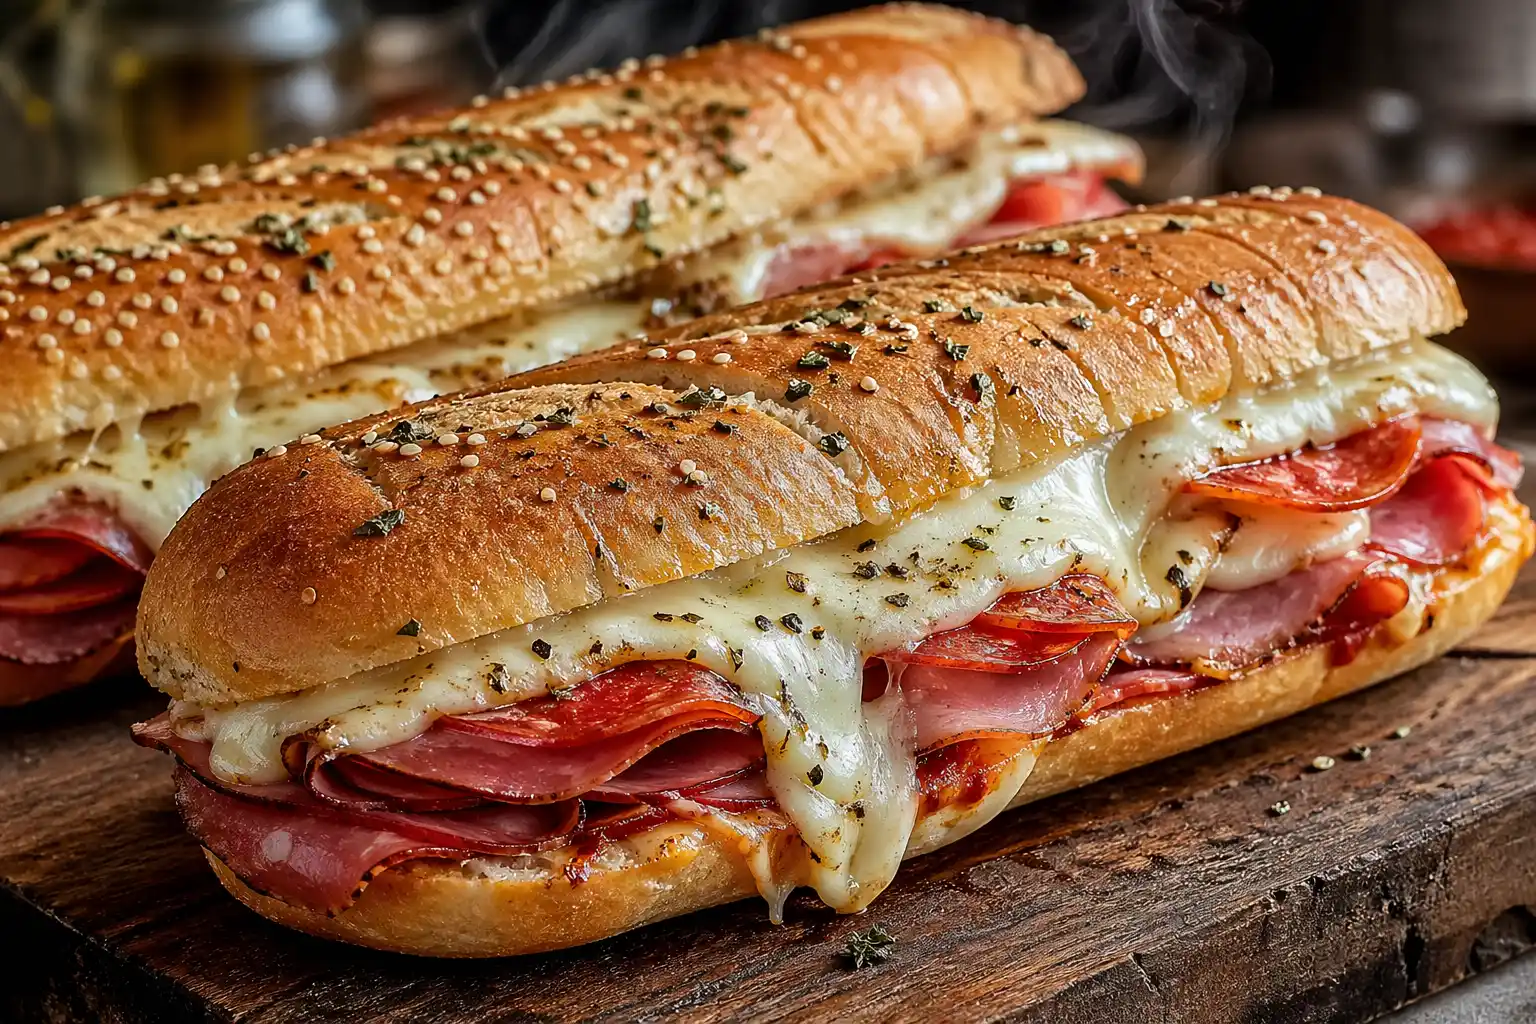
They are crispy on the outside, soft inside, and loaded with melty cheese and rich flavors.
And the best part? You can make them fast with simple ingredients you probably already have.
Once you try this… plain sandwiches will feel boring forever.
What Is This Recipe?
Baked Italian subs are warm sandwiches filled with deli meats, cheese, and tasty seasonings.
Instead of eating them cold, you bake them in the oven until everything melts together.
The bread turns slightly crispy on the outside while staying soft inside.
The cheese becomes gooey and stretchy, and the flavors blend perfectly.
It feels like a mix between a sandwich and a cheesy baked dish.
That is what makes it so special.
Why You Will Love This Recipe
- Super quick to make – You can have these ready in about 20 minutes, perfect for busy days.
- Big flavor with simple ingredients – No fancy items needed, but the taste feels rich and satisfying.
- Perfect for families – Everyone can build their own sub with their favorite fillings.
- Budget friendly – Uses basic deli meats and bread, so it saves money.
- Great for leftovers – You can reheat them and they still taste amazing.
- Customizable – You can change meats, cheese, or even go veggie.
Here’s where most people get this wrong…
They rush the baking step and miss that perfect crispy and melty balance.
Ingredients
- 4 sub rolls (soft but sturdy)
- 200g sliced salami
- 200g sliced pepperoni
- 200g sliced ham
- 8 slices provolone cheese (or mozzarella for a milder taste)
- 1 small onion, thinly sliced
- 1 green bell pepper, sliced
- 2 tbsp butter, melted
- 1 tsp garlic powder
- 1 tsp dried oregano
- 1 tbsp mayonnaise
- 1 tbsp mustard (optional for tangy flavor)
Helpful tips:
- Use fresh bread for the best texture.
- You can swap meats with turkey or chicken.
- Add chili flakes if you like a spicy kick.
How To Make (Step-by-Step)
- Start by preheating your oven to 180°C. While the oven heats, take your sub rolls and slice them open gently without cutting all the way through. You want them to open like a book. This helps hold all the fillings inside. Place them on a baking tray lined with paper. Make sure they sit flat so they do not tip over when filled. This small setup step makes everything easier later.
- Now spread a thin layer of mayonnaise and mustard inside each roll. This adds moisture and flavor so the bread does not dry out. Be careful not to use too much, or the bread can become soggy. You want a smooth, light layer that blends with the meats and cheese. This step might seem small, but it adds a big boost to taste.
- Next, start layering your meats. Add salami first, then pepperoni, then ham. Fold them slightly instead of laying them flat. This creates a fuller, thicker bite. Make sure each sandwich has an even amount so every bite tastes balanced. You will notice the sandwich already looks rich and packed.
- Add your sliced onions and bell peppers on top of the meat. Spread them evenly so you get a bit in every bite. These veggies add a slight crunch and fresh flavor. If you prefer softer veggies, you can lightly cook them before adding. Either way, they bring life to the sandwich.
- Now place the cheese slices on top. Cover the filling well so it melts over everything. This is what gives that gooey, stretchy texture. Make sure the cheese reaches the edges for the best melt. When baked, it will hold everything together beautifully.
- In a small bowl, mix melted butter with garlic powder and oregano. Brush this mixture over the top of each roll. This creates a golden, slightly crispy crust. The smell alone at this stage will make you hungry. Do not skip this step. It is what takes the sandwich from good to amazing.
- Place the tray in the oven and bake for 10 to 15 minutes. Watch closely as the cheese melts and the bread turns golden. You want the top slightly crispy but not too hard. The inside should stay soft and warm. This small trick makes a huge difference… do not overbake.
- Once done, remove from the oven and let them cool for 2 minutes. This helps the cheese settle so it does not slide out when you bite. Then serve warm and enjoy that perfect mix of crispy, soft, and cheesy textures.
Pro Tips
- Always use fresh bread for the best soft and crispy balance.
- Do not overload with sauce or the sandwich may turn soggy.
- Fold meats instead of laying flat for better texture.
- Use two types of cheese for a richer flavor.
- Lightly toast the bread before filling for extra crisp.
- Add a pinch of chili flakes for a bold kick.
- Let sandwiches rest after baking to hold shape.
- Brush butter evenly so every bite tastes good.
- Use parchment paper to prevent sticking and easy cleanup.
- Bake in the middle rack for even heat distribution.
Common Mistakes To Avoid
- Using too much sauce makes the bread wet and messy.
- Overbaking can make the bread too hard.
- Not preheating the oven leads to uneven cooking.
- Adding cold cheese straight from fridge slows melting.
- Skipping butter topping reduces flavor and texture.
- Overfilling makes sandwiches hard to handle.
Variations / Customization Ideas
Now let’s make it even better…
- High protein version – Add grilled chicken or extra turkey slices.
- Vegan option – Use plant-based meats and vegan cheese.
- Quick version – Use only one meat and cheese to save time.
- Spicy version – Add jalapeños and chili sauce.
- Veggie loaded – Add mushrooms, olives, and spinach.
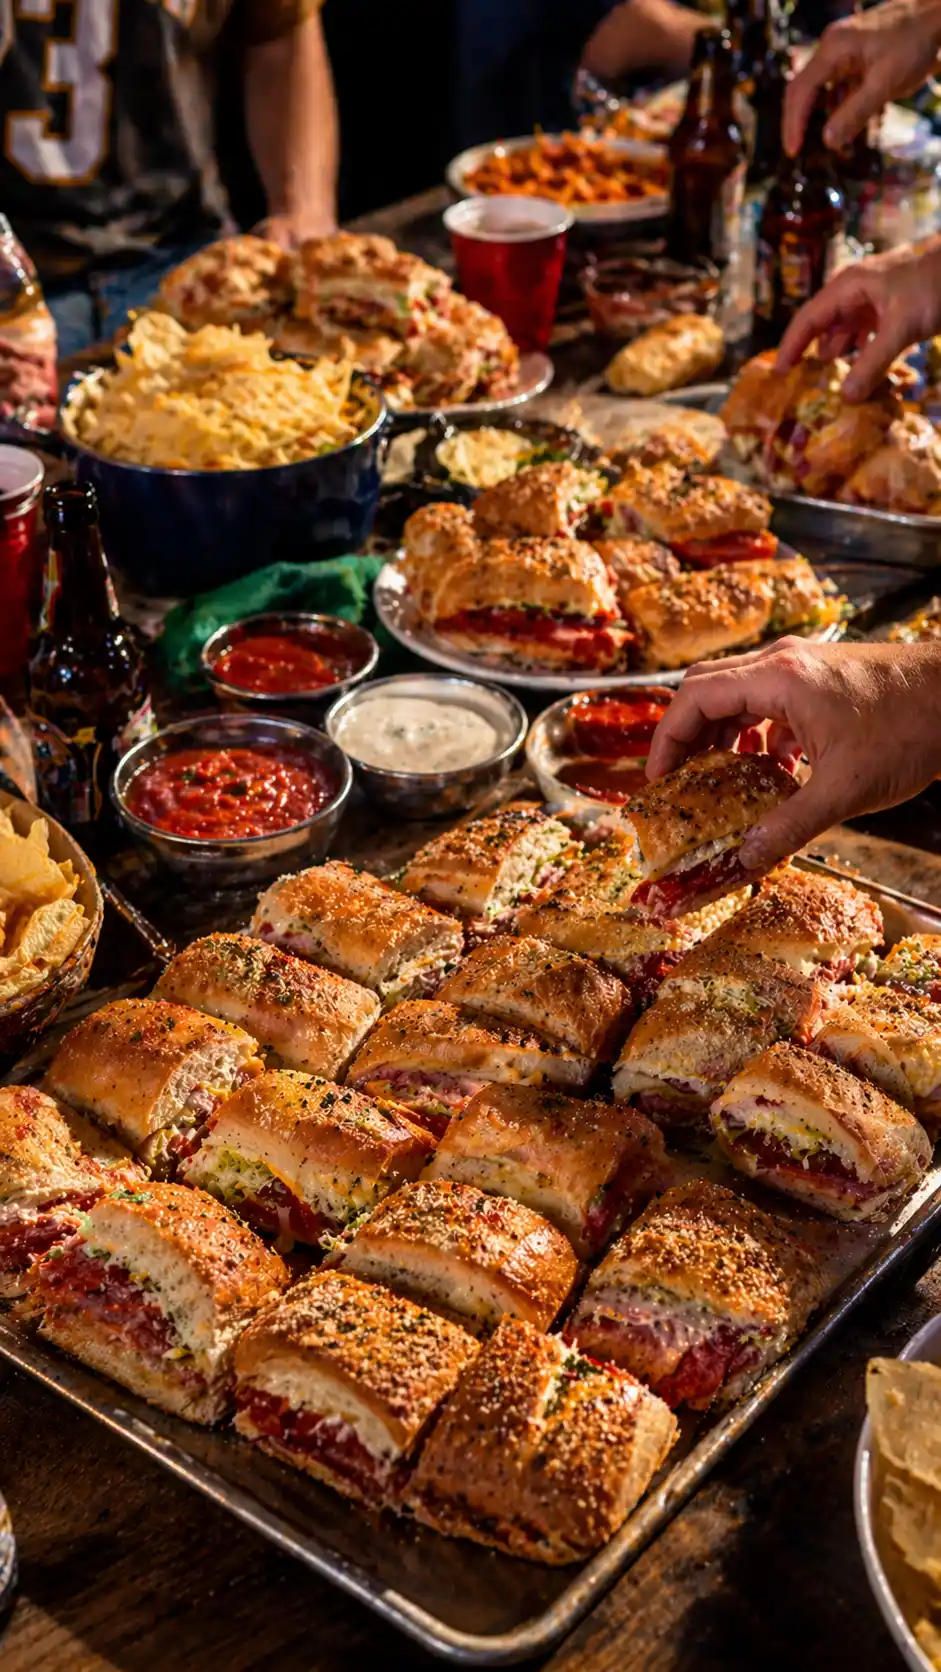
Serving Ideas
Serve these subs with crispy fries or a simple salad.
They also go great with soup on cold days.
Cut them into halves for sharing at parties.
Or enjoy one whole when you are really hungry.
Storage & Reheating
Store leftovers in an airtight box in the fridge for up to 2 days.
To reheat, place in the oven for 5–7 minutes to keep them crispy.
Avoid microwaving too long, or they may turn soft and soggy.
Nutrition Facts (Approximate)
- Calories: 450–550 per sub
- Protein: 20–25g
- Carbs: 35–40g
- Fat: 25–30g
Quick Summary
- Easy and quick recipe
- Crispy outside, soft inside
- Perfect for lunch or dinner
- Simple ingredients
- Highly customizable
When To Eat This
These baked Italian subs are perfect when you need something fast but satisfying.
Great for busy afternoons when you do not want to cook much.
Perfect after a long day when you crave comfort food.
Also amazing for late-night hunger when you want something warm and cheesy.
Once you try them… you will keep coming back for more.
FAQs
- Can I make baked Italian subs ahead of time?
Yes, you can prepare the subs a few hours in advance. Assemble everything but do not bake yet. Cover them tightly and store in the fridge. When ready, bake fresh so the bread stays crispy and the cheese melts perfectly. - What is the best bread to use for this recipe?
Use soft but sturdy sub rolls that can hold fillings without breaking. Avoid very thin or dry bread. Fresh bakery rolls work best because they give that soft inside and slightly crispy outside after baking. - Can I use only one type of meat?
Yes, you can. While mixing meats gives a richer flavor, using just one like chicken or turkey still tastes great. It also makes the recipe quicker and more budget friendly. - How do I keep the subs from getting soggy?
Use a light layer of sauce and do not overload with wet ingredients. Also, baking at the right temperature helps keep the bread crisp while melting the inside perfectly. - Can I make this recipe healthier?
Yes. Use whole wheat bread, lean meats like turkey, and reduce cheese slightly. You can also add more vegetables like spinach or tomatoes for extra nutrition. - What cheese works best for baked Italian subs?
Provolone and mozzarella are the most popular choices. They melt smoothly and give that stretchy texture. You can also mix cheeses for a deeper flavor. - Can I cook these in an air fryer?
Yes, you can. Set your air fryer to medium heat and cook for about 5 to 7 minutes. Keep checking so the bread does not over crisp while the cheese melts properly. - How long do leftovers stay fresh?
They stay good for up to 2 days in the fridge when stored in an airtight container. For best taste, reheat in the oven instead of the microwave. - Can I freeze baked Italian subs?
It is not the best option because the bread can lose its texture. However, you can freeze the fillings separately and assemble fresh when needed. - What can I serve with these subs?
You can serve them with fries, chips, or a light salad. They also pair well with soup, making them a complete and comforting meal.
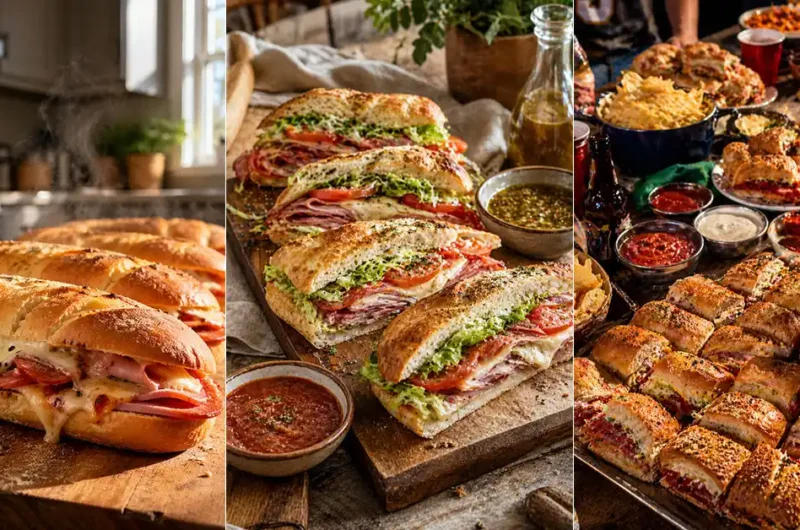
The Cheesy Baked Italian Subs You Will Crave Every Weekend
4
servings12
minutes15
minutes300
kcalIngredients
4 sub rolls (soft but sturdy)
200g sliced salami
200g sliced pepperoni
200g sliced ham
8 slices provolone cheese (or mozzarella for a milder taste)
1 small onion, thinly sliced
1 green bell pepper, sliced
2 tbsp butter, melted
1 tsp garlic powder
1 tsp dried oregano
1 tbsp mayonnaise
1 tbsp mustard (optional for tangy flavor)
Directions
- Start by preheating your oven to 180°C. While the oven heats, take your sub rolls and slice them open gently without cutting all the way through. You want them to open like a book. This helps hold all the fillings inside. Place them on a baking tray lined with paper. Make sure they sit flat so they do not tip over when filled. This small setup step makes everything easier later.
- Now spread a thin layer of mayonnaise and mustard inside each roll. This adds moisture and flavor so the bread does not dry out. Be careful not to use too much, or the bread can become soggy. You want a smooth, light layer that blends with the meats and cheese. This step might seem small, but it adds a big boost to taste.
- Next, start layering your meats. Add salami first, then pepperoni, then ham. Fold them slightly instead of laying them flat. This creates a fuller, thicker bite. Make sure each sandwich has an even amount so every bite tastes balanced. You will notice the sandwich already looks rich and packed.
- Add your sliced onions and bell peppers on top of the meat. Spread them evenly so you get a bit in every bite. These veggies add a slight crunch and fresh flavor. If you prefer softer veggies, you can lightly cook them before adding. Either way, they bring life to the sandwich.
- Now place the cheese slices on top. Cover the filling well so it melts over everything. This is what gives that gooey, stretchy texture. Make sure the cheese reaches the edges for the best melt. When baked, it will hold everything together beautifully.
- In a small bowl, mix melted butter with garlic powder and oregano. Brush this mixture over the top of each roll. This creates a golden, slightly crispy crust. The smell alone at this stage will make you hungry. Do not skip this step. It is what takes the sandwich from good to amazing.
- Place the tray in the oven and bake for 10 to 15 minutes. Watch closely as the cheese melts and the bread turns golden. You want the top slightly crispy but not too hard. The inside should stay soft and warm. This small trick makes a huge difference… do not overbake.
- Once done, remove from the oven and let them cool for 2 minutes. This helps the cheese settle so it does not slide out when you bite. Then serve warm and enjoy that perfect mix of crispy, soft, and cheesy textures.
Admin