The Secret to Creamy Caramel Centers You Can Make at Home Today
Do you ever crave something sweet, soft, and creamy… but store-bought candy just feels too hard or too sugary?
You want that perfect bite. Smooth on the outside. Creamy on the inside.
But making caramel at home can feel scary. Too sticky. Too tricky. Too easy to mess up.
What if I told you it’s actually simple?
Yes, you can make soft caramel filled with sweet vanilla cream right in your kitchen. No stress. No fancy tools.
And once you taste it… you’ll wonder why you didn’t try it sooner.
What Is This Recipe?
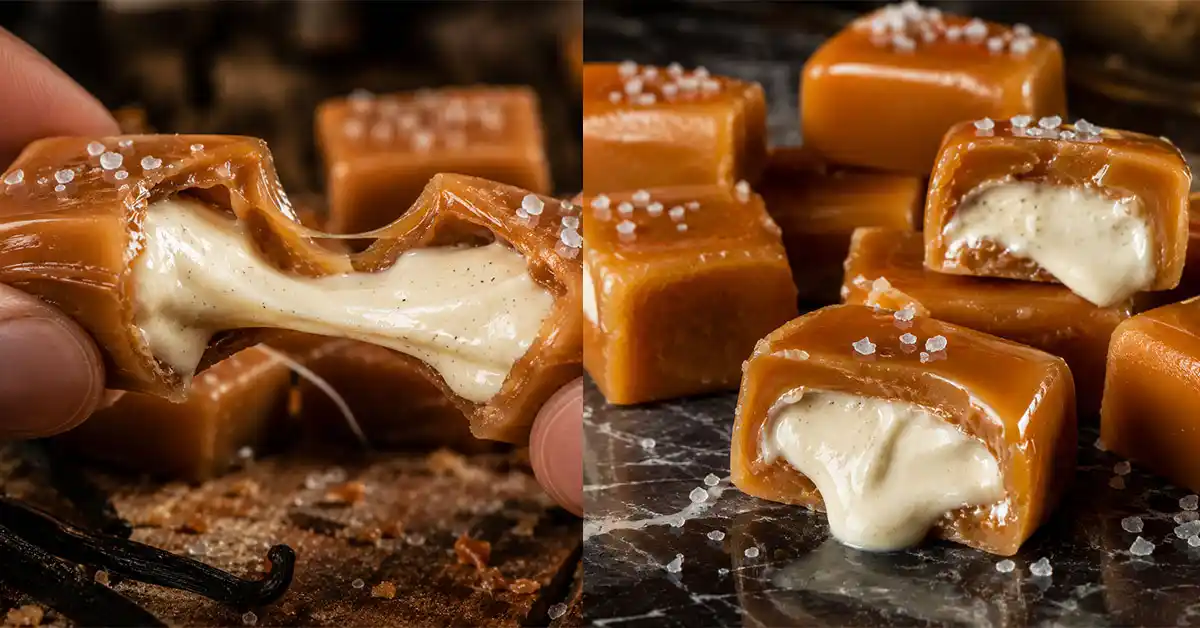
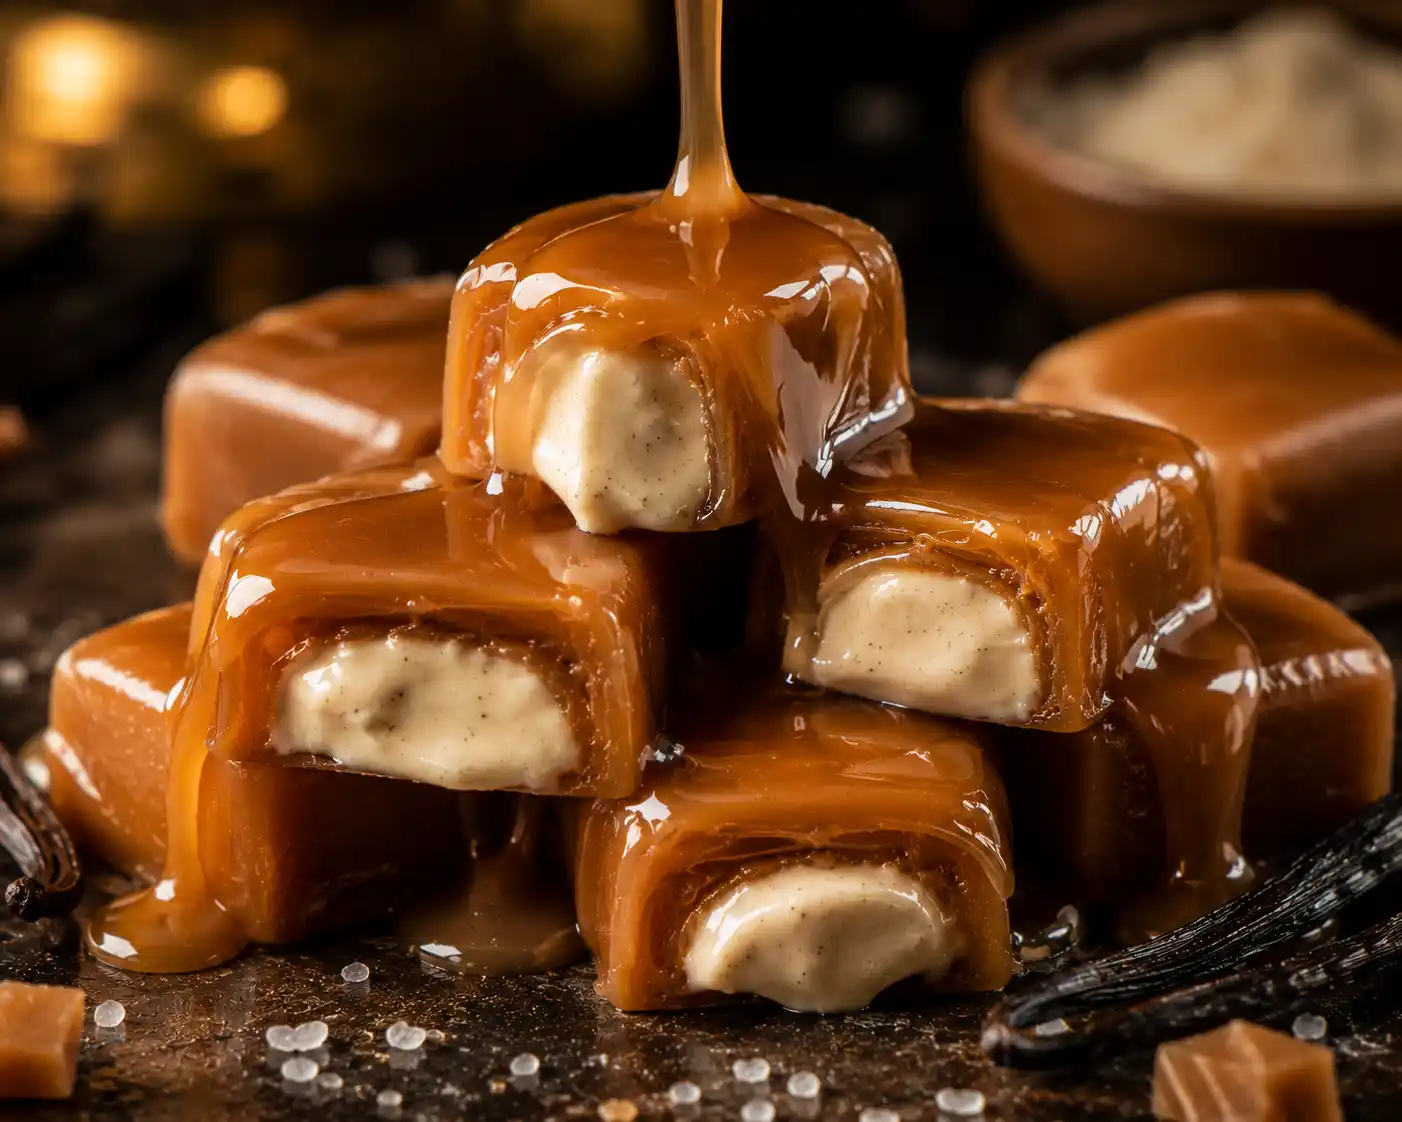
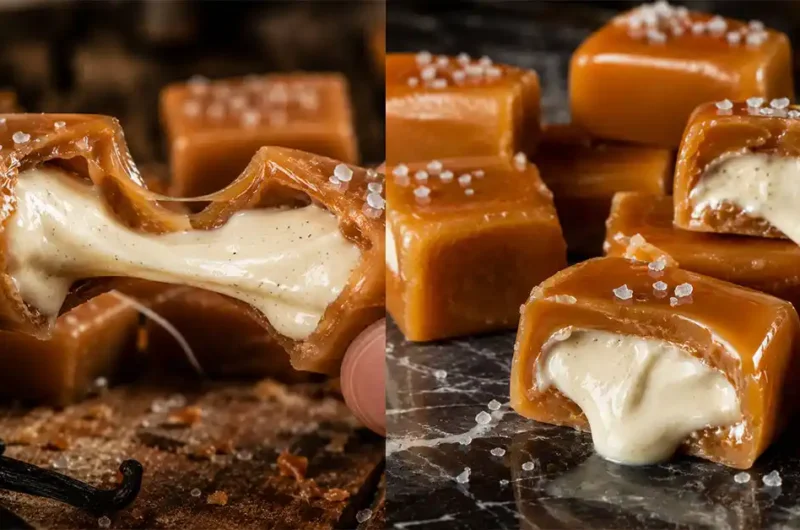
This recipe is for soft caramel candies filled with a smooth vanilla cream center.
The outside is chewy and golden. The inside is light, creamy, and full of sweet vanilla flavor.
When you bite into it, the caramel slowly melts, and then the cream filling spreads in your mouth.
It feels rich. It tastes homemade. And it looks impressive, even though it’s easy to make.
Why You Will Love This Recipe
- Super easy steps you can follow even if you are new to cooking
- Uses simple ingredients you may already have at home
- Much cheaper than buying fancy caramel candies
- Soft, creamy texture that feels like a treat from a bakery
- You can change flavors and make it your own
- Perfect for gifting, parties, or late night cravings
Here’s where most people get this wrong…
They rush the caramel. That’s why it turns hard or burns.
Ingredients
- 1 cup sugar – this melts and turns into golden caramel
- 1/4 cup water – helps the sugar melt evenly
- 1/2 cup heavy cream – makes the caramel soft and rich
- 2 tbsp butter – adds smoothness and shine
- 1 tsp vanilla extract – gives that warm sweet flavor
- 1/4 tsp salt – balances the sweetness (optional but recommended)
For the filling:
- 1/2 cup whipped cream – light and fluffy texture
- 2 tbsp powdered sugar – adds gentle sweetness
- 1/2 tsp vanilla extract – for flavor
Tip: You can use coconut cream instead of heavy cream for a dairy-free option.
How To Make (Step-by-Step)
1. Make the caramel base
Start by adding sugar and water to a pan. Keep the heat medium and do not stir too much. Let the sugar slowly melt. You will see bubbles forming, and the color will change from clear to light golden. This is the moment you need to watch closely. If it turns too dark, it will taste bitter. Keep the heat steady and stay near the stove.
2. Add cream and butter
Once the caramel turns a nice golden color, carefully add the cream. It will bubble a lot, so go slow. Then add butter and mix gently. The mixture will become smooth and glossy. Keep stirring until everything melts together. You will notice a rich smell and a thick texture forming.
3. Add flavor and cool slightly
Turn off the heat and mix in vanilla extract and salt. Stir gently and let the caramel cool for a few minutes. It should still be soft but not too hot. If it is too hot, it can melt the filling later.
4. Prepare the vanilla cream filling
In a bowl, mix whipped cream, powdered sugar, and vanilla extract. Beat until soft peaks form. The texture should be light and fluffy, not runny. This is what creates the creamy center that feels soft and smooth.
5. Shape and fill
Take a small amount of caramel and flatten it in your hand. Add a small spoon of cream filling in the center. Then gently wrap the caramel around it. Roll it into a soft ball or square. Work quickly because caramel can firm up as it cools.
6. Let them set
Place the filled caramels on parchment paper and let them rest. As they cool, they become slightly firmer but still soft inside. You will see a shiny finish and feel a soft, chewy texture.
This small trick makes a huge difference…
Let the caramel cool just enough before filling. Too hot and the cream melts. Too cold and it won’t shape well.
Pro Tips
- Use a heavy pan to avoid burning the sugar. Thin pans heat unevenly.
- Do not stir sugar too much in the beginning. It can form crystals.
- Always keep your heat medium, never high.
- Warm your cream slightly before adding. Cold cream can shock the caramel.
- Use a spoon to test caramel texture before shaping.
- Work quickly but carefully when shaping.
- Dust your hands lightly with sugar to avoid sticking.
- Chill the filling slightly if your kitchen is warm.
- Add a pinch of salt for deeper flavor.
- Store in cool place to keep texture perfect.
Common Mistakes to Avoid
- Cooking sugar on high heat – it burns fast
- Adding cream too quickly – causes splashing
- Not watching caramel color – leads to bitterness
- Filling while caramel is too hot – melts cream
- Overfilling – makes shaping difficult
- Skipping butter – reduces smooth texture
- Not letting them set – they stay too soft
Variations / Customization Ideas
- Chocolate version: Add cocoa powder to the filling for a rich twist
- Vegan version: Use coconut cream and dairy-free butter
- High protein: Mix protein powder into the filling
- Coffee flavor: Add a drop of coffee extract
- Quick version: Use store-bought soft caramel and just make the filling
Now let’s make it even better…

Serving Ideas
Serve with coffee for a cozy treat.
Add them to dessert boxes for gifts.
Use as a topping for ice cream.
Enjoy as a sweet bite after dinner.
Storage & Reheating
Store in an airtight container.
Keep in the fridge for up to 5 days.
Let them sit at room temperature before eating for best texture.
Do not microwave too long, or they will melt.
Nutrition Facts (Approximate)
- Calories: 120 per piece
- Fat: 6g
- Sugar: 12g
- Protein: 1g
Quick Summary
- Easy homemade caramel with creamy filling
- Soft, chewy, and rich texture
- Simple ingredients
- Perfect for snacks or gifts
When To Eat This
Perfect for late-night cravings when you want something sweet and comforting.
Great for parties when you need an easy homemade treat.
A nice little reward after a long day.
Or just when you feel like treating yourself… because you deserve it.
FAQs (Frequently Asked Questions)
- Can I make these caramels without a candy thermometer?
Yes, you can. Watch the color and texture instead. The sugar should turn a light golden color, not dark brown. The caramel should look smooth and slightly thick, not watery. Staying close to the pan and using medium heat helps you stay in control. - Why did my caramel turn hard instead of soft?
This usually happens when the sugar is cooked too long or at too high heat. Overcooking removes too much moisture, making the caramel firm. Next time, stop cooking once it reaches a soft golden stage and add cream right away. - Can I prepare the filling ahead of time?
Yes, you can make the vanilla cream filling a few hours early. Keep it in the fridge in a covered bowl. When ready to use, give it a gentle mix so it becomes soft and fluffy again. - How do I stop caramel from sticking to my hands?
Lightly dust your hands with sugar or grease them with a small amount of butter. This creates a thin layer that helps you shape the caramel without it sticking too much. - Can I freeze these caramels?
Yes, but with care. Place them in an airtight container and freeze for up to 1 month. When ready to eat, let them thaw slowly in the fridge, then bring to room temperature for the best soft texture. - What if my caramel turns grainy?
Grainy caramel often happens when sugar crystals form. This can be caused by stirring too much early on. To fix this, cook gently and avoid stirring until the sugar fully melts. - Can I use milk instead of heavy cream?
You can, but the result will be less rich and less creamy. Heavy cream gives that deep, smooth texture. If using milk, try full-fat milk for better results. - How long does it take to make this recipe?
The full process takes about 30 to 40 minutes. Most of the time goes into cooking the caramel and shaping the candies. Once you try it once, it becomes much faster the next time. - Can I add other flavors to the filling?
Absolutely. You can mix in cocoa powder, coffee extract, or even a hint of almond flavor. Keep the balance light so the creamy texture stays smooth and not too thick. - Are these good for gifting?
Yes, they are perfect for gifts. Wrap them in parchment paper or place them in a small box. They look beautiful and feel homemade, which makes them extra special.
The Secret to Creamy Caramel Centers You Can Make at Home Today
5
servings18
minutes300
kcalIngredients
1 cup sugar – this melts and turns into golden caramel
1/4 cup water – helps the sugar melt evenly
1/2 cup heavy cream – makes the caramel soft and rich
2 tbsp butter – adds smoothness and shine
1 tsp vanilla extract – gives that warm sweet flavor
1/4 tsp salt – balances the sweetness (optional but recommended)
For the filling:
1/2 cup whipped cream – light and fluffy texture
2 tbsp powdered sugar – adds gentle sweetness
1/2 tsp vanilla extract – for flavor
Directions
- Make the caramel base
Start by adding sugar and water to a pan. Keep the heat medium and do not stir too much. Let the sugar slowly melt. You will see bubbles forming, and the color will change from clear to light golden. This is the moment you need to watch closely. If it turns too dark, it will taste bitter. Keep the heat steady and stay near the stove. - Add cream and butter
Once the caramel turns a nice golden color, carefully add the cream. It will bubble a lot, so go slow. Then add butter and mix gently. The mixture will become smooth and glossy. Keep stirring until everything melts together. You will notice a rich smell and a thick texture forming. - Add flavor and cool slightly
Turn off the heat and mix in vanilla extract and salt. Stir gently and let the caramel cool for a few minutes. It should still be soft but not too hot. If it is too hot, it can melt the filling later. - Prepare the vanilla cream filling
In a bowl, mix whipped cream, powdered sugar, and vanilla extract. Beat until soft peaks form. The texture should be light and fluffy, not runny. This is what creates the creamy center that feels soft and smooth. - Shape and fill
Take a small amount of caramel and flatten it in your hand. Add a small spoon of cream filling in the center. Then gently wrap the caramel around it. Roll it into a soft ball or square. Work quickly because caramel can firm up as it cools. - Let them set
Place the filled caramels on parchment paper and let them rest. As they cool, they become slightly firmer but still soft inside. You will see a shiny finish and feel a soft, chewy texture.
Admin